
9/9/26 Mid week post #231 Creating the new Hot Foil System from Stampin' Up!®

Tips to get the most out of the Hot Foil System.
Hello & welcome to my blog. I hope you are all well.
My name is Alison & I live in beautiful Melbourne, Australia & I am an independent Stampin' Up® demonstrator.
I love to create beautiful things to share with people that I love but I also sell me creations. I have been creating things in one way or another for most of my life - knitting, sewing, cooking, card making, gardening, scrap booking & hand made gifts & in 2020 after joining Stampin' Up® I decided to share my passion in a blog (craftedbyalison@blogspot.com).
In 2025 I retired & decided to spread my creative wings a little more by combining my blog, products that I had been selling on FaceBook & launching a newsletter. Some of these things I had already been doing but this time they are all in the one place. (All previous posts can be found at my blogspot address above if you would like to read any of them.)
Stampin' Up!® recently released their own version of a Hot Foil System & it has been a huge hit with demonstrators & customers across the world. There are Facebook groups, craft classes & lots of individual groups playing around & experimenting & producing lots of beautiful projects.
This week it was my chance to have a play around with a whole day devoted to experimenting with the dies, stamps, layouts & combinations. It was fun & I learnt a lot, creating 4 cards in total. So far.
Just a heads up though that this post is a little longer that usual as I've taken lots of step by step photos & explain as I go.
I will share the cards with you but also walk you through some basics of the system, some tips & how to use it.
Here are 4 finished cards...

First of all, I'll show you the system & the steps you take to create with it.

The system comes with the platform, a silicone tray that it sits in, a seperate mat to place the dies on to cool down, a magnetic tool to pick up the hot dies, a shim & a cover plate. And of course a power cord. It is designed to work with the Stampin' Cut & Emboss machine.
Now for some steps on using the system.
Step 1.
Plug in the system, push the white power button & wait til the flashing red light finishes & you hear a beep.
Place your die on the platform & press the power button again.

The red light will stay on & the yellow light will flash until the die is heated then the machine will beep again. This means that your die is ready to use.
Cut your foil to fit your die. Place the foil, coloured/shiny side down over the die.

Place your cardstock over the foil.

Place the green shim & clear plate over the cardstock. Unplug the platform & run the sandwich, very slowly, through the Stampin' Cut & Emboss machine. You need to run it slowly so that the die has time to make contact with the foil & cardstock. If you go too quickly the foil will not remain properly on the cardstock.
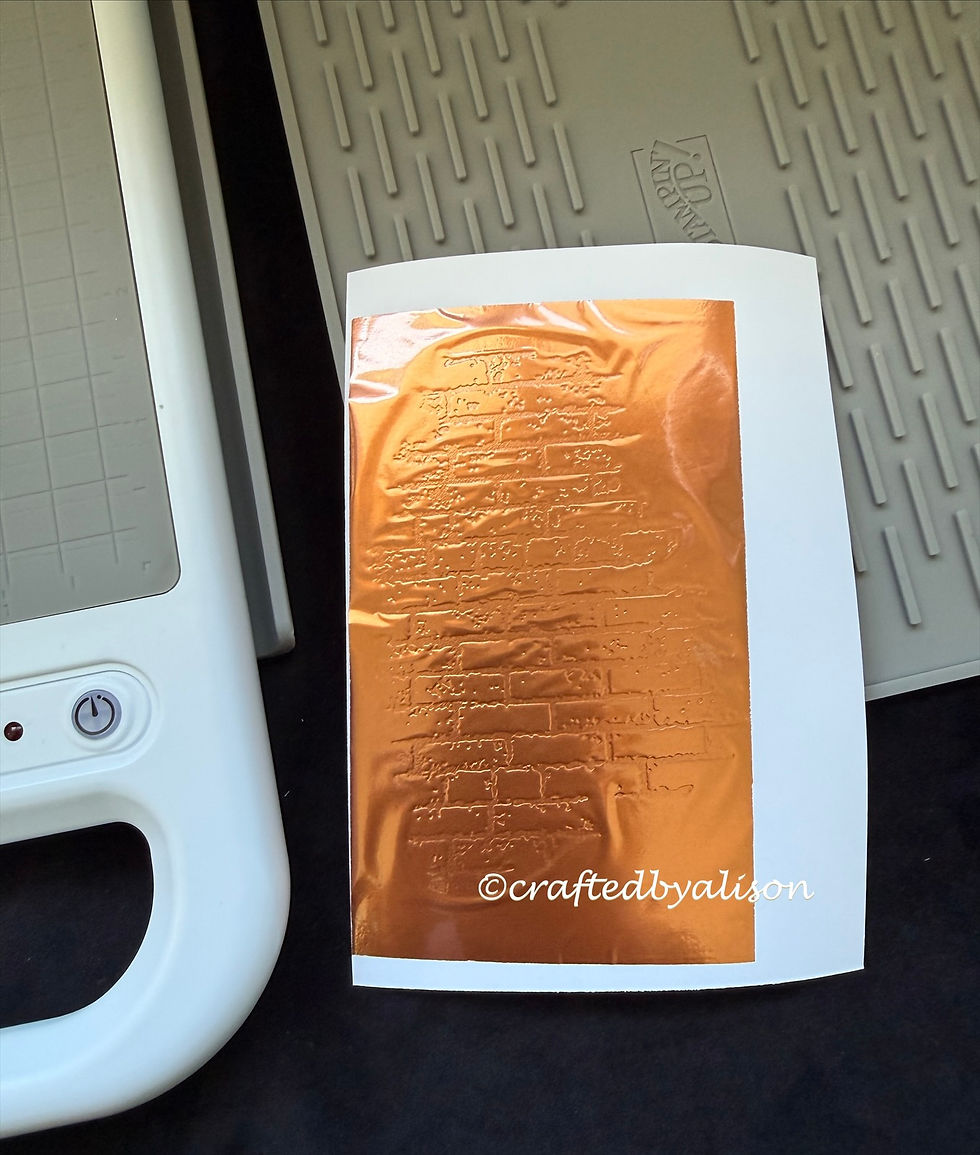
Once you peel the foil from the cardstock you are left with foil that looks like this...

and the foiled image will be on the cardstock...

Sometimes you will have a little bit of foil left which you can see towards the bottom of the card and a small line across the top. This is called overfoiling. No problems. With sentiments I've found that overfoiling usually gets taken out when you diecut them & for the cardfront above I just removed the excess using a glue rubber quite easily.

Now that you have your foiling finished you use the while handle tool to pick up the die from the platform & place it on the silicone mat. The handle tool is magnetic & there is a release button that drops the die so you don't have to get your fingers burnt. Cool huh?

While the machine was on I decided to make a whole heap of card fronts & sentiments.
Initially the machine takes around 6 minutes to warm to the first stage then around 1-2 mins for the second stage. After that each time you re-plug it in it will take around 1-2 mins again. I usually prep other things while I'm waiting for it to warm up, cardstock, foil, bases etc. so the time goes quickly.
Here are all of the mats & sentiments I foiled...

and the sentiments after they are diecut...

and lots of leftover foil pieces which I'm saving for when I get the SU reverse plate.

What is that you ask? It's a flat plate that you heat up just like one of the dies but when you put the leftover foil onto it it gives you the reverse image of what you initially foiled. So if you had a sentiment on a plain background on your initial project, when you use the reverse plate you will end up with a solid foiled background with the sentiment showing through on the cardstock. Until I get the plate I'm keeping them in one of the old covers that the stamp sets came in...
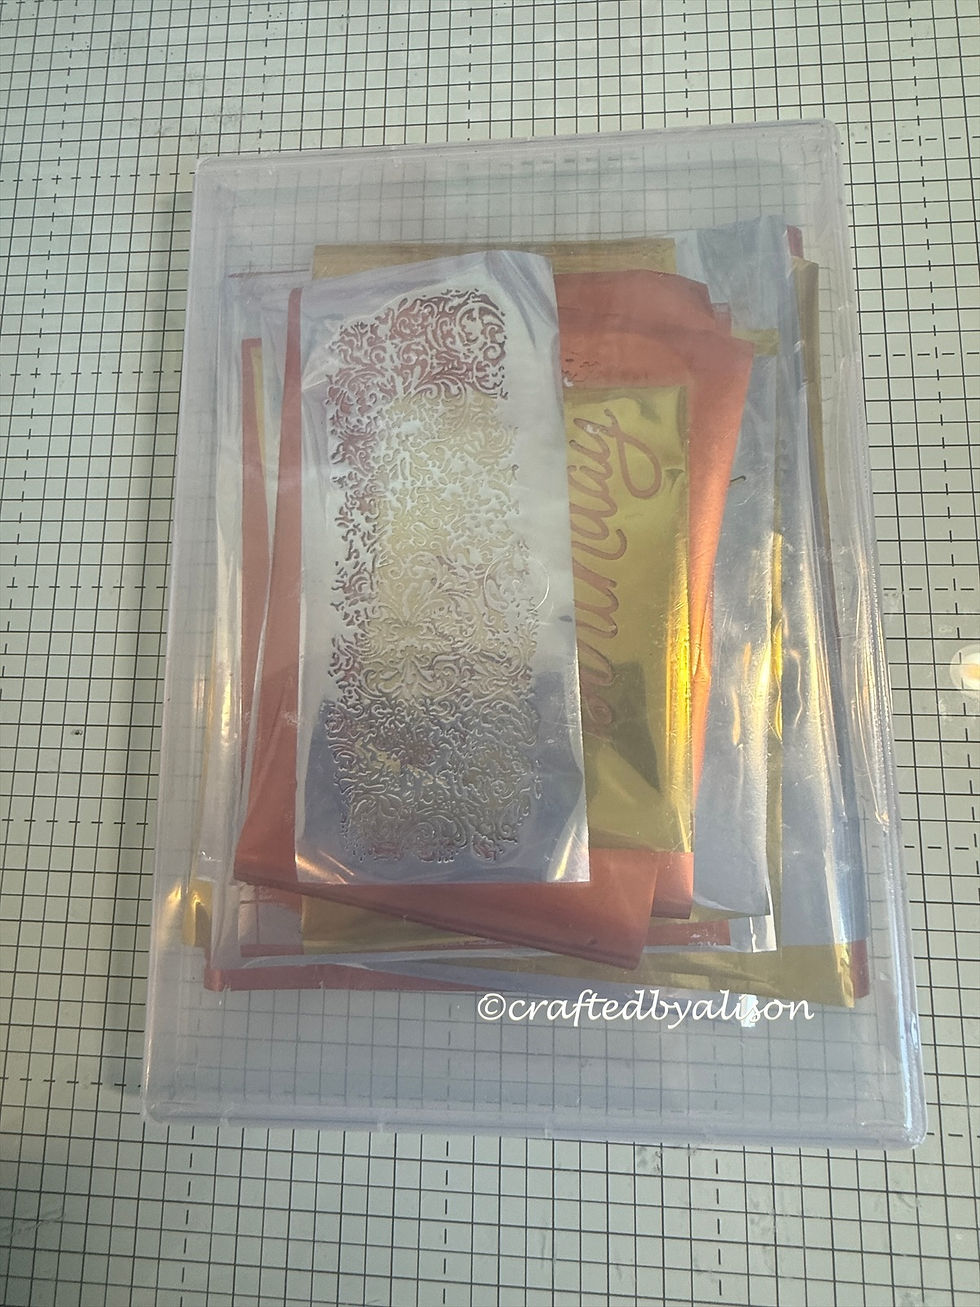
To give you an idea of how the sentiment foils & dies are presented...

The foil dies are the solid ones on the right & the cutting dies are on the left, just like regular dies. Some foil dies come only as the hot foil die & some, like the Classic Greting sentiments, come as a bundle.
So, now that I've given you a rundown on how I created with this new system, lets look at the cards I made with the images & sentiments...
CARD 1.

This card is probably the simplest of the cards & one that most crafters could easily achieve.
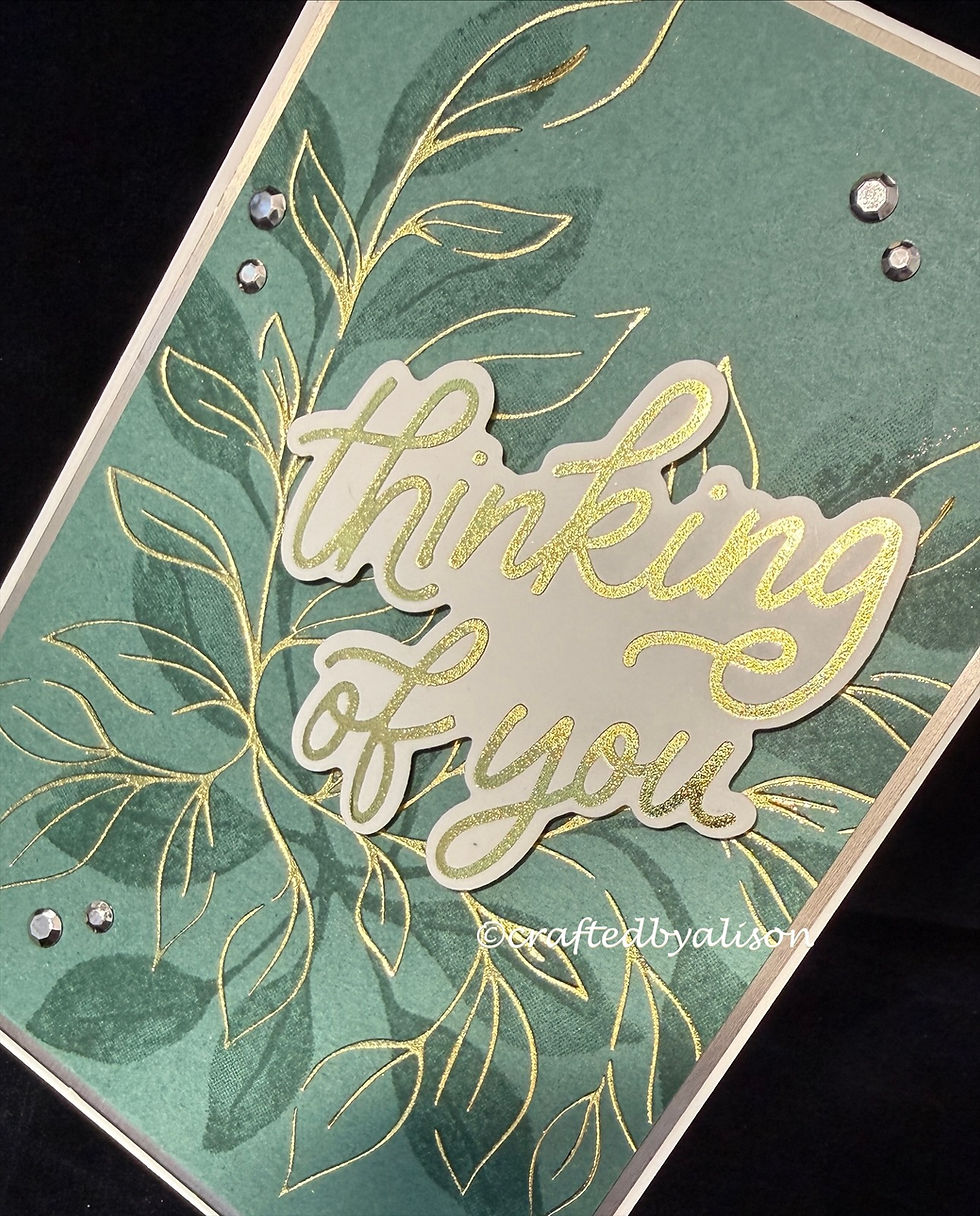
There is a Basic White base & a gold foil matte. The main card front is a piece of Peaceful Pine that I foiled with the Botanical Glow foil dies in gold then stamped the co-ordinating image in Peaceful Pine. I added a sentiment with dimensionals & finished it with some Metallic gems.
CARD 2

Another easy card. The base is Misty Moonlight with a Silver matte. The 2nd matte is from the Waterside Retreat DSP pack. This time I used the silver foil & stamped in Misty Moonlight, adding a silver sentiment. As there is more going on with the striped DSP I omitted the gems though.

Onto the next card.
CARD 3.

There is a little bit more in this card but it's still quite easy.
A Peaceful Pine base starts it all off with an Earthen Toned Metallic matte. On a Basic White matte I used Copper Foil for a brick 'wall' pattern then stamped the Botanical Glow leaves in Peaceful Pine ink. Before adding the matching sentiment I diecut some Pecan Pie foliage, cut into smaller pieces under & partially over the sentiment. The bottom left of the sentiment has a small piece missing as I placed the two dies a little too close together when foiling which resulted in a nick when diecutting. To cover this up I made sure that a portion of the foliage was over it! Card surgery at it's finest. LOL
The last thing was to add a little bling with some 2026-28 In Colour dots.

Now for the last & most intricate of the cards.
CARD 4.

I combined foiling, stamping, foil images & diecutting for this card. Let's break it down into steps.
Early Espresso Base
Basic Beige matte
Copper foil of two different images instead of one. Two foils were added to the platform this time but I still used the one colour of foil for the Basic Beige matte.

After foiling I stamped images from Gears & Textures in Crumb Cake, Cajun Craze & Early Espresso onto the front as well as one on a scrap of Basic Beige to diecut
Diecut gears in Early Espresso & Earthern Toned Metallics & added them with liquid glue & dimensionals along with the senitment
PHEW!

I loved how combining the two different dies & stamps worked so well together to create a great masculine card.
I had a lot of fun with this system & am looking forward to when I order some different dies & stamps for it. I have also seen a number of posts where people have used embossing folders with the system to create different results and am curious to have a play with them at some stage.
For now though, that's it for this post. Thank you if you've read all the way to the end. You've got stamina!!
My next post is on Sunday where I will be sharing Part 2 - more ways to use Embossing folders (not with hot foiling this time though).
In next Wednesday's Mid week post I will have some creations made with another new product from Stampin' Up!® called an Impressions Plate that helps you to create a subtle 3D effect.
I hope you can join me for both of them.
I often share links to products used in my posts but this time I think I'll let you finish here as there is a LOT of product this time & you've already been a champion if you've made it this far.
If, however, you would like to browse for any of the products used in the making of these cards then click here to go to my online Stampin' Up!® shop.
Thanks for visiting. Til next time, take care & keep creating.
XX Alison


Comments