
6/9/26 Using embossing folders to enhance your projects - part 1

Two different ways to use embossing folders in your craft projects.
Hello & welcome to my blog. I hope you are all well.
My name is Alison & I live in beautiful Melbourne, Australia & I am an independent Stampin' Up!® demonstrator.
I love to create beautiful things to share with people that I love but I also sell my creations. I have been creating things in one way or another for most of my life - knitting, sewing, cooking, card making, gardening, scrap booking & hand made gifts & in 2020 after joining Stampin' Up® I decided to share my passion in a blog (craftedbyalison@blogspot.com).
In 2025 I retired & decided to spread my creative wings a little more by combining my blog, products that I had been selling on FaceBook & launching a newsletter. Some of these things I had already been doing but this time they are all in the one place. (All previous posts can be found at my blogspot address above if you would like to read any of them.)
Before we start, to all the Dads or Dad figures out there, HAPPY FATHER'S DAY!!! I hope you've had a wonderful day & were spoilt by your loved ones.
This post looks at 2 different ways to use embossing folders to create unique projects or enhance them.
There are two types of embossing, dry or relief embossing & heat embossing. I love to use both styles of embossing at times in my projects. Dry embossing uses a plastic folder with raised & indented patterns on it that you place paper or cardstock inside then run through an embossing machine to create a raised image (or indented or de-bossed if you prefer) & heat embossing uses a clear medium instead of ink & you add a special powder over that then set it with a heat tool. Once set the powder becomes similar to enamel.
Today's post looks at dry embossing. I have chosen 2 background folders & created a card with one & a small gift tag holder with the other. I hope you enjoy seeing how the projects came together.

Let's start with the card first.
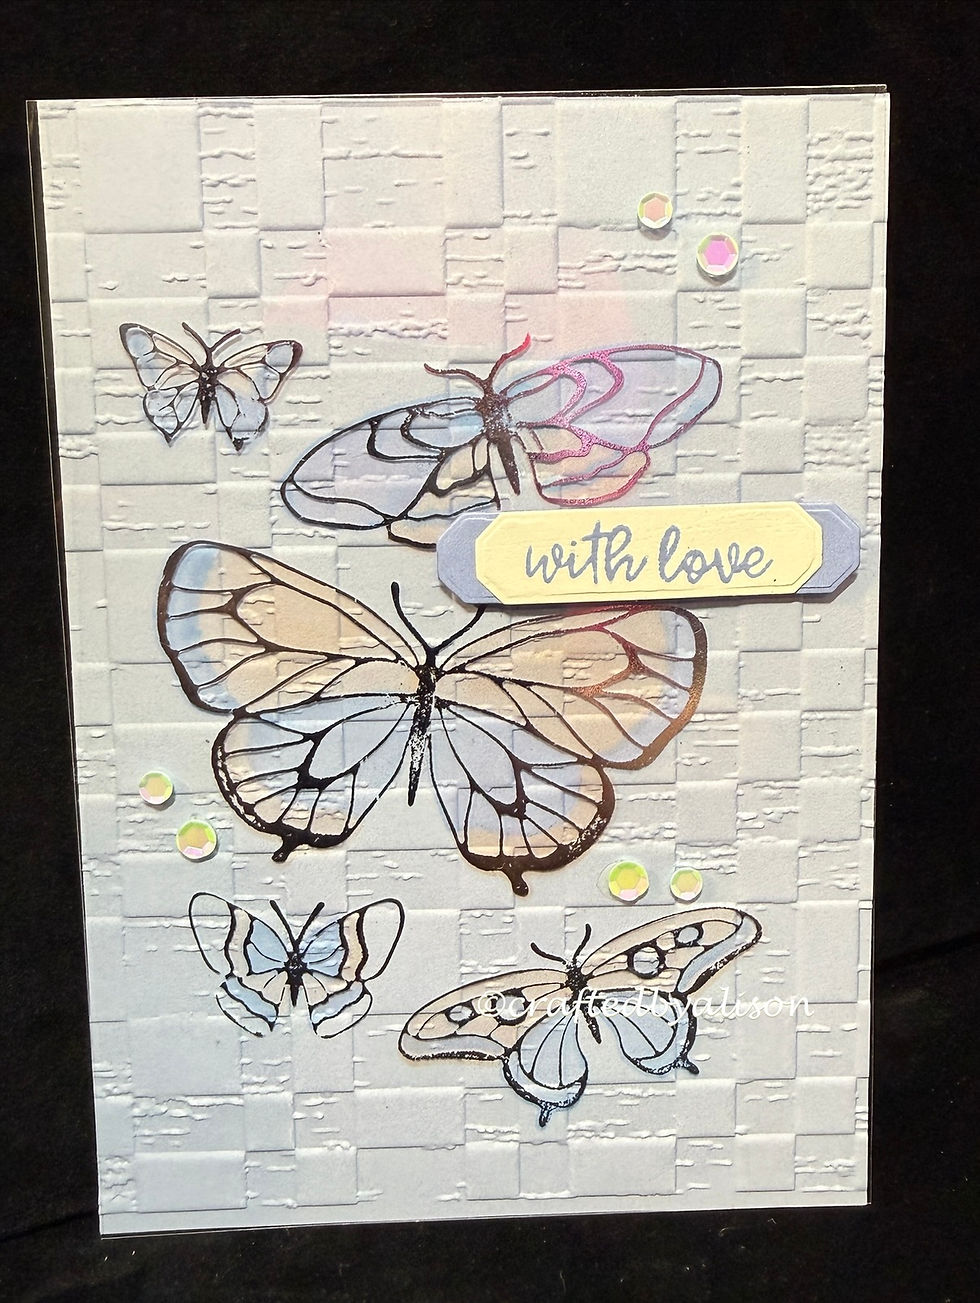
This card has a basic white base with a Hydrangea Hue Two Tone matte (the lighter side) that has been embossed with the Rustic Check embossing folder. I cut the cardstock larger than the base to allow for some shrinkage when it went through the embossing machine then trimmed a little off to fit the card front. One of these strips was saved to decorate the envelope. The colour seems a little lighter than the actual card for some reason, sorry for the difference.
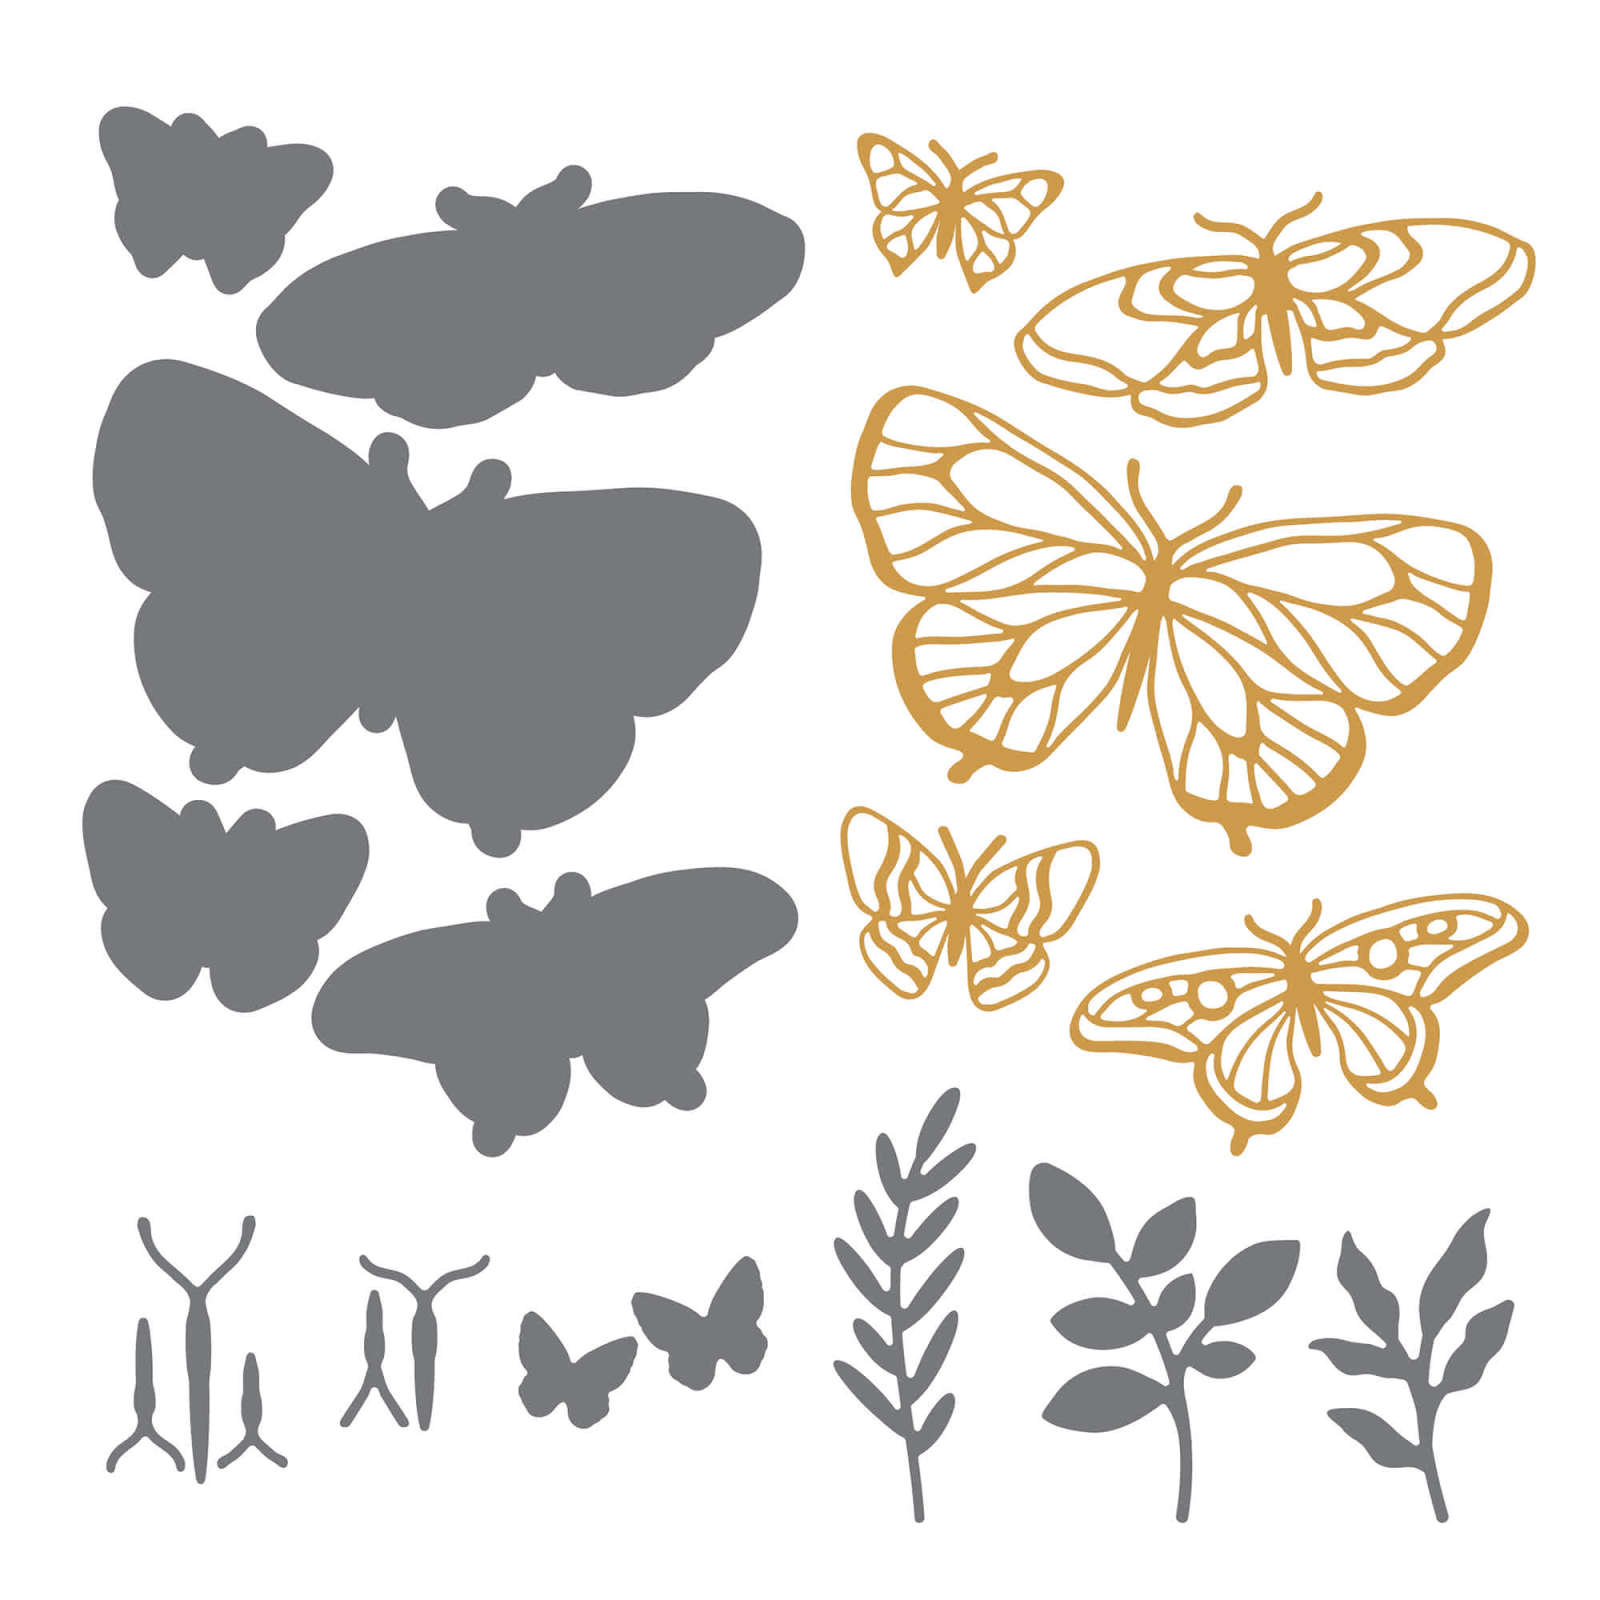
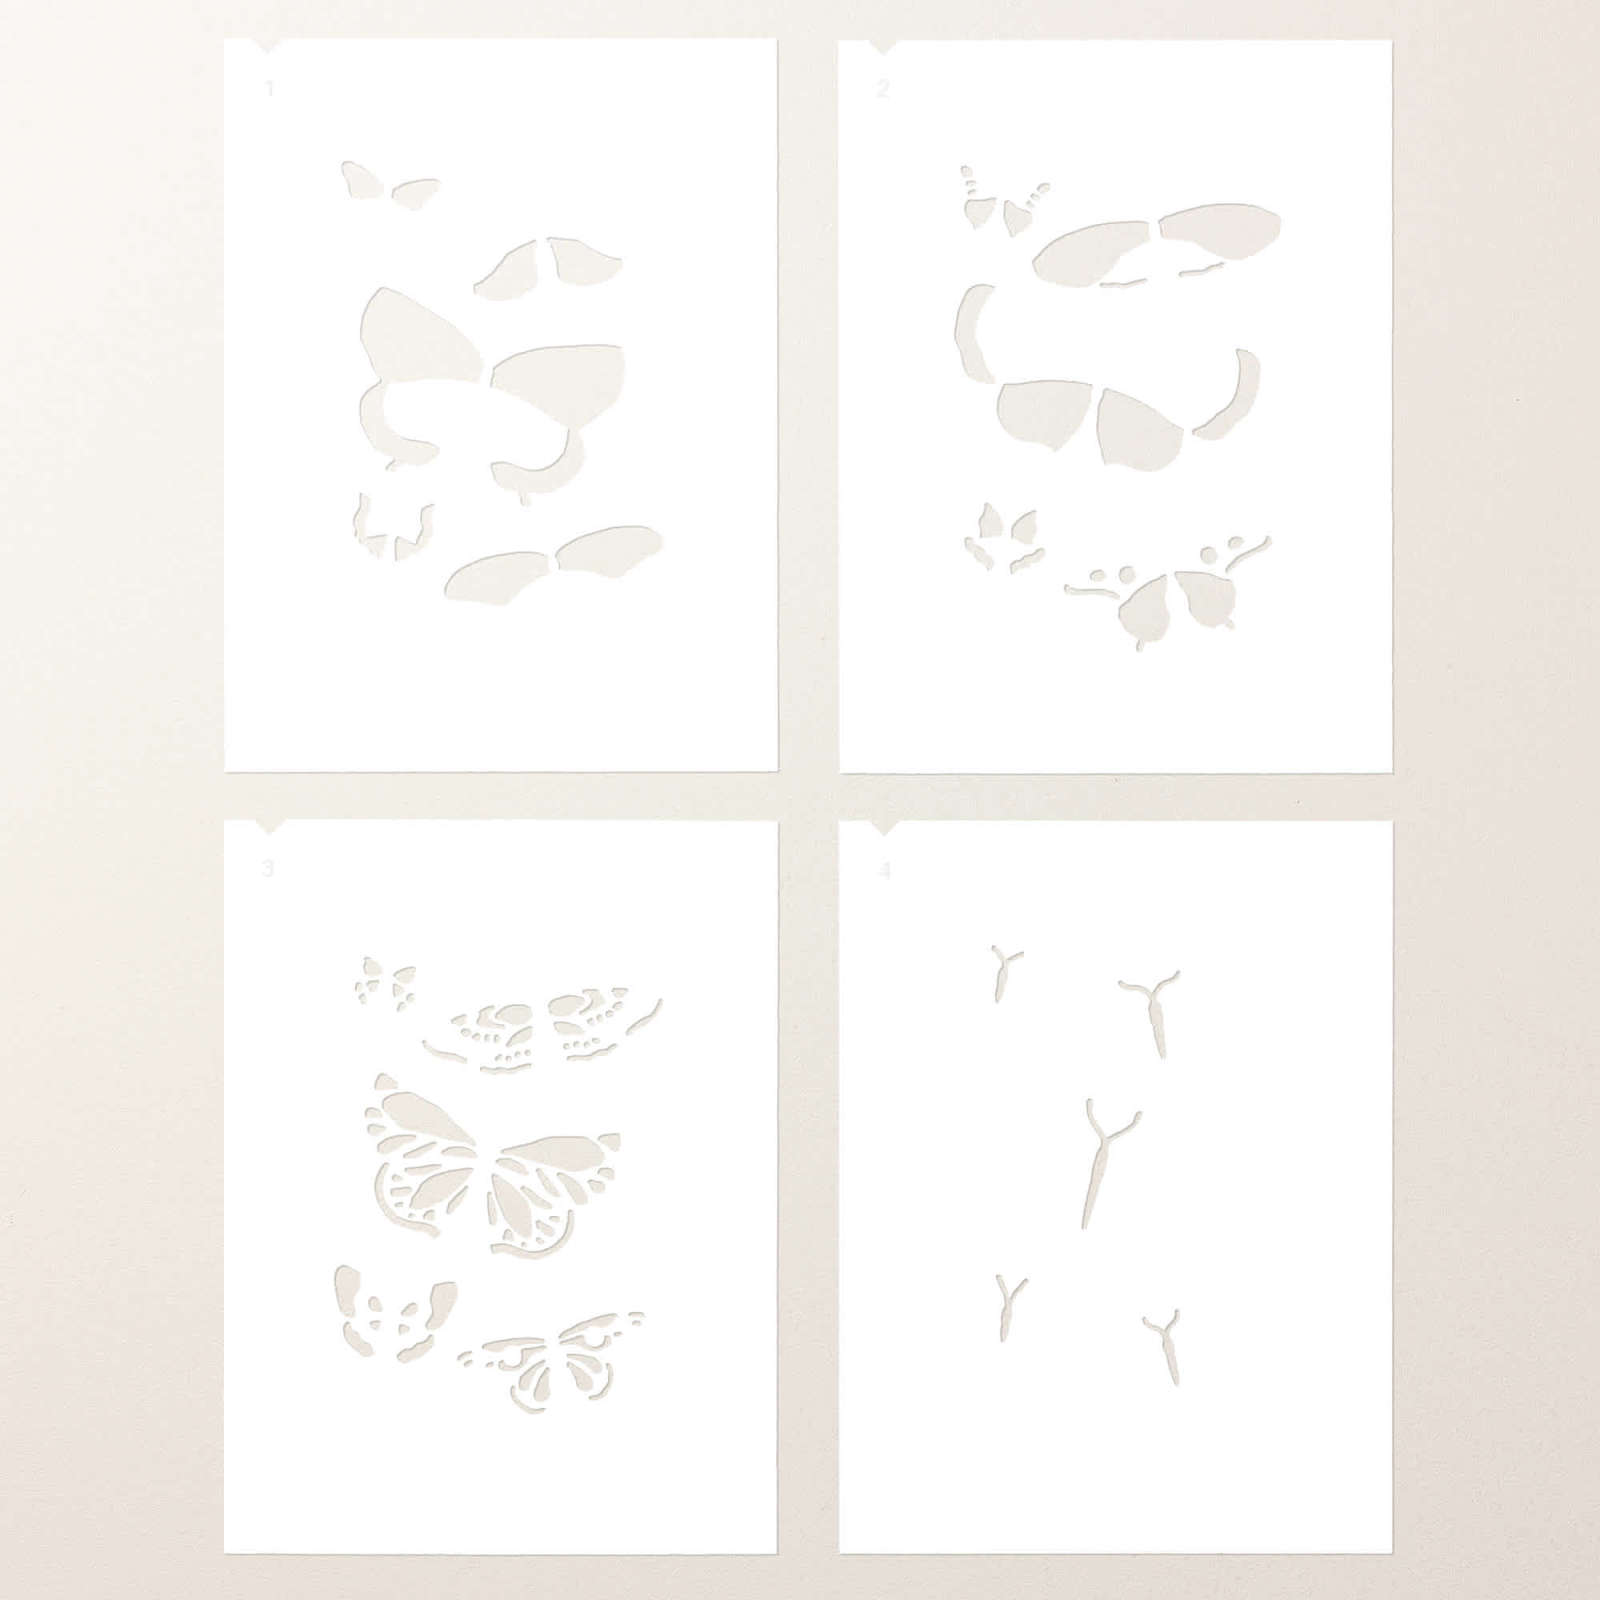
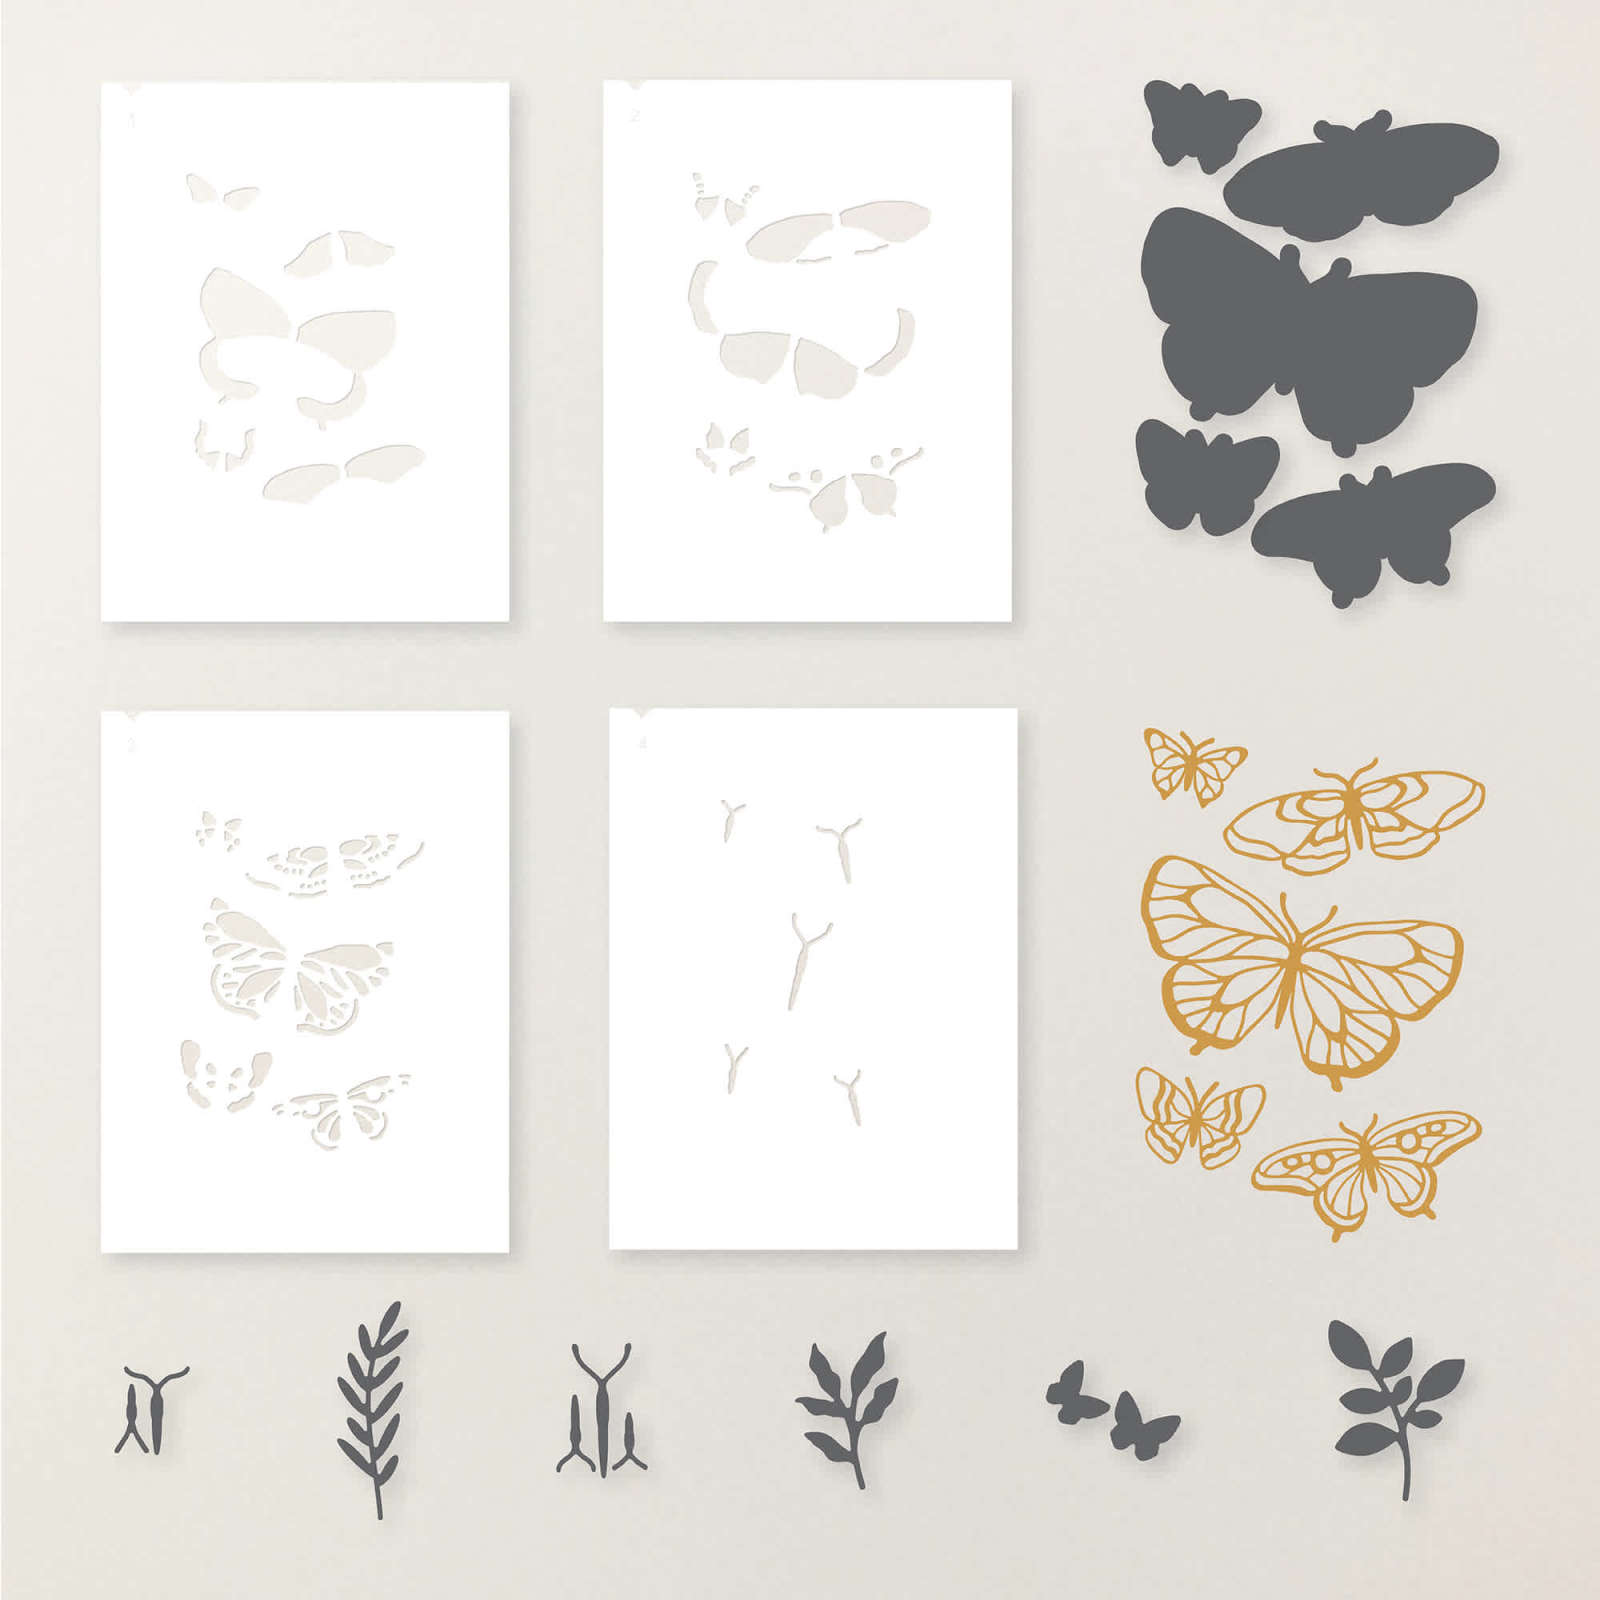
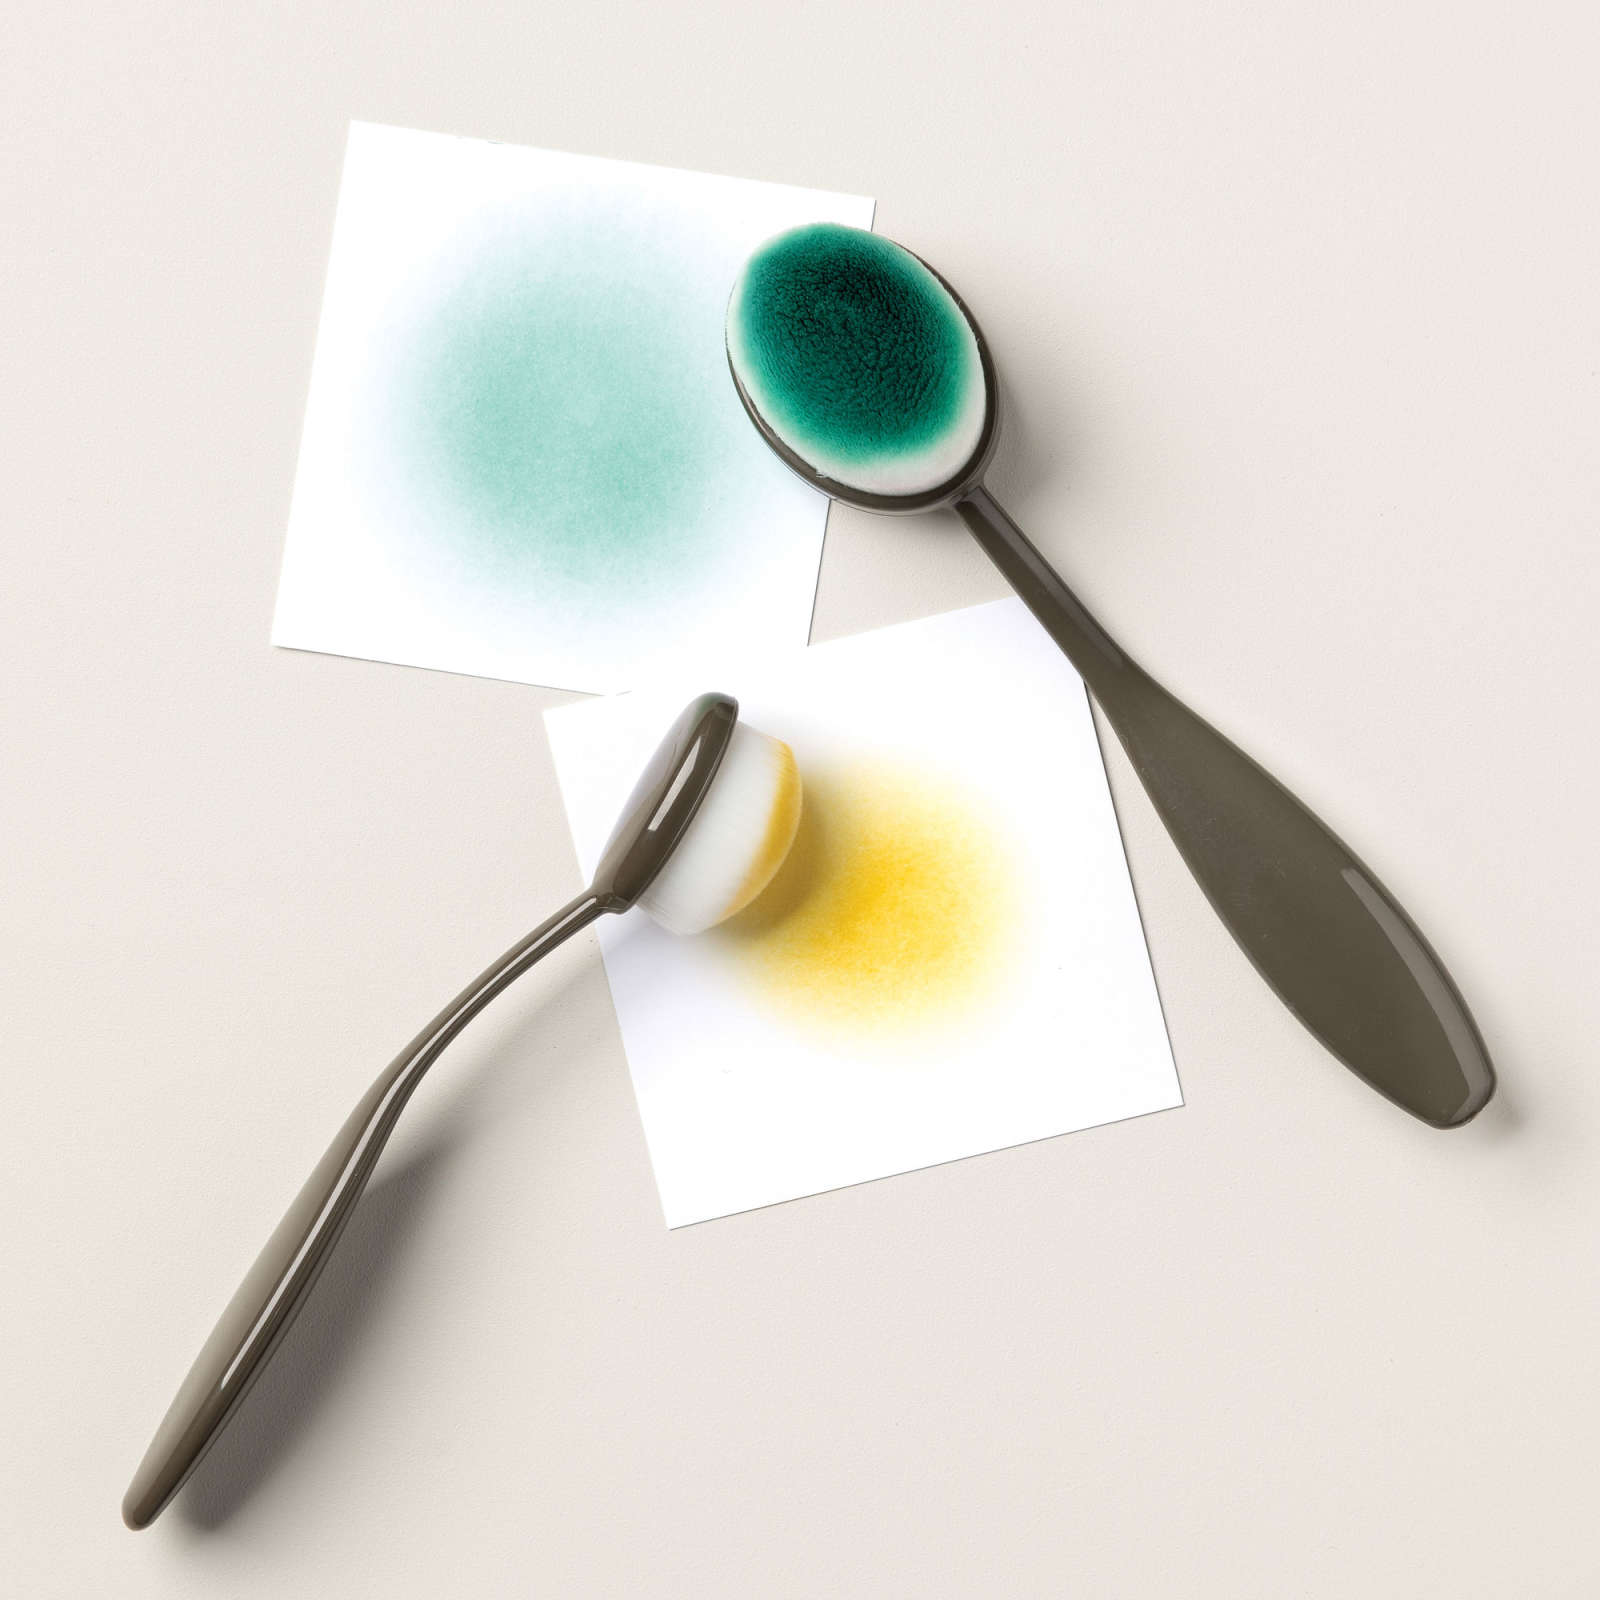
To create a different focal point I Hot Foiled the Butterfly Flight butterflies in silver on a window sheet then added Hydrangea Hue & Crisp Canteloupe with blending brushes using the Butterfly Flight decorative masks.
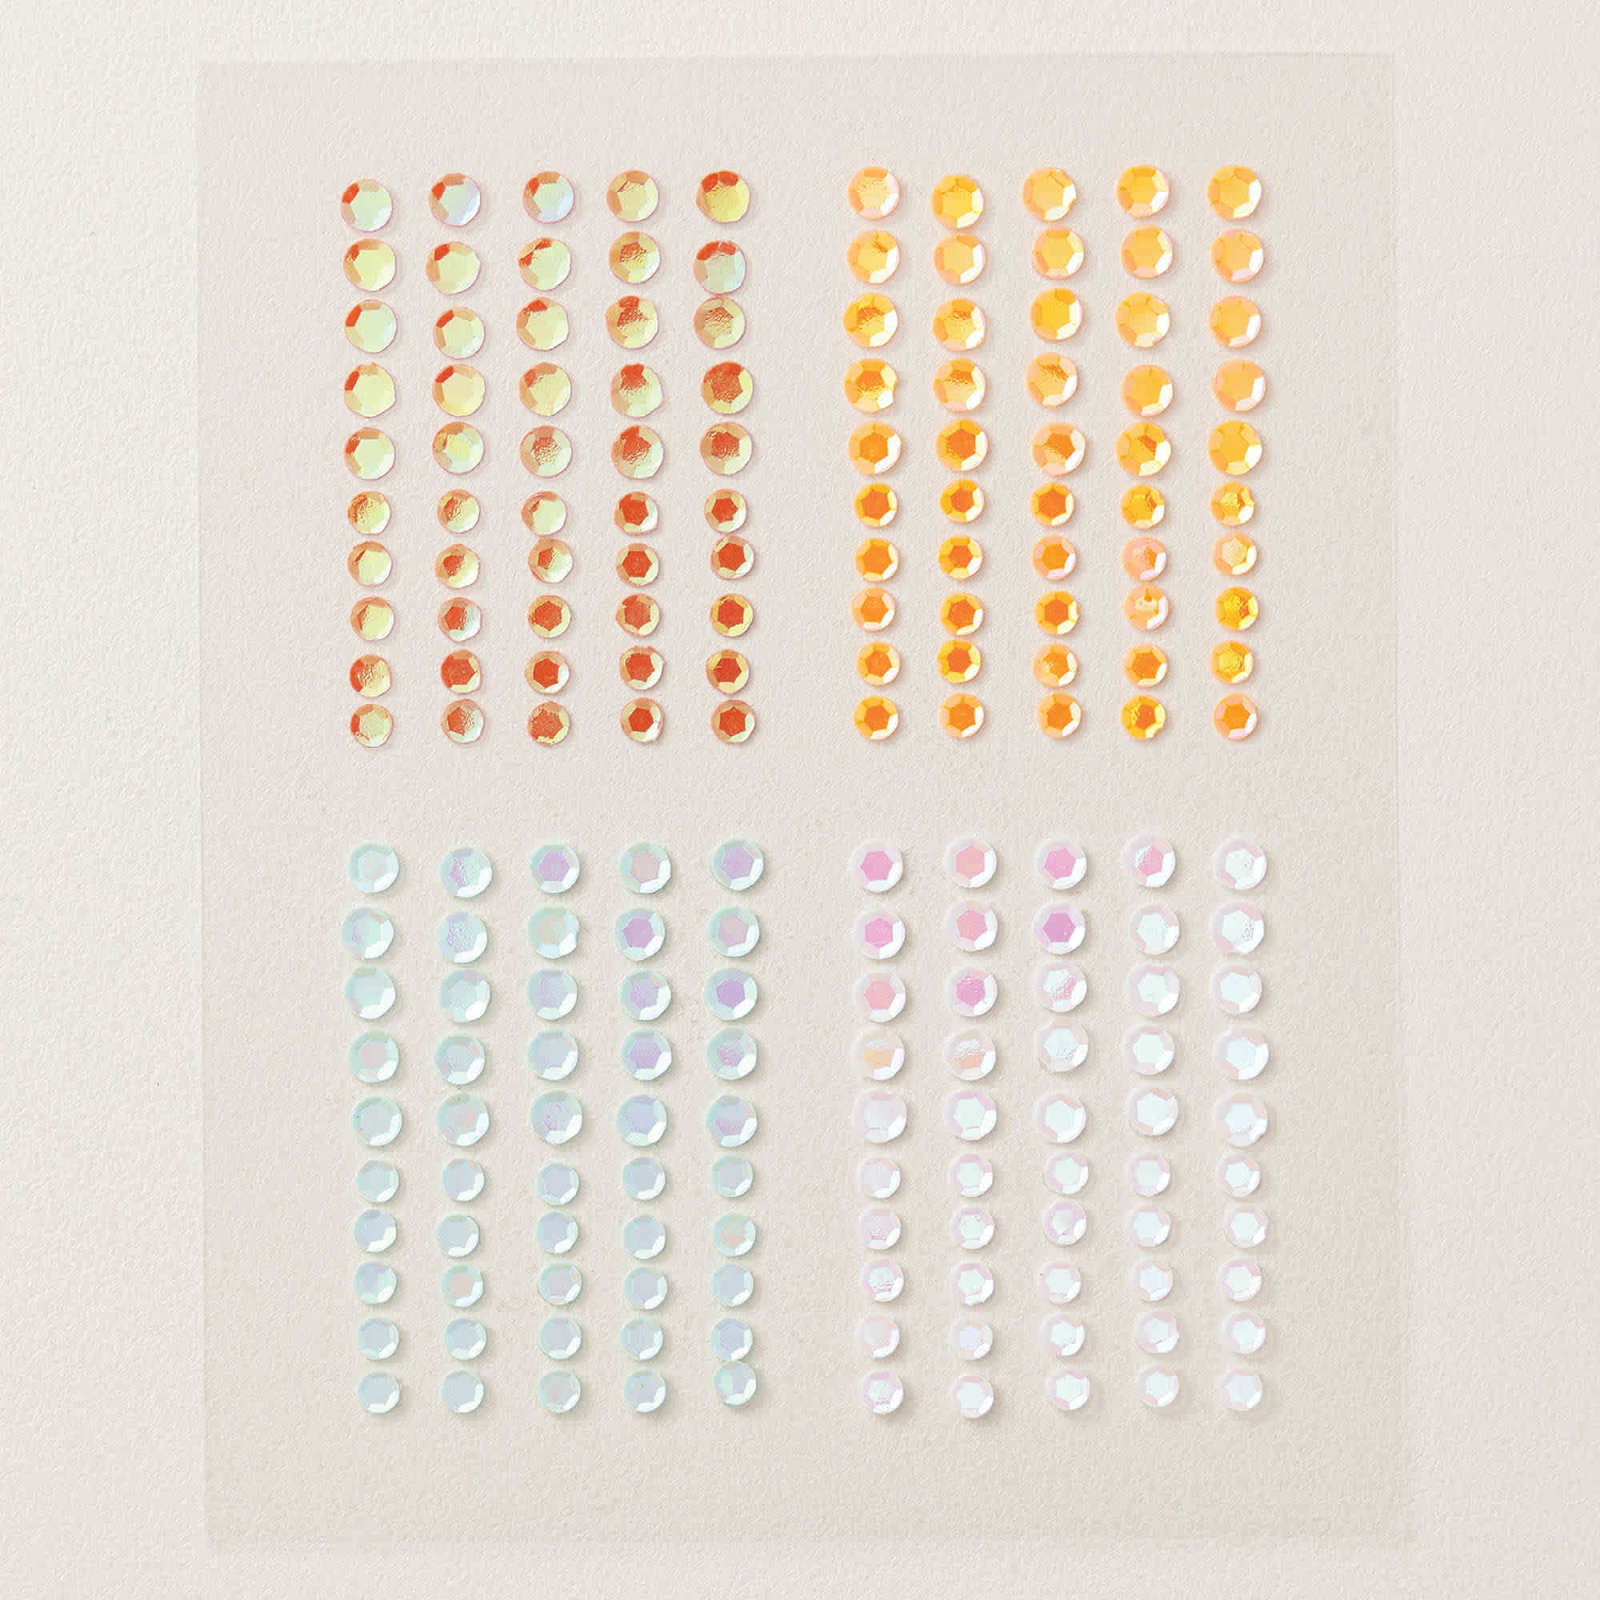
As it's difficult to adhere window sheet without the glue showing I added some liquid glue to the body parts on the reverse side and then added glue dots behind both the Sunset Sparkle Sequins and where I would be adding the sentiment. When adding liquid glue & window sheet you need to allow a little extra drying time.
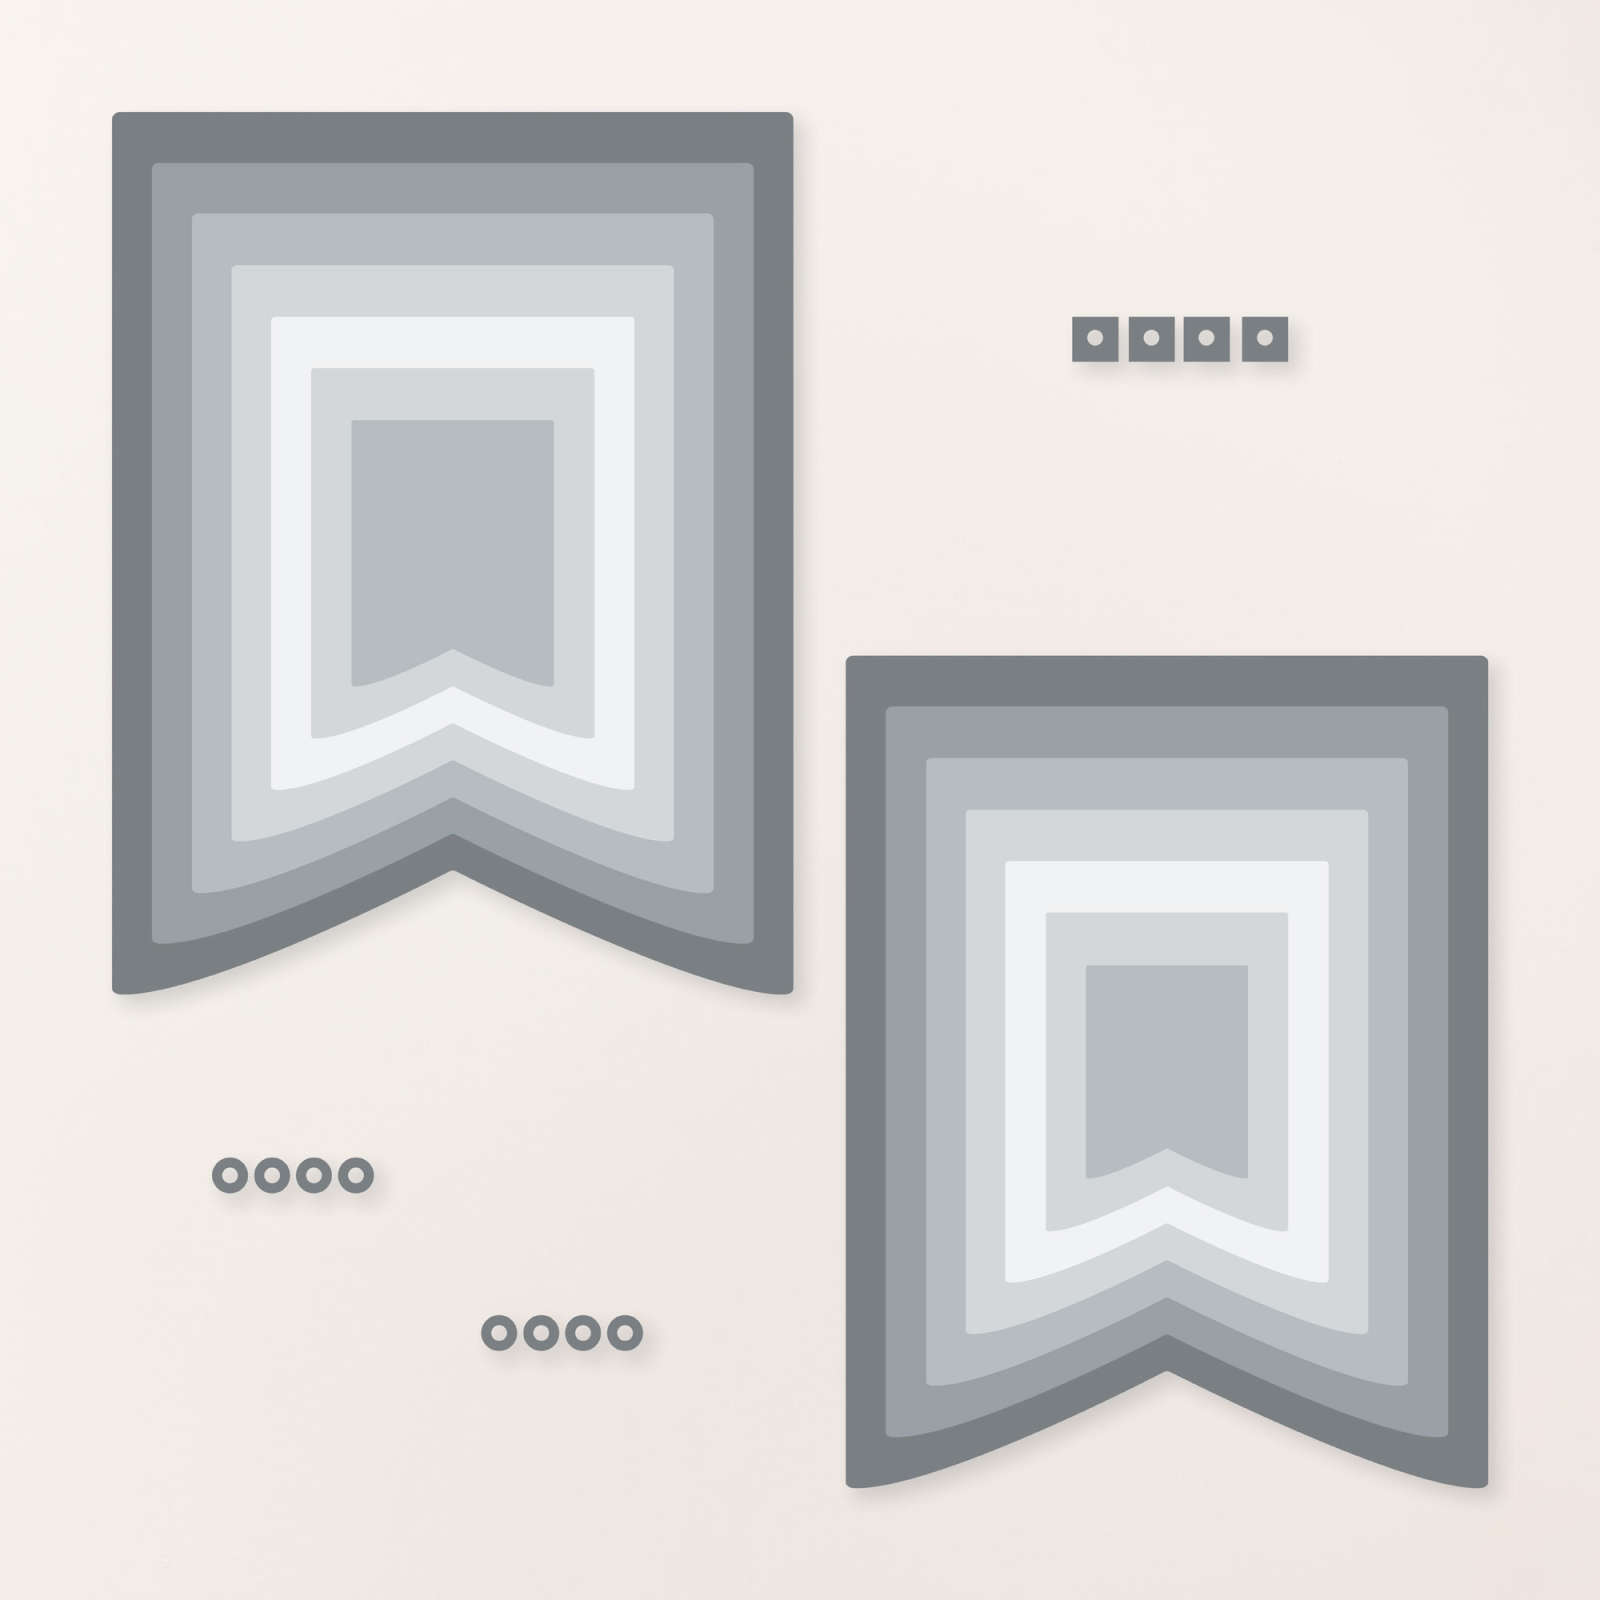
The sentiment is from the Elegantly Wrapped stamp set, a new one from the latest catalogue. It is stamped in Hydrangea Hue on Basic White & diecut with a banner die from Words of Beauty then backed with a Hydrangea Hue banner made with a larger die from the same set but cut down a little by moving the die along the length of the banner & re cutting it.
I added it to the front with dimensionals. Here is a closeup so you can see the pattern of the embossing as well as the colouring of the butterflies & of course the gorgeous sequins.

The project was finished by adding the leftover strip from the front to the envelope for a co-ordinated project.

A lovely quick way to create a card with a little bit of WOW. Now onto the next project, a gift tag holder/box.
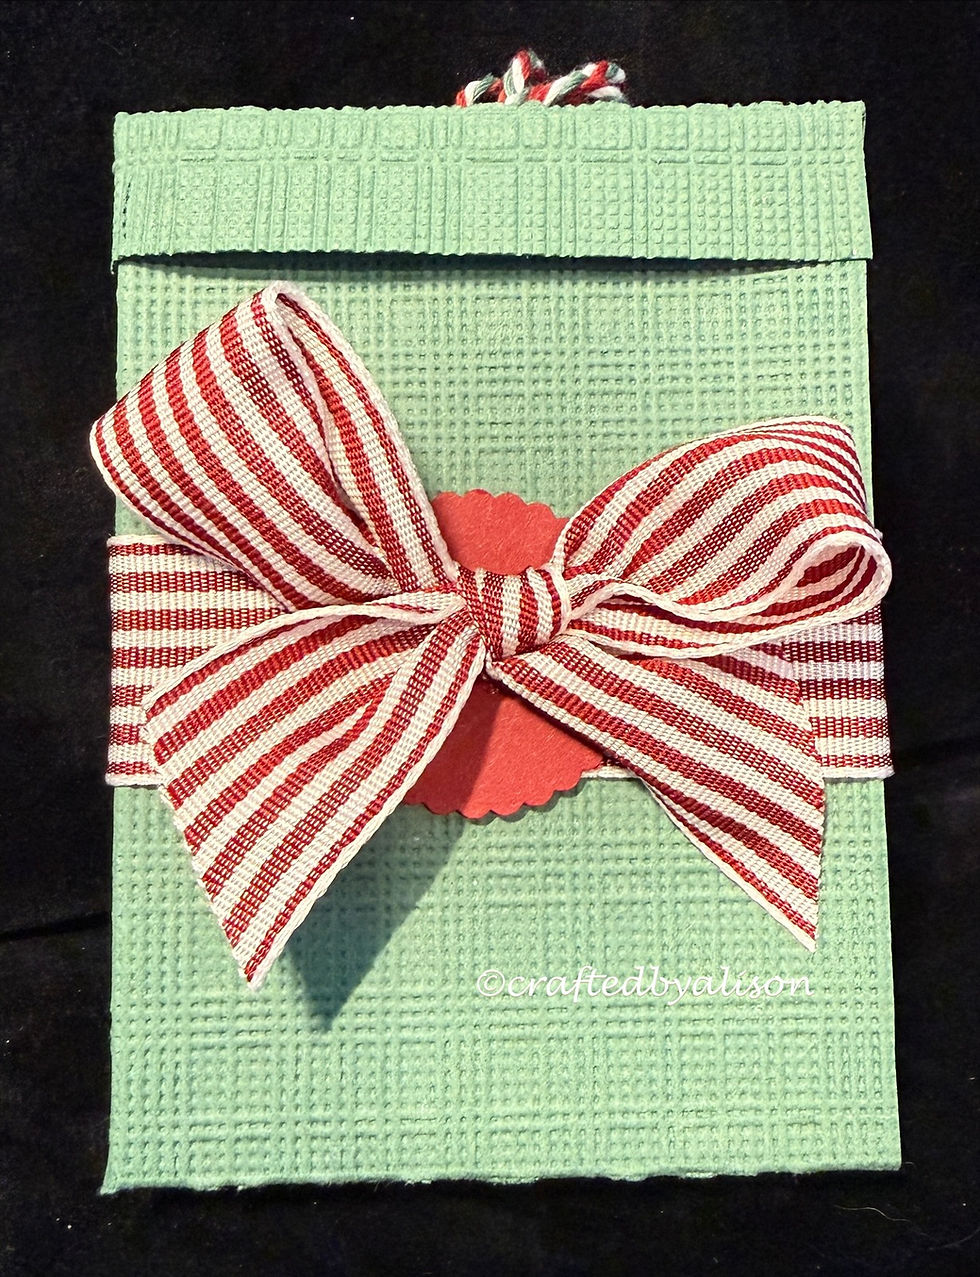
For the second project I embossed a 1/2 sheet of Peaceful Pine with the Softly Woven folder which is HUGE and can emboss a half sheet in one go. This time though I decided to use the embossed piece to create a mini box to hold gift tags. Well, most crafters are now thinking of ways to share getting organised for Christmas so it seemed like a great opportunity.
I scored the long side of the sheet at 1cm, 9cm, 11cm & 19cm then scored the short side at 1.5cm, turned it 180degrees & scored at 2cm.
On the 1cm score line I trimmed off the 1.5cm section at the top, angling a little to minimise the bulk & cut up along all of the score lines along the long side from the bottom up to the 2cm score line.
The score lines were all folded & burnished with the 1.5cm section folded back over to create a 'lapel' like in a gift bag.
Liquid glue was applied to the fold over section at various points to hold it in place & also along the length of the 1.5cm section, keeping it on the right as you're working.
With the glued section facing up, the bag/box is folded back over itself so that the left side is folded down onto the glued section. Hold this in place for a little longer than normal so that the glue will catch to all of the raised sections properly.
Once dry, tuck in the two small square sides, then one of the longer sections, apply glue to it then fold over the last section to create the bottome of the box.
For a neater finish, make sure that the join is facing the back of the project & the final glued section folds under towards it.
To decorate the box I added some strong Tear 'n' Tape around the centre of the box & adhered a piece of Cherry Cobbler & White 1" striped grosgrain ribbon, starting & ending at the front centre of the box & holding both ends in place with larger glue spots. This will be covered with a 1 3/8" Cherry Cobbler circle then a bow made with the same ribbon. The circle punch is now retired but was the best size for the bow.
For the gift tags I cut 6 strips of Basic White, measuring 7.8cm x 21cm, score them in half & folded them to create mini cards. Using one of the medium sized banner dies I kept the card folded but placed the top of the banner past the fold point so that when the die cut through the cardstock it kept the fold of the card.
This was repeated for all of the cards. I also scored across the top of each card, 1cm down & punched a hole in each with 1/8" punch from the Hole Punch Assortment set of punches. At this stage I also added a small amount of liquid glue along the scored section, inside the card, & closed it over. This means that I can thread twine through & still open the card up to write inside.
A DSP matte was next. I chose 3 designs from the stunning All Wrapped Up pack as it has beautiful silver foil accents & rich traditional Christmas colours. These were created using one die size smaller than the cards & adhered directly to the banner cards.
The sentiment is again from Elegantly Wrapped & is heat embossed in Gold, trimmed on one edge with a retired banner punch & added to the front with dimensionals.
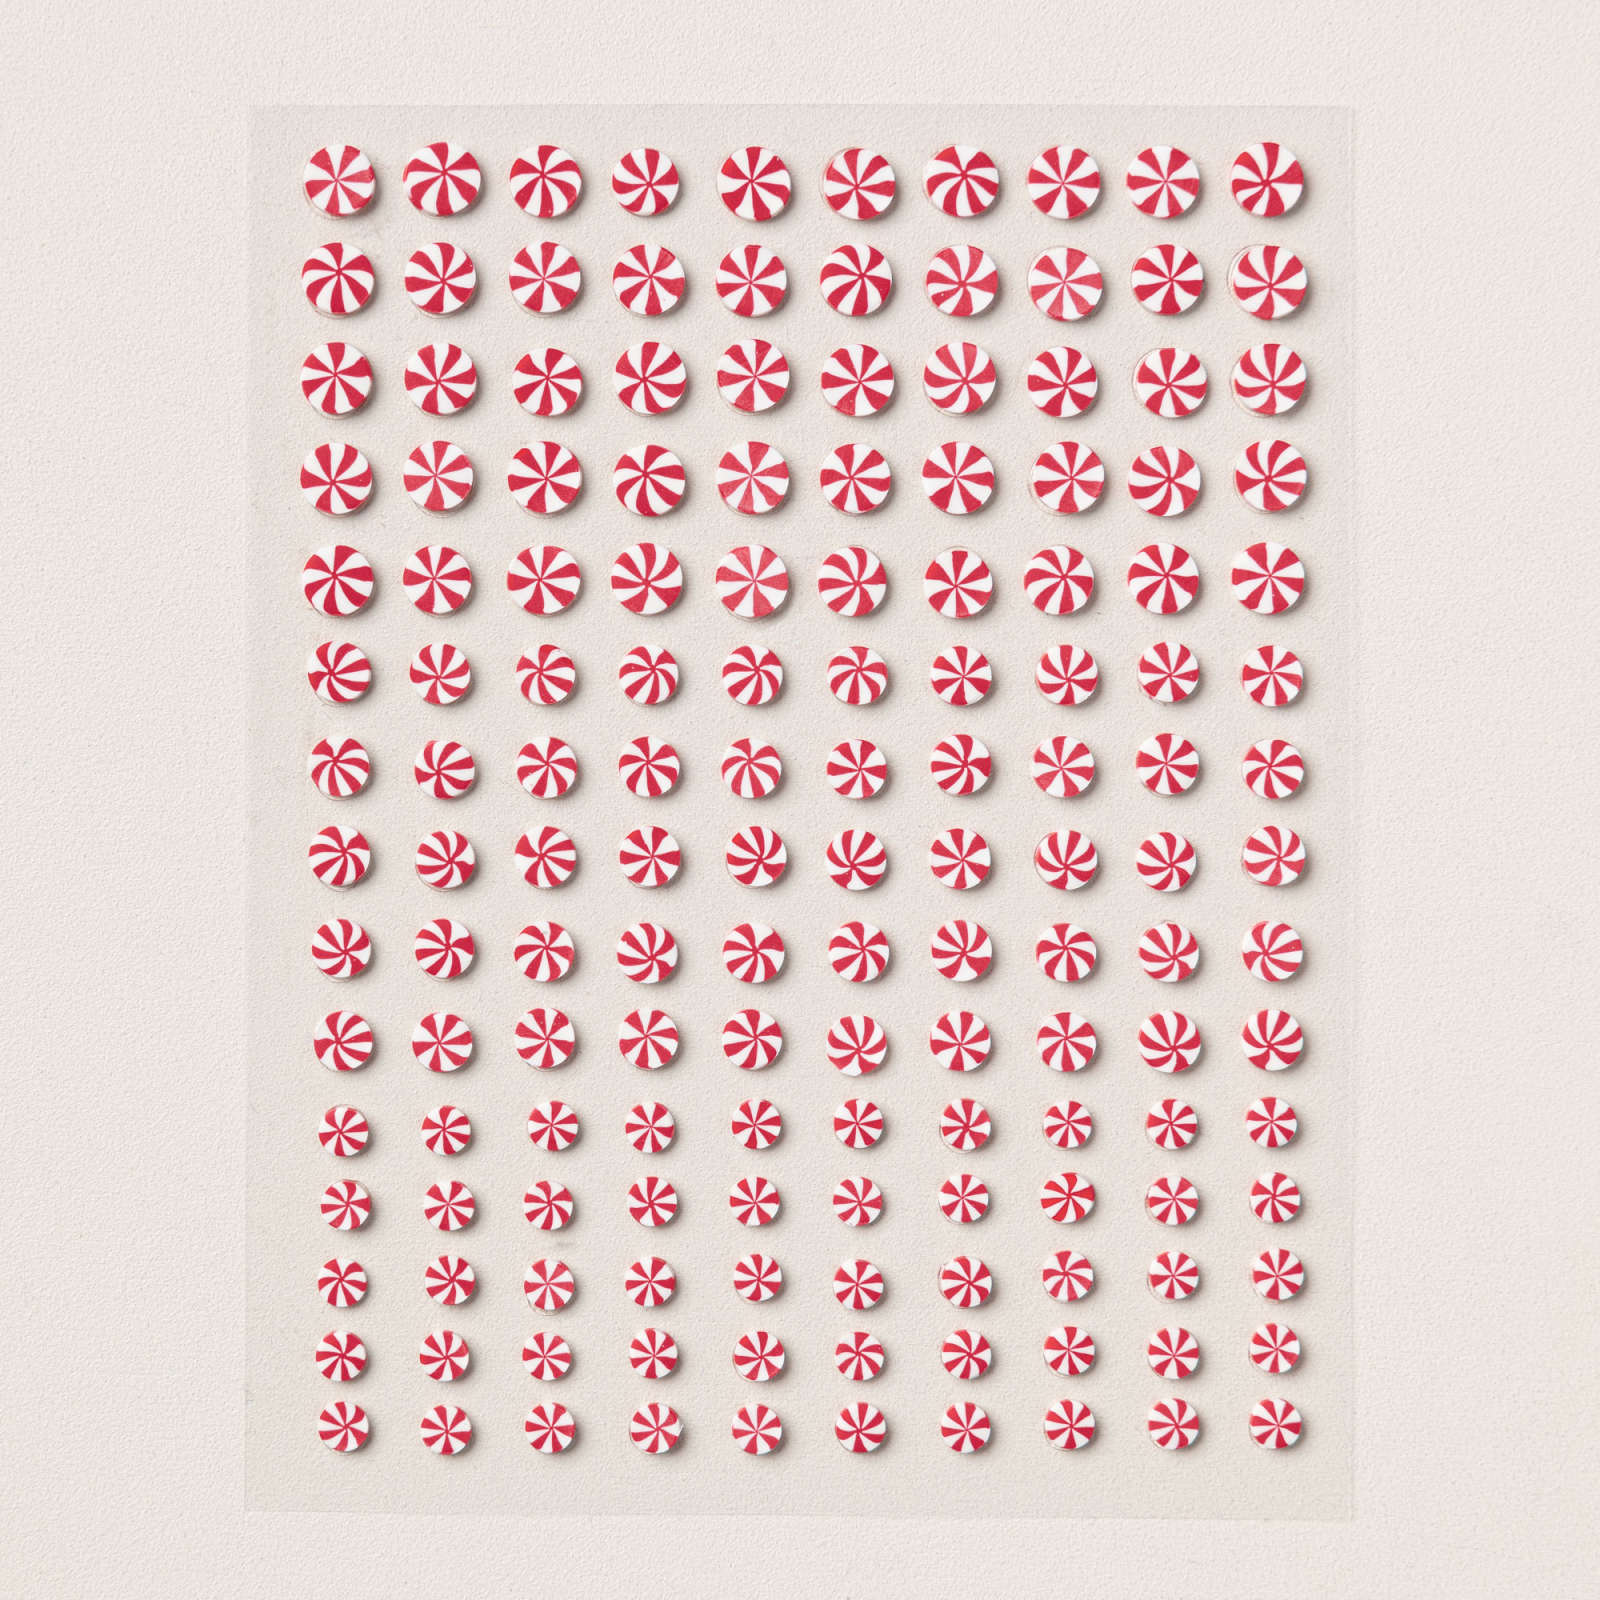
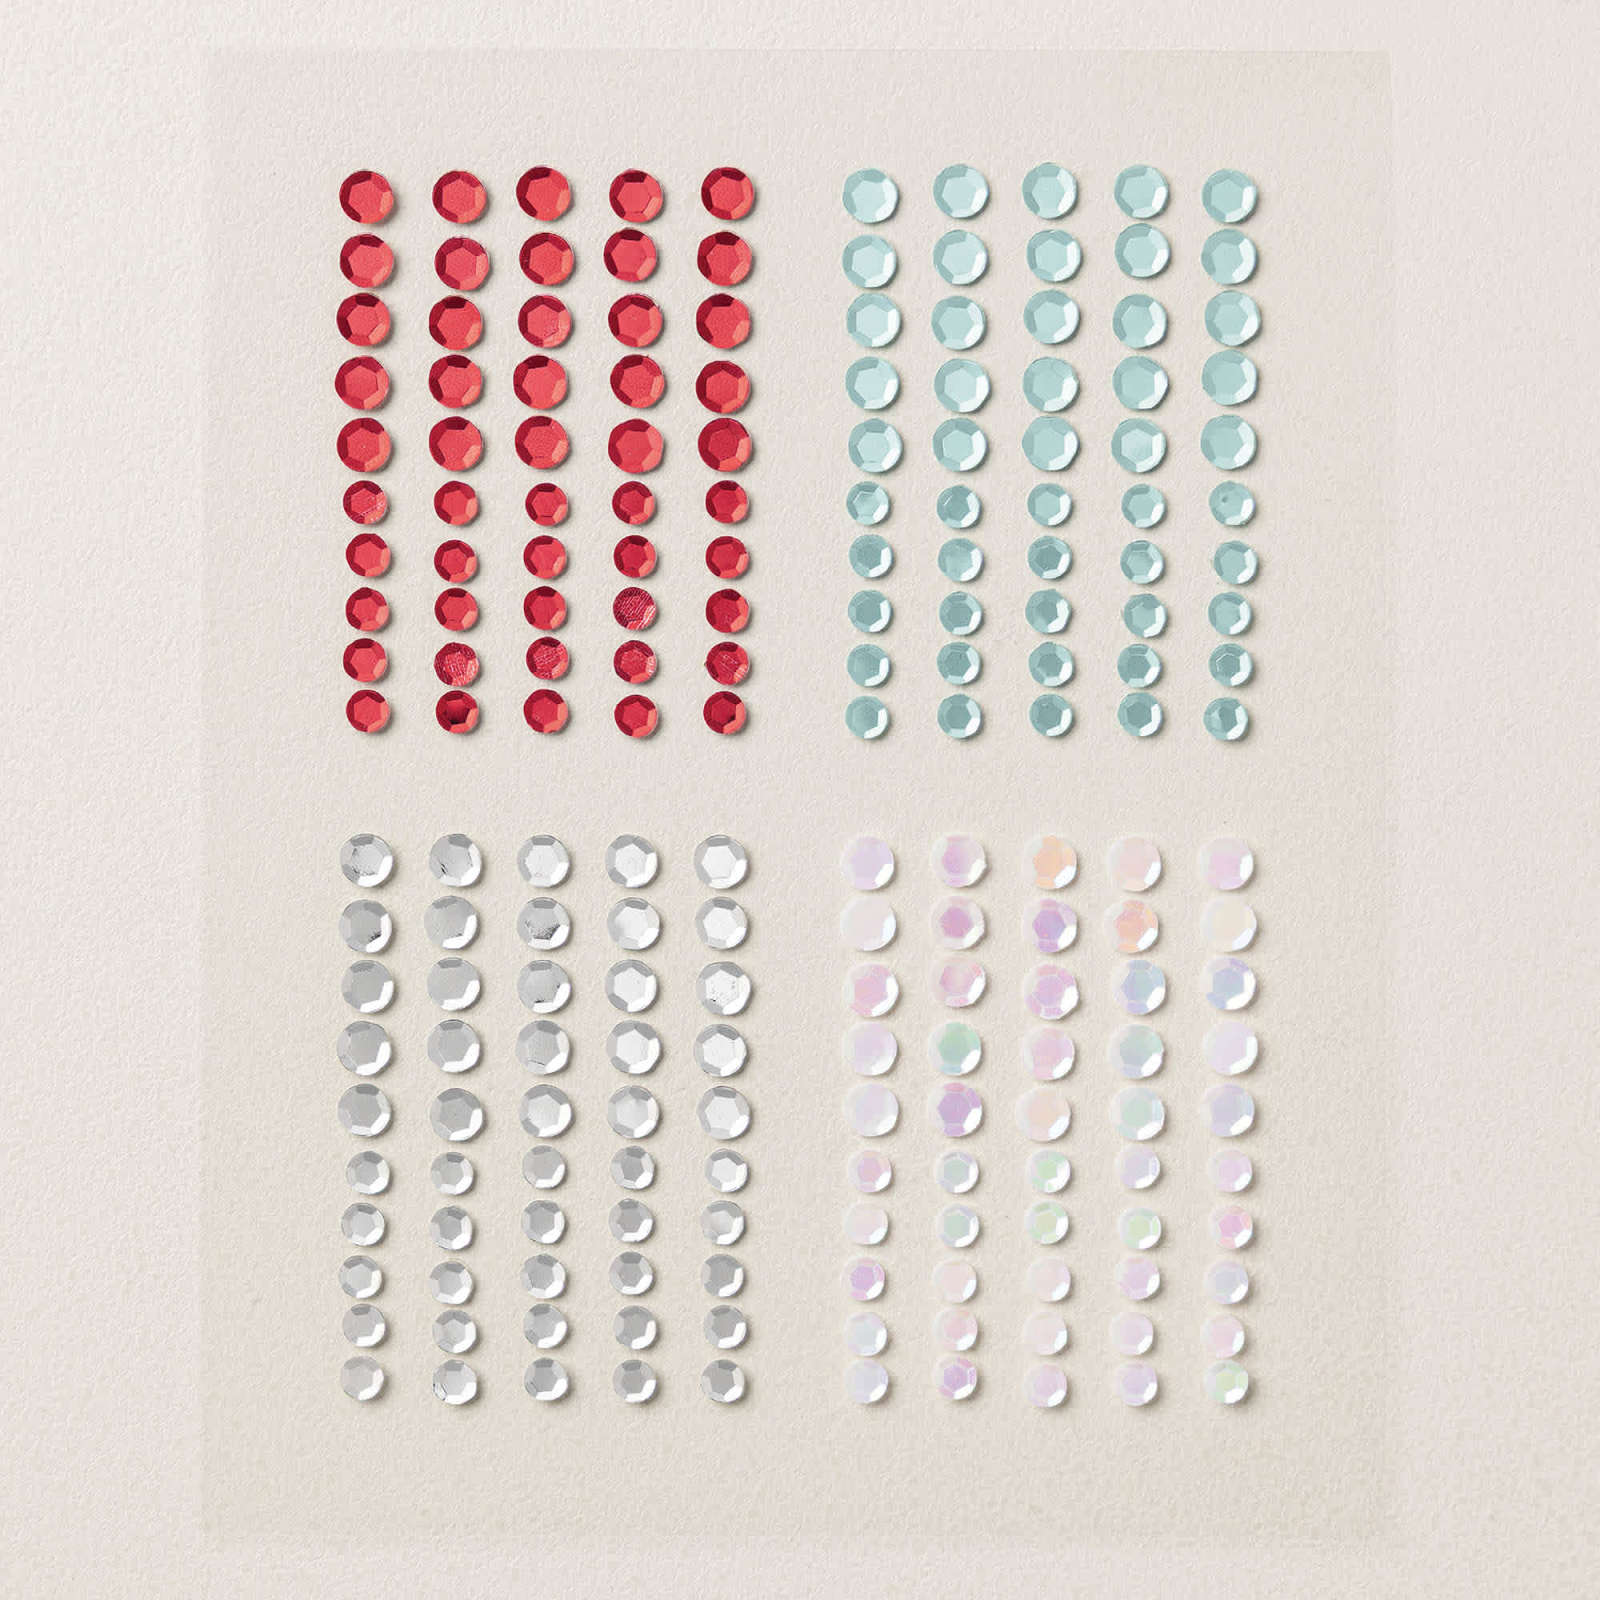
For a little bit of extra bling I added some Peppermint candies & Adhesive Backed Sparkle sequins. There wasn't much bling needed with the richness of the DSP.
The finishing touch was to tie some Cherry Cobbler, Peaceful Pine & White Baker's Twine at the top.
All of the 6 gift tags fit perfectly into the box.

That's it for this post. I loved experimenting with the embossing folders to create something new & unique.
I hope you enjoyed seeing possibilities for embossing folders beyond mattes or backgrounds.
Now, let's check in with what else is happening in the Stampin' Up® crafting world.
Stampin' Up® have many ways of shopping with a physical catalogue, online shopping & in person events. When items are about to be retired or are running low they are put on the 'Last Chance' list which means that there is limited stock & when it runs out, it's gone.
Stampin' Up® 's Catalogues have a 3 step format - sectioned to have Beginners, which is a step by step collection of materials in kits, then there is Quick & Easy where you select base materials & packs of pre-printed or diecut materials plus some stamp sets then there is Create your way where you choose all the materials, stamps etc yourself & Create Your Way! In the Quick & Easy section Stampin' Up® have also provided some inspiration with information on various ways to use colour combinations plus free card sketch & scrapbook layout ideas for you. This is great for any times that you need a little inspiration.
If you'd like to browse the catalogue online then click here. If you'd like a copy to hold in your hands, leaf through & put little notes all over it of what's on your wish list then shoot me an email at craftedbyalison@gmail.com or message me on my facebook page at craftedbyalison.
Remember, the current catalogue is only live until Tuesday when the new catalogue is launched. Some products will continue on but there will be loads of new goodies to browse through & lots of Christmas things to get excited about.
Stampin' Up® have a great range of Kits including crafting, card making & gift giving. There are brand new kits added to the collection every month. Click here to check them all out in my online shop. As Stampin' Up® have so many beautiful kits available I feature a different kit in each Sunday blog so that you can see the range.
This week the feature kit is called Memorable Garden & is a scrapbooking workshop kit. It has supplies to help you create 3 double page layouts for your memories including cardstock, printed stickers & printed images.

Here's how Stampin' Up® describe it...
Tell your story in beautiful scrapbook layouts using the Memorable Garden Scrapbooking Workshop Kit. This collection of watercolour imagery, tiled patterns, and versatile layout titles adds coordinated colour and detail to your scrapbooking and paper crafting projects while helping your photos and stories stand out. Use the included designs to highlight birthdays, anniversaries, and everyday moments you want to remember.
If you feel that you need to add this to your list then click here to purchase one from my online store.
There are some great ways to craft on offer at the moment which I will go through one at a time.
Ready for the latest news?
1.Stampin' Up® has a range of Online Craft Classes that allow you to craft along with some of the staff from the head office in Utah, or create at your own pace by watching the recorded videos from classes that have already been held.
The current classes that are available are Lovely Blossoms, Paper Mixer, Scenic Coast & Pretty Poinsettia with a new Christmas class released on September 1st with the release of the new catalogue. It's called Advent-ures in Christmas & creates a cute Advent Calendar (of boxes).
The other exciting new craft class, Metallic Magic, is designed to use with their brand new Hot Foil system. More info on that further on in this section.
All of the classes are available in my shop by clicking here or on the links above. They are a great way for you to learn from the professionals & a load of fun.
Once you purchase any of the Craft Classes you will receive an email with a link to an exclusive Facebook group when the event is hosted.
2. Stampin' Up® held their first ever Virtual Card Making Retreat over two days earlier this year. It was designed for experienced or advanced crafters in mind but also had a heap of tips & ideas for those wanting to explore more detailed card designing. You can still be a part of this event! But be quick as it is on the 'Last Chance' list. To participate you just need to purchase the Retreat kit ($288AU) & this provides you with all of the materials you need & access to an exclusive FaceBook group where the videos from the event are stored. It sounds like a bit of expense but from past experience, what you take away from these type of events is well worth it. You can also download & print the pre event cutting instructions as well as having a cutting video & recordings of all of the cards that were made.
Here's some more info on how to join this retreat.
To craft along with the Stampin' Up® presenters and make 15 beautiful, all-occasion cards, you’ll want to purchase the 2026 Virtual Card Making Retreat kit. Everyone who purchases a kit will receive a link to the exclusive Facebook group where the live event will stream. We only have a limited number of kits, so make sure to order yours ASAP!
3. Starting last December, Stampin' Up® introduced a special 'Product of the Month' item that is only available with eligible purchases. There is a new item every month with details released before the new item will be released so you can plan your shopping. Each month it's a surprise what it could be - stamps, dies, papers - a complete surprise every month. You will be able to receive each month's product for just $9 when you spend $125 in one order. I have been able to order all of the products so far which have DSPs, stamp sets, a gorgeous background die with a pretty eyelet pattern, stunning printed Vellum DSP, a whimsical animal themed stamp set, a floral stamp set & the August product is some more lovely DSP, this time with a Autumnal or harvest theme. This month's product is also DSP - stunning foiled design in bold colours & is now available with an eligible order.
If you would like to add any of these products (that are still available) to your collection, get your shopping list out & place a qualifying order & you will be prompted before checkout to add it to your shopping trolley. Each product requires a minimum spend to be able to purchase them & it is only while there is stock available.
The Sept - Dec '26 catalogue is full of lots of gorgeous new product along with some carry over items. One of the major changes that will be rolled in is that the stamp pads are being changed from fabric pads with a fold out opening to a felt pad & magnetic case. The new pads have been introduced in the new In Colours & more colours will be changed over gradually.
Paper Pumpkin is now available to order in the South Pacific after only be available in the North American market. Paper Pumpkin kits are similar to the crafting kits available in the shop but are a surprise each month & come with everything you need to complete the kit. There are also add ons that can be used to stretch the supplies in the kit. Many people also make the suggested projects with half of the supplies then use the remaining products with some extra supplies to create alternative projects.
You can purchase the kits as an individual order or subscribe for 3, 6 or 12 months. Subscriptions are dispatched from the 11th day of each month & you can change or cancel your subscription at any time as long as it is done before the cut off date - the 10th of the month.

The latest Scrapbook Virtual Retreat has wrapped up. It is called Happiness is Here & has supplies to create 10 double page spreads (20 pages in total) including inks, stamps, papers, gel & shimmer pens, embellishments, flip flaps & page protectors. There are also detailed instructions & recorded videos that you can access for at least a year. To access the videos there is a private FaceBook group that you can access via a QR code when your kit arrives.
If you are interested you can purchase your own kit by clicking on this link.
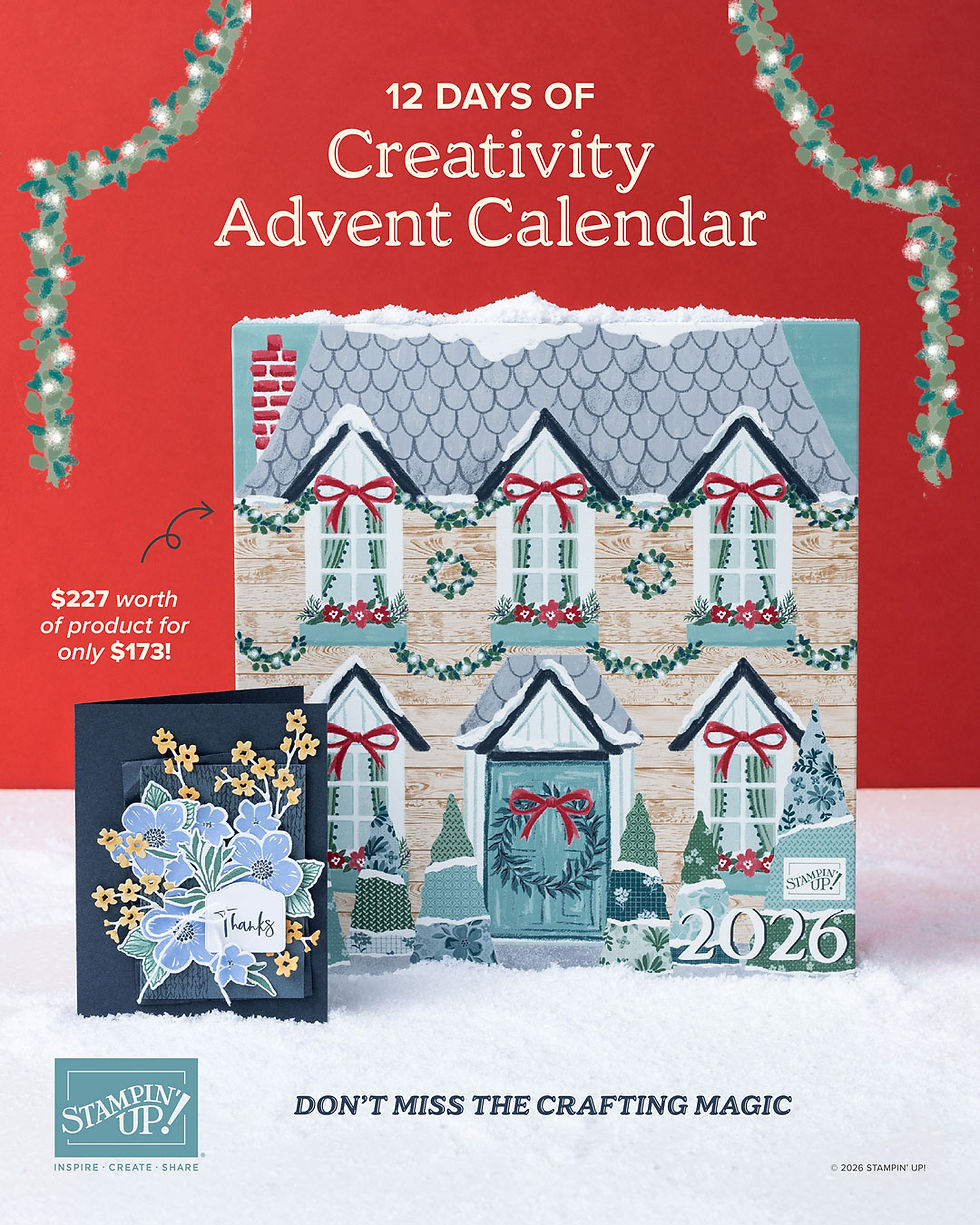
As last years was so successful, Stampin' Up!® are having a second Advent Calendar this year. It is like your regular advent calendar with windows you open to see what surprises & treats are inside, but this one is exclusively for crafters. Last year it sold out in record time so you'll need to be quick to purchase one. Once they're sold out that's it. No second batch. The calendars will be available from 1st September also. Hopefully there will be more calendars available this year as I missed out last year!
Metallic Magic Hot Foil system!! Stampin' Up!® have now released their brand new Hot Foil system that is used in conjunction with the Stampin' Cut & Emboss machine. There are specific dies to use with the system as well as 3 foil rolls - Gold, Silver & Hot Pink & new ones set for release in the Sept - Dec catalogue. If you purchase the system you will also receive the Metallic Magic craft class for FREE! To find out more, head over to my store to check it all out. I have the system and now the foils & have had a little play but intend to experiement with more of the dies & colours & will share what I make in upcoming posts.

Stampin' Up!® has a 'Rewards' program that gives all customers who place an order with a qualifying amount a credit of 10% of their order to use on future orders. This will be displayed during the checkout process or your order.
October 3rd is World Card Making day & to celebrate, Stampin' Up!® are dedicating 2 days of card making with a Virtual Card Retreat. Over the 2 days you will be able to make 15 cards with supplies from the Retreat Kit with stamp sets, dies, cardstock, precut images, embellishments & cutting instructions. A similar retreat was held in April which I attended & it was a great opportunity to learn from experienced crafters & learn new techniques & lots of tips.
Lastly, there have been lots of great items added to the clearance rack which is now called Last Chance items so make sure you check them out using this link to my online store as there are some great discounts.
If you would like to purchase any of my creations that I feature in my blogs they can be found in my shop along with lots of different designs including feminine, masculine, special occasions, everyday events, something for the juniors or you can order something unique.
My next post will be on Wednesday with look at more ways to use hot foil on your cards.
Next Sunday's post will be embossing folders part 2 - more ways to use them.
I hope you can join me for both of them & come back for more.
Til next time, take care & keep creating.
XX Alison
Here are some links to the products that I used today & some craft room essentials.
Stamps, Dies, Embossing folders & punches





Cardstock, DSP & paper goods


Inks & Markers


Embellishments

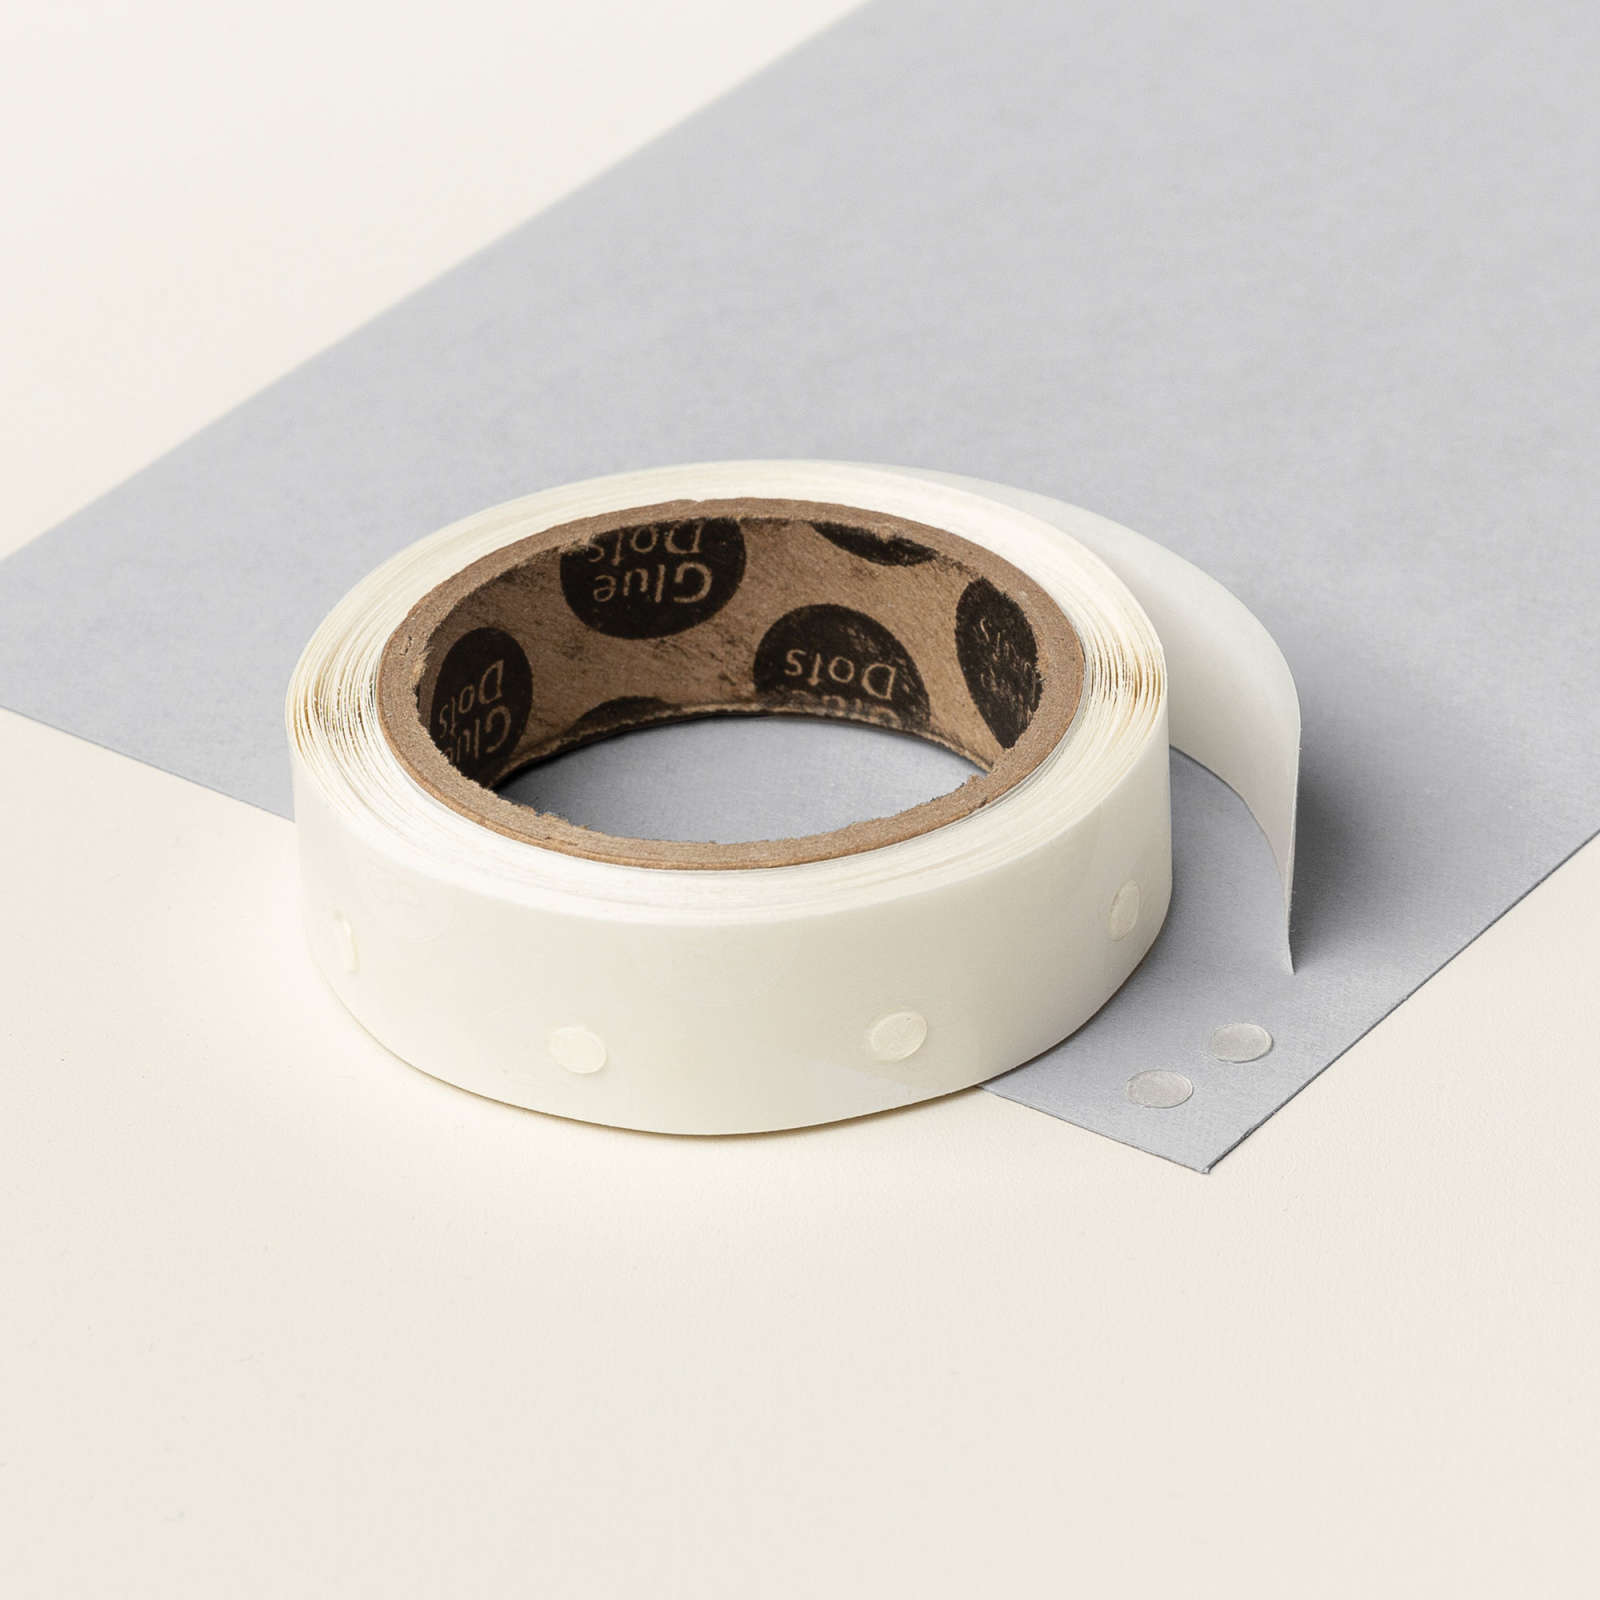
Adhesives


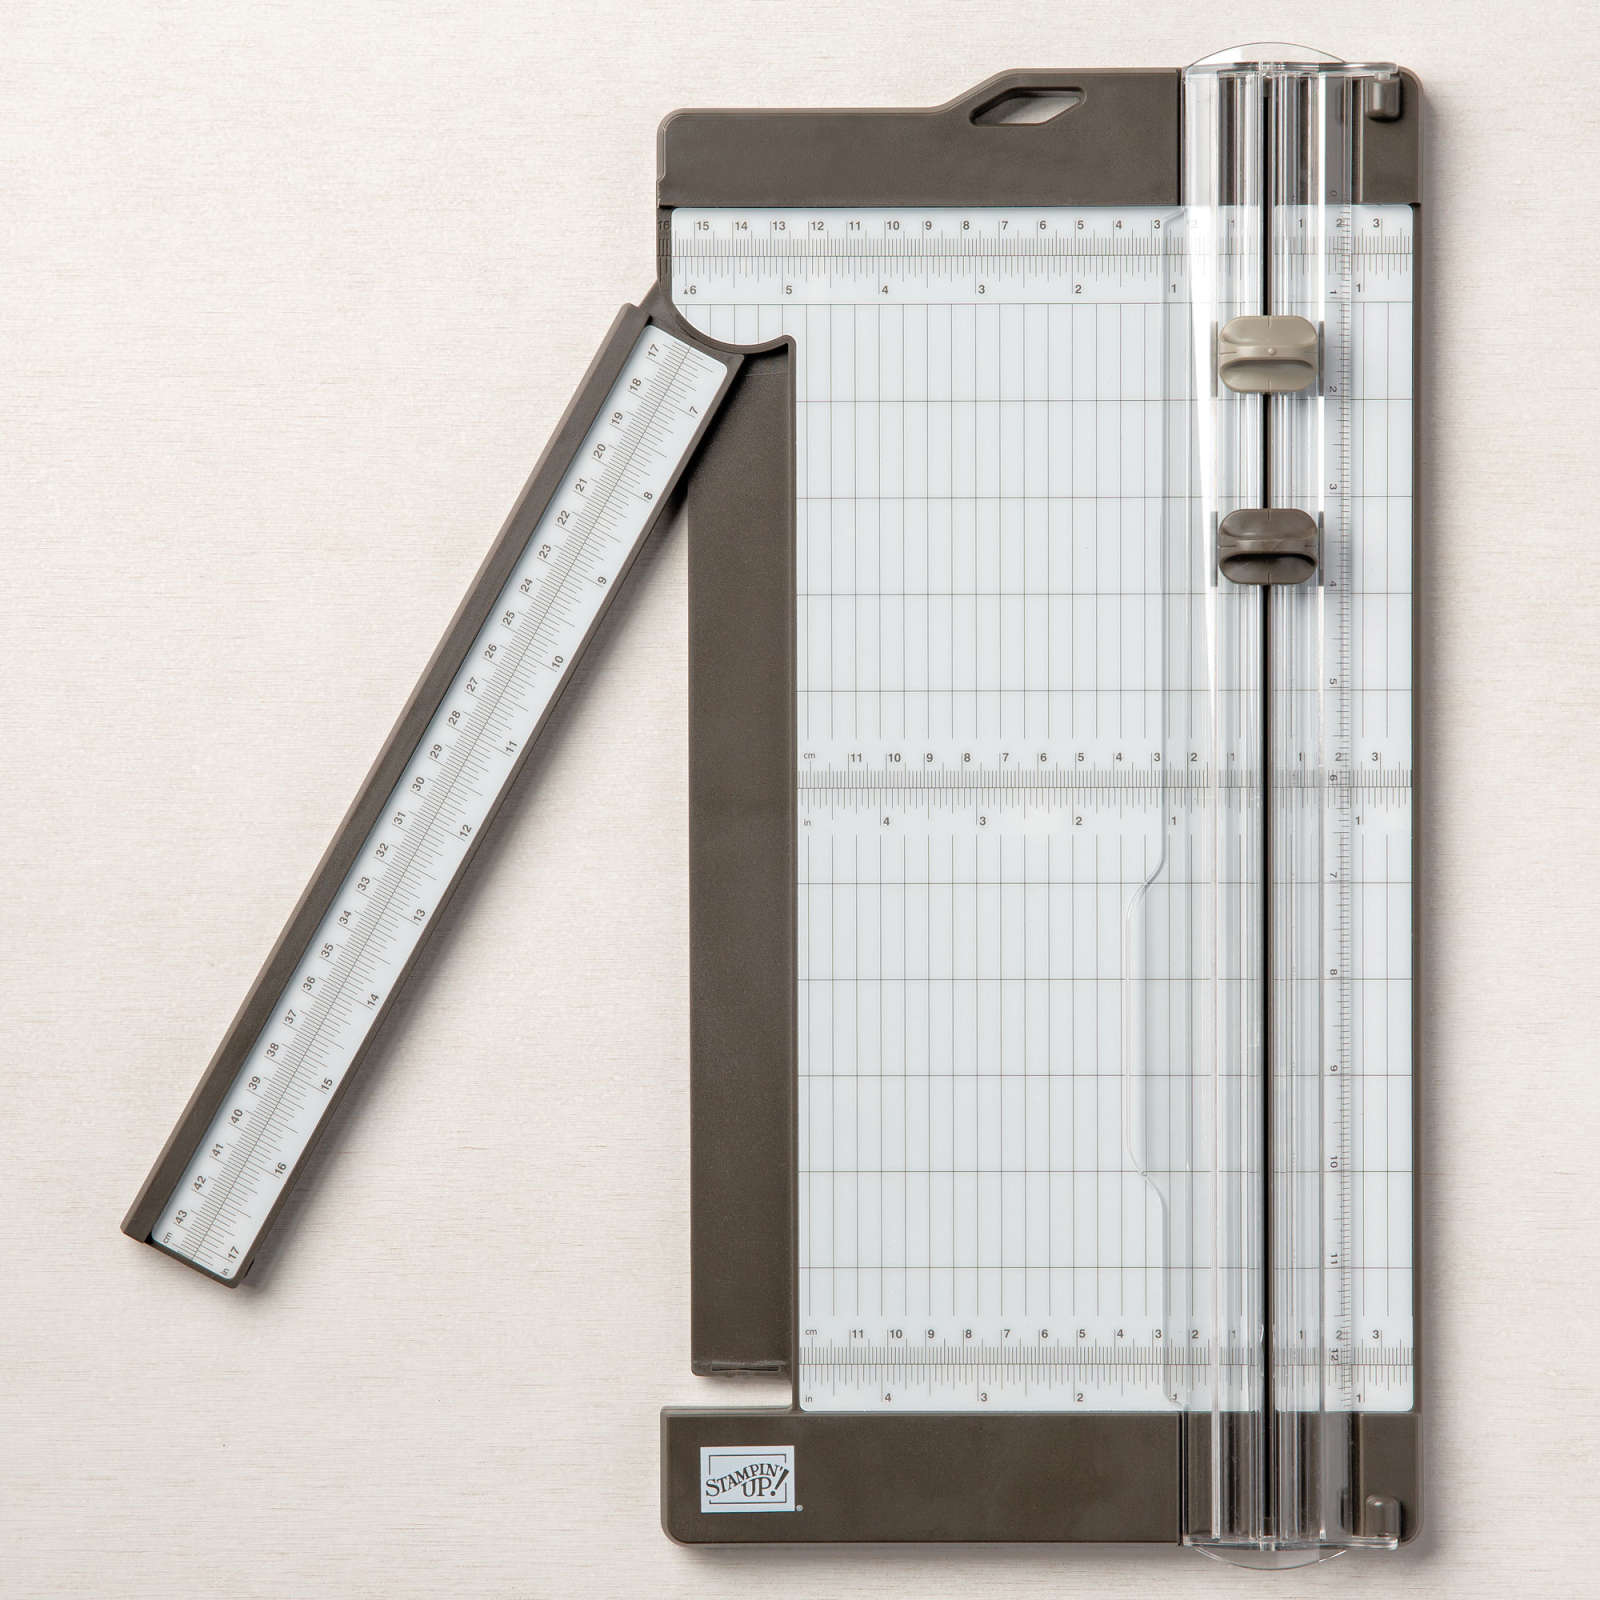
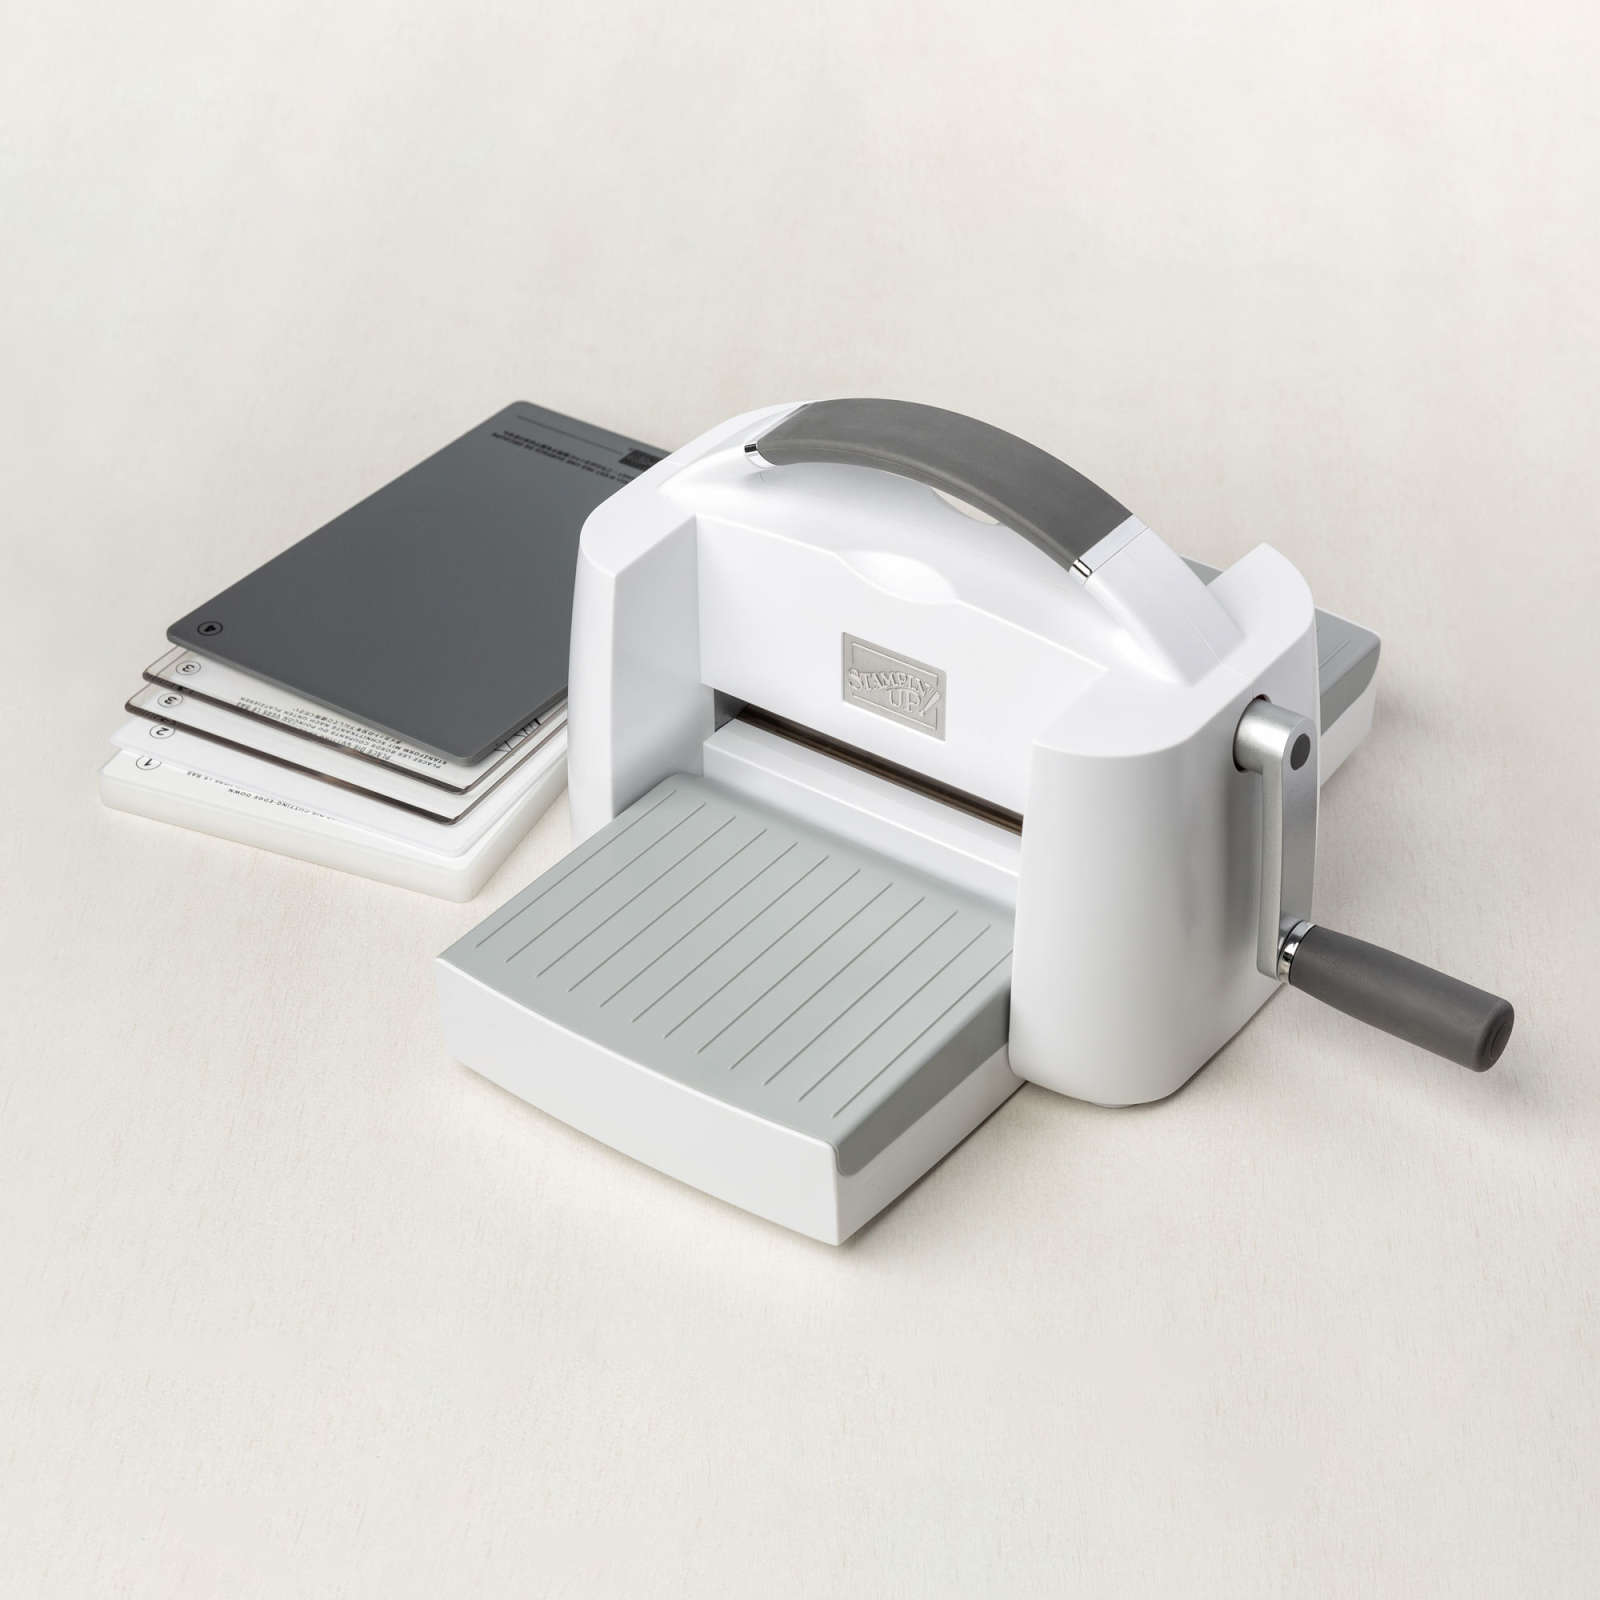
Tools




Comments