
3/6/26 - Mid week #217 - Sparkling Celebrations May '26 Paper Pumpkin kit
- Alison Culliver
- Jun 3
- 3 min read

Celebration cards that sparkle & shine!
Hello & welcome to my blog. I hope you are all well.
My name is Alison & I live in beautiful Melbourne, Australia & I am an independent Stampin' Up® demonstrator.
I love to create beautiful things to share with people that I love but I also sell me creations. I have been creating things in one way or another for most of my life - knitting, sewing, cooking, card making, gardening, scrap booking & hand made gifts & in 2020 after joining Stampin' Up® I decided to share my passion in a blog (craftedbyalison@blogspot.com).
In 2025 I retired & decided to spread my creative wings a little more by combining my blog, products that I had been selling on FaceBook & launching a newsletter. Some of these things I had already been doing but this time they are all in the one place. (All previous posts can be found at my blogspot address above if you would to read any of them.)
And here we are at my new site!
This week is Paper Pumpkin time! The cards from this kit live up to their name with lots of sparkle! I have some gorgeous cards to share with you today, made using the instructions included in this gorgeous kit. I have created one of each design but left the others unmade so that in my next post I can share some alternate creations to help inspire you.

These three cards are made (almost) exactly as per the kit instructions. They're super quick to assemble with all of the images pre cut, all of the adhesives included & a stamp set & ink spot also included. The card bases all come pre printed with sparkly silver accents.
And check out those gorgeous envelopes! Aren't they stunning?!
Here are the cards individually so you get a closer look at them.
CARD 1
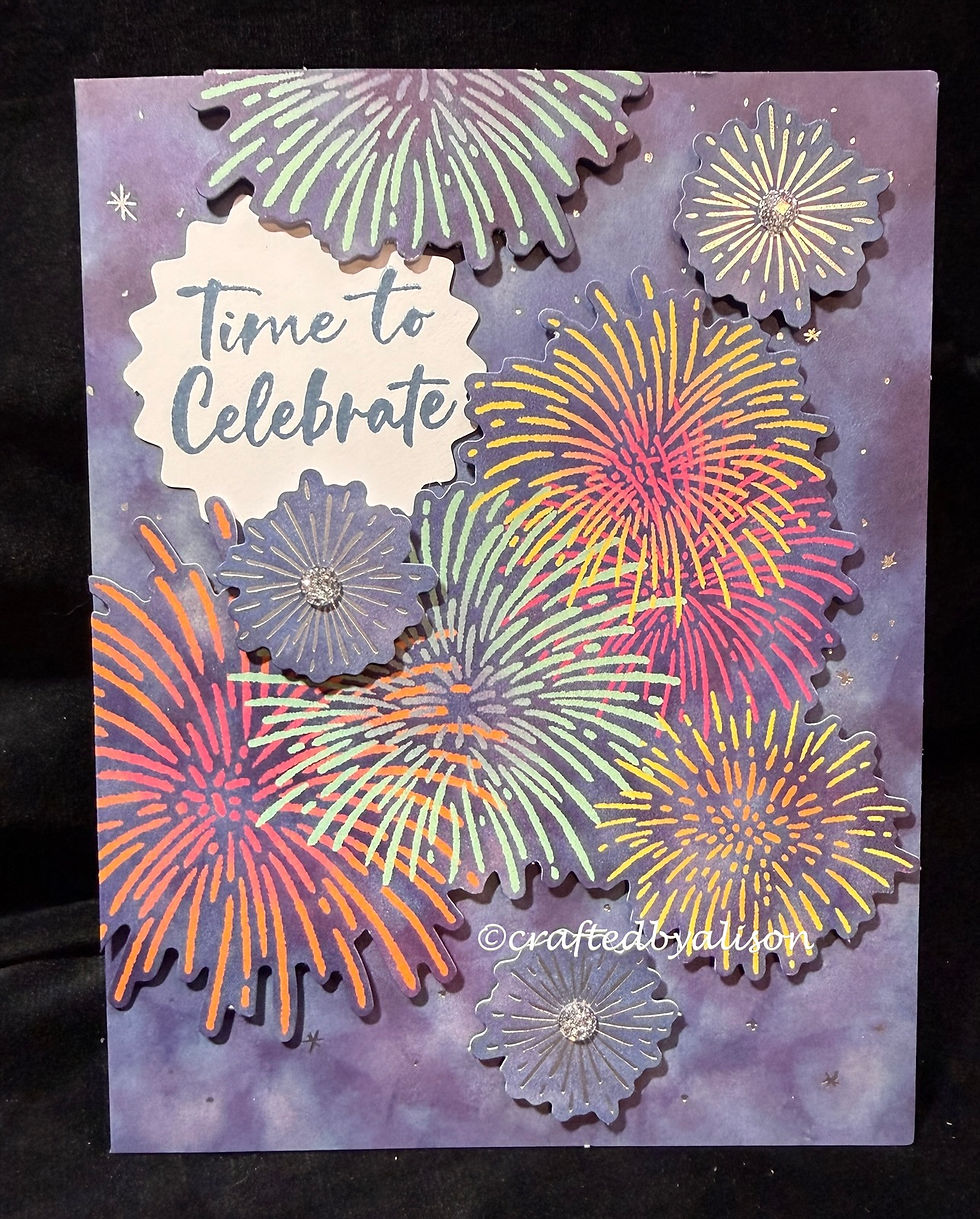
This fireworks card has, literally, an explosion of colours on it. They are attached with dimensionals with one on a second layer of height while the sentiment is adhered directly to the front and the small blooms have a sweet sparkly gem in the centres. Here's a closeup...

CARD 2

Another super quick to assemble card, this one has shadowy trees stamped along the bottom of the card in first & second generation inks. There is a cluster of light globes & a sentiment raised on dimensionals. I did change out the sentiment on this one as the kit uses 'You're invited' & I didn't want an invitation card, rather, a birthday or celebration card is more useful in my stash.

CARD 3

A window scene is adhered over the top of the card base when assembling this card with the addition of some extra lanterns. The instructions were to add them with dimensionals but I chose to adhere them directly to the base so that the window frames could be closed.

This kit is a super easy one to work with & making the entire 9 cards could easily be done in under 30 mins but as I mentioned earlier, I have only made one copy of each design so that I can make alternative cards with the rest of the supplies. There are so many beautiful creations floating around on the internet which has helped me come up with lovely alternatives to share with you.
That's all I have for you for this post. I hope enjoyed seeing what was in the box for May's Paper Pumpkin kit. If you would like to start creating with these kits, June's kit is available to order until the 10th June so you'd better be quick. Click here to subscribe. You can order a one-off kit or subscribe for 3, 6 or 12 months.
My next post will be Sunday with the alternatives from this kit then next Wednesday I will be sharing another card sketch to help with inspiration & creativity. I hope you can join me for both of them.
I will list some basic craft room supplies & essentials below if you need anything.
Til next time, take care & keep creating. XX Alison
Cardstock, DSP & paper goods

Adhesives


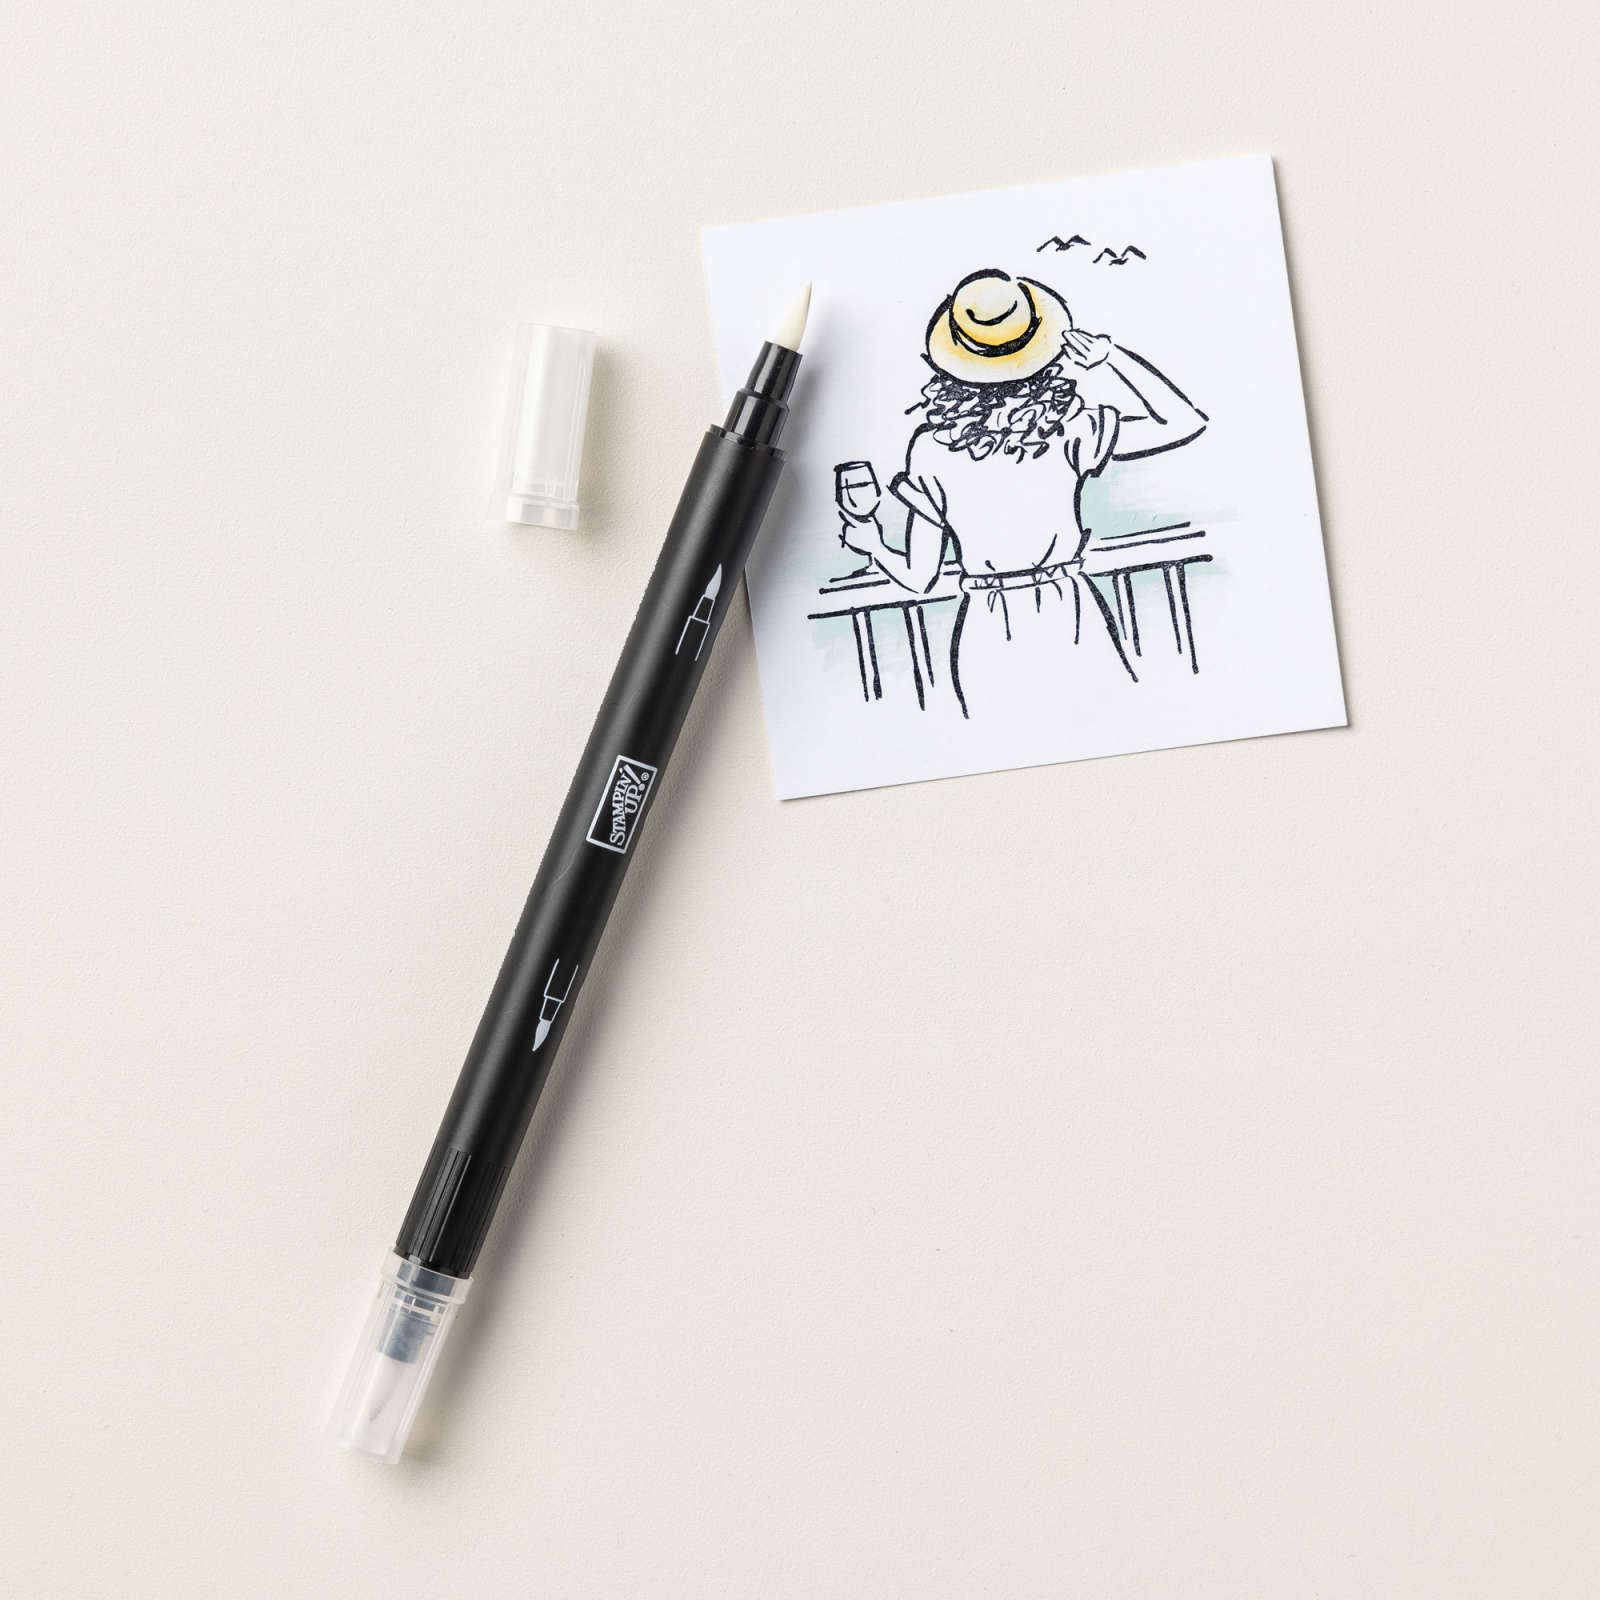
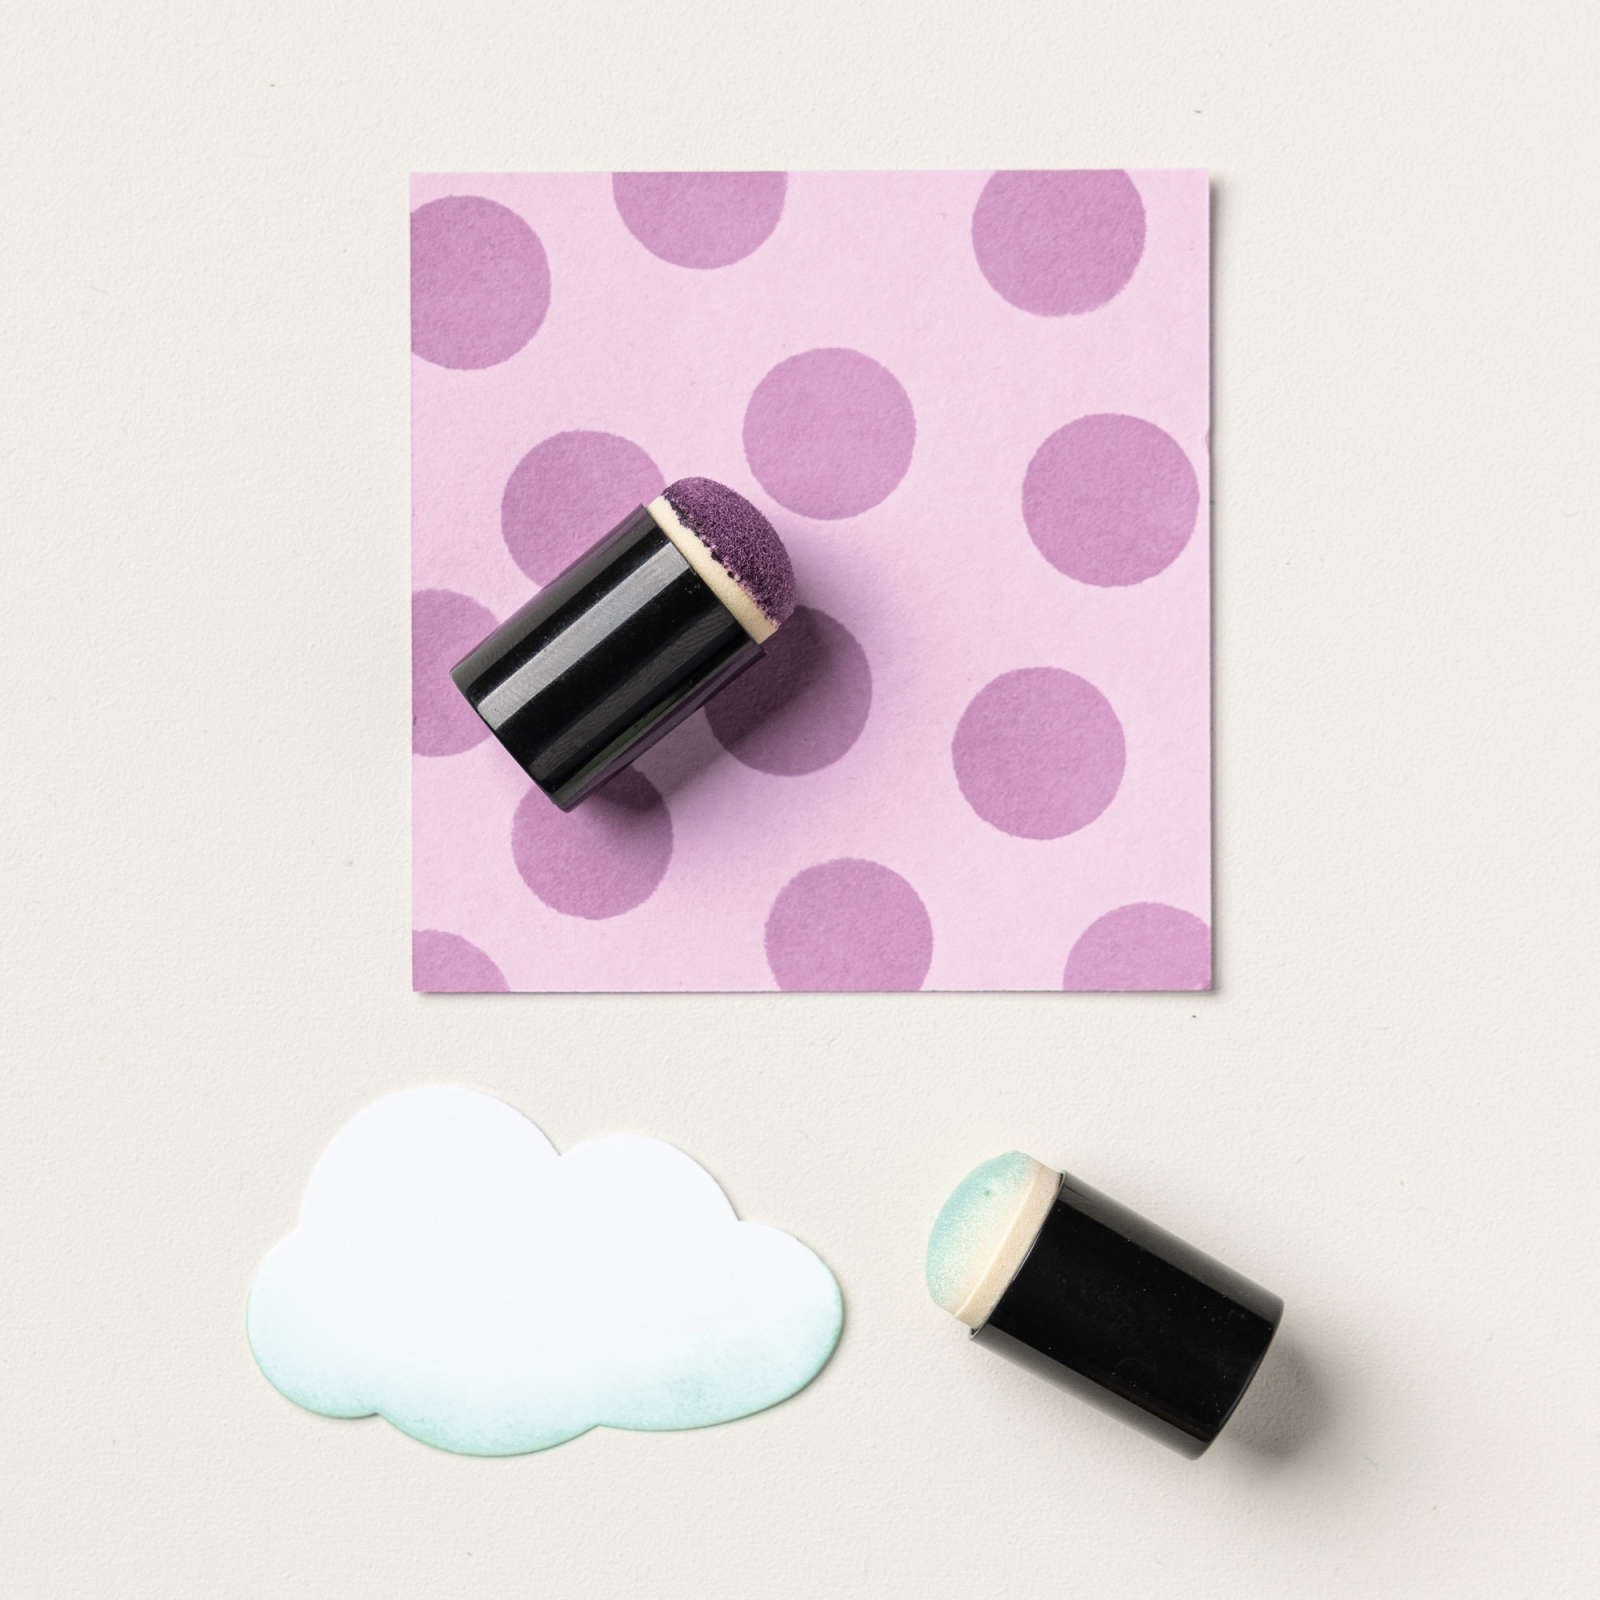
Tools


Comments