
27/5/26 Mid week post #216 - Technique time!
- Alison Culliver
- May 27
- 3 min read

Lets play around with the Faux Tile technique
Hello & welcome to my blog. I hope you are all well.
My name is Alison & I live in beautiful Melbourne, Australia & I am an independent Stampin' Up® demonstrator.
I love to create beautiful things to share with people that I love but I also sell me creations. I have been creating things in one way or another for most of my life - knitting, sewing, cooking, card making, gardening, scrap booking & hand made gifts & in 2020 after joining Stampin' Up® I decided to share my passion in a blog (craftedbyalison@blogspot.com).
In 2025 I retired & decided to spread my creative wings a little more by combining my blog, products that I had been selling on FaceBook & launching a newsletter. Some of these things I had already been doing but this time they are all in the one place. (All previous posts can be found at my blogspot address above if you would to read any of them.)
And here we are at my new site!
This week I am sharing how to create a unique technique called Faux Tiles where you create a pattern with score lines & stamping that look like a tiled area. It's quick, fun & easy & looks harder than it is.

This card came together so easily with just a Basic White card base, a Peaceful Pine matte & 10cm x 13.2cm piece of Basic White. The unusual sizing of the Basic White piece is to allow for even sized squares when scoring.
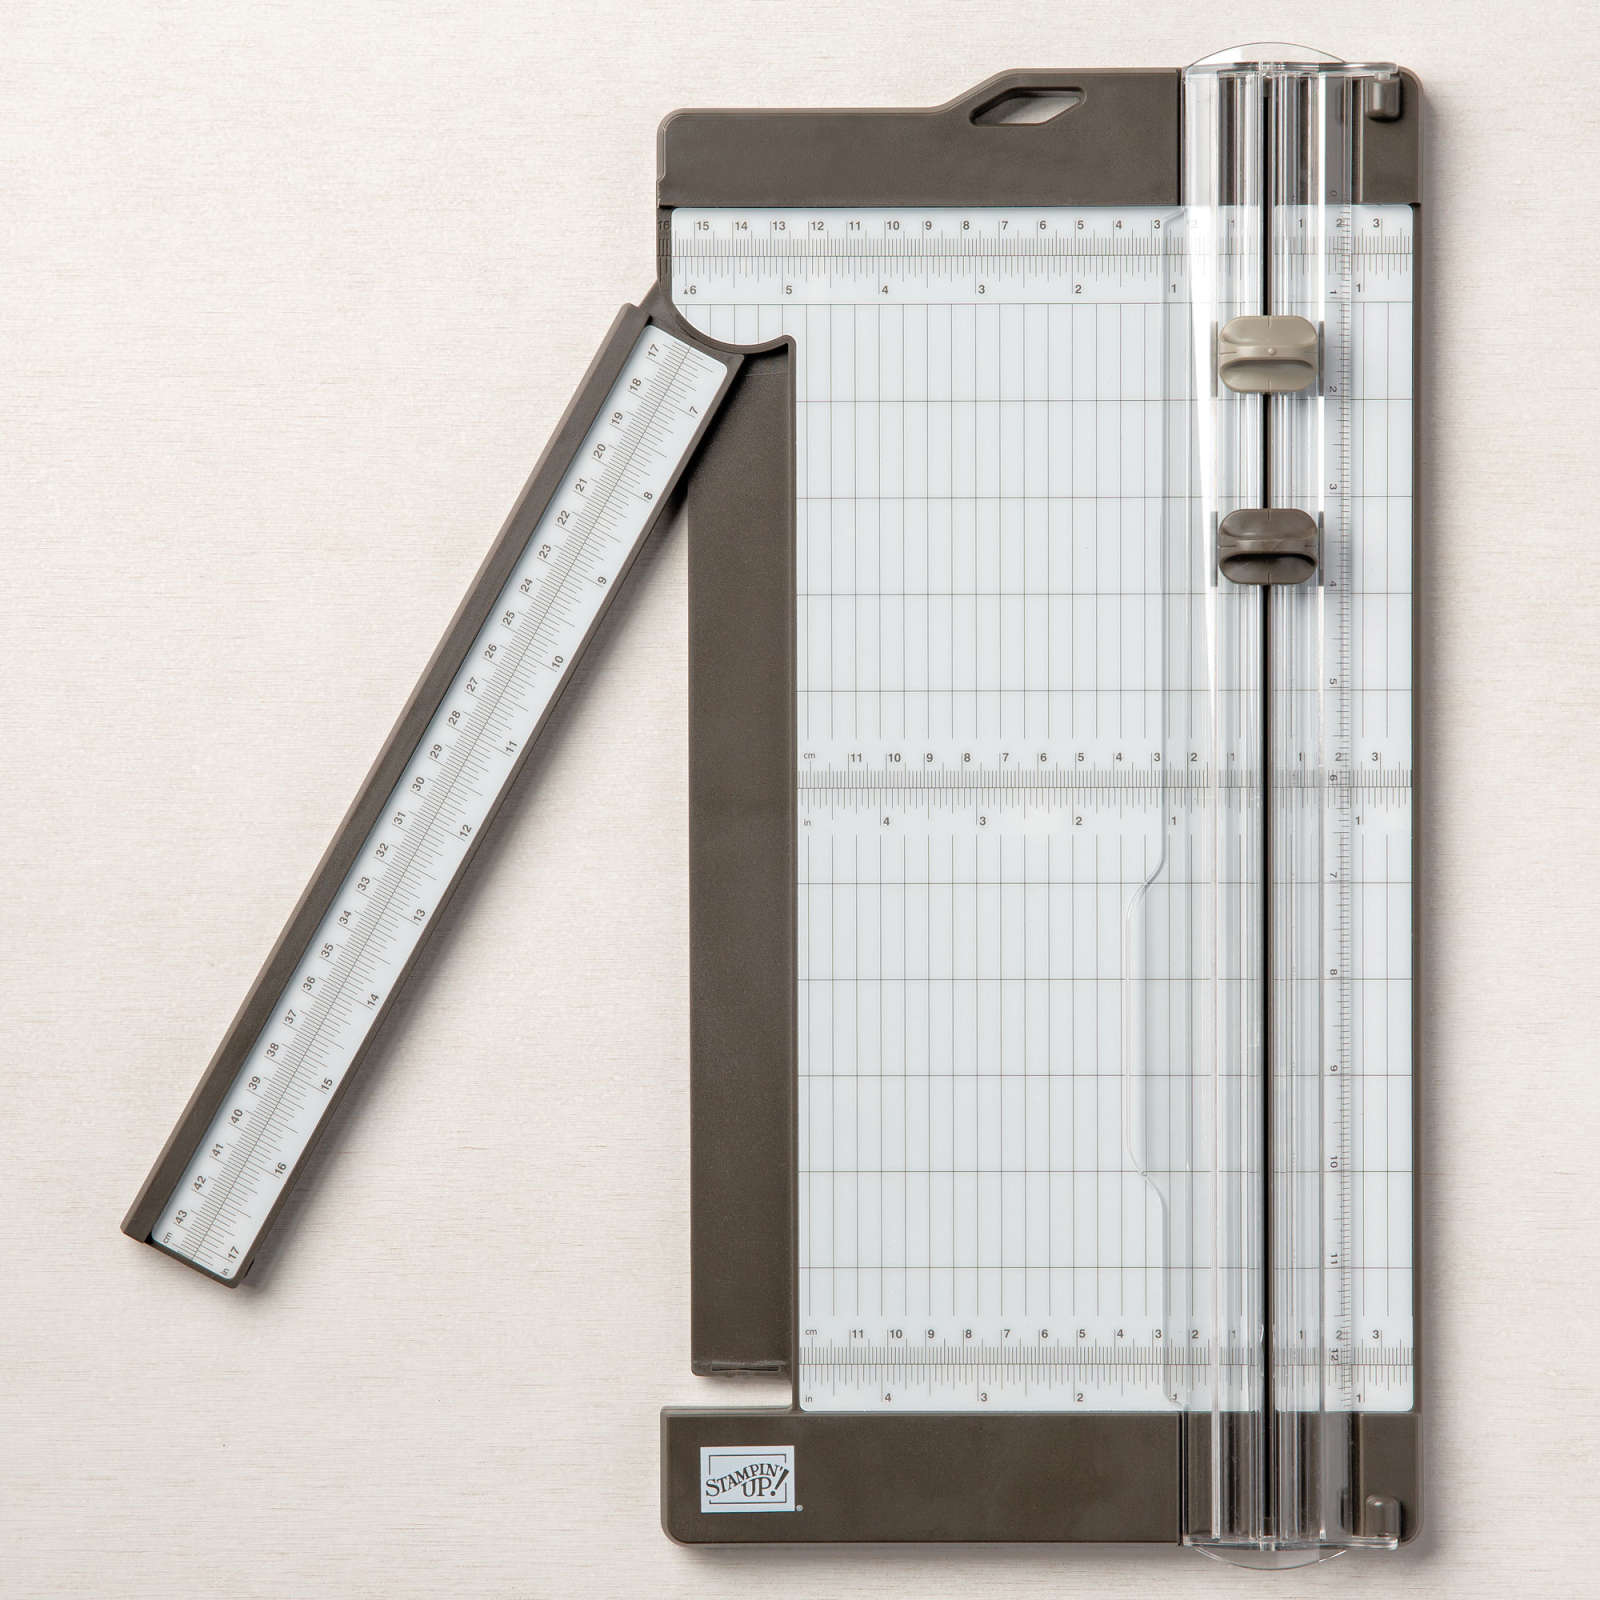
With the Basic White piece on the score board/trimmer I scored every 3.3cm as this gave me 3 squares down & 4 squares across.
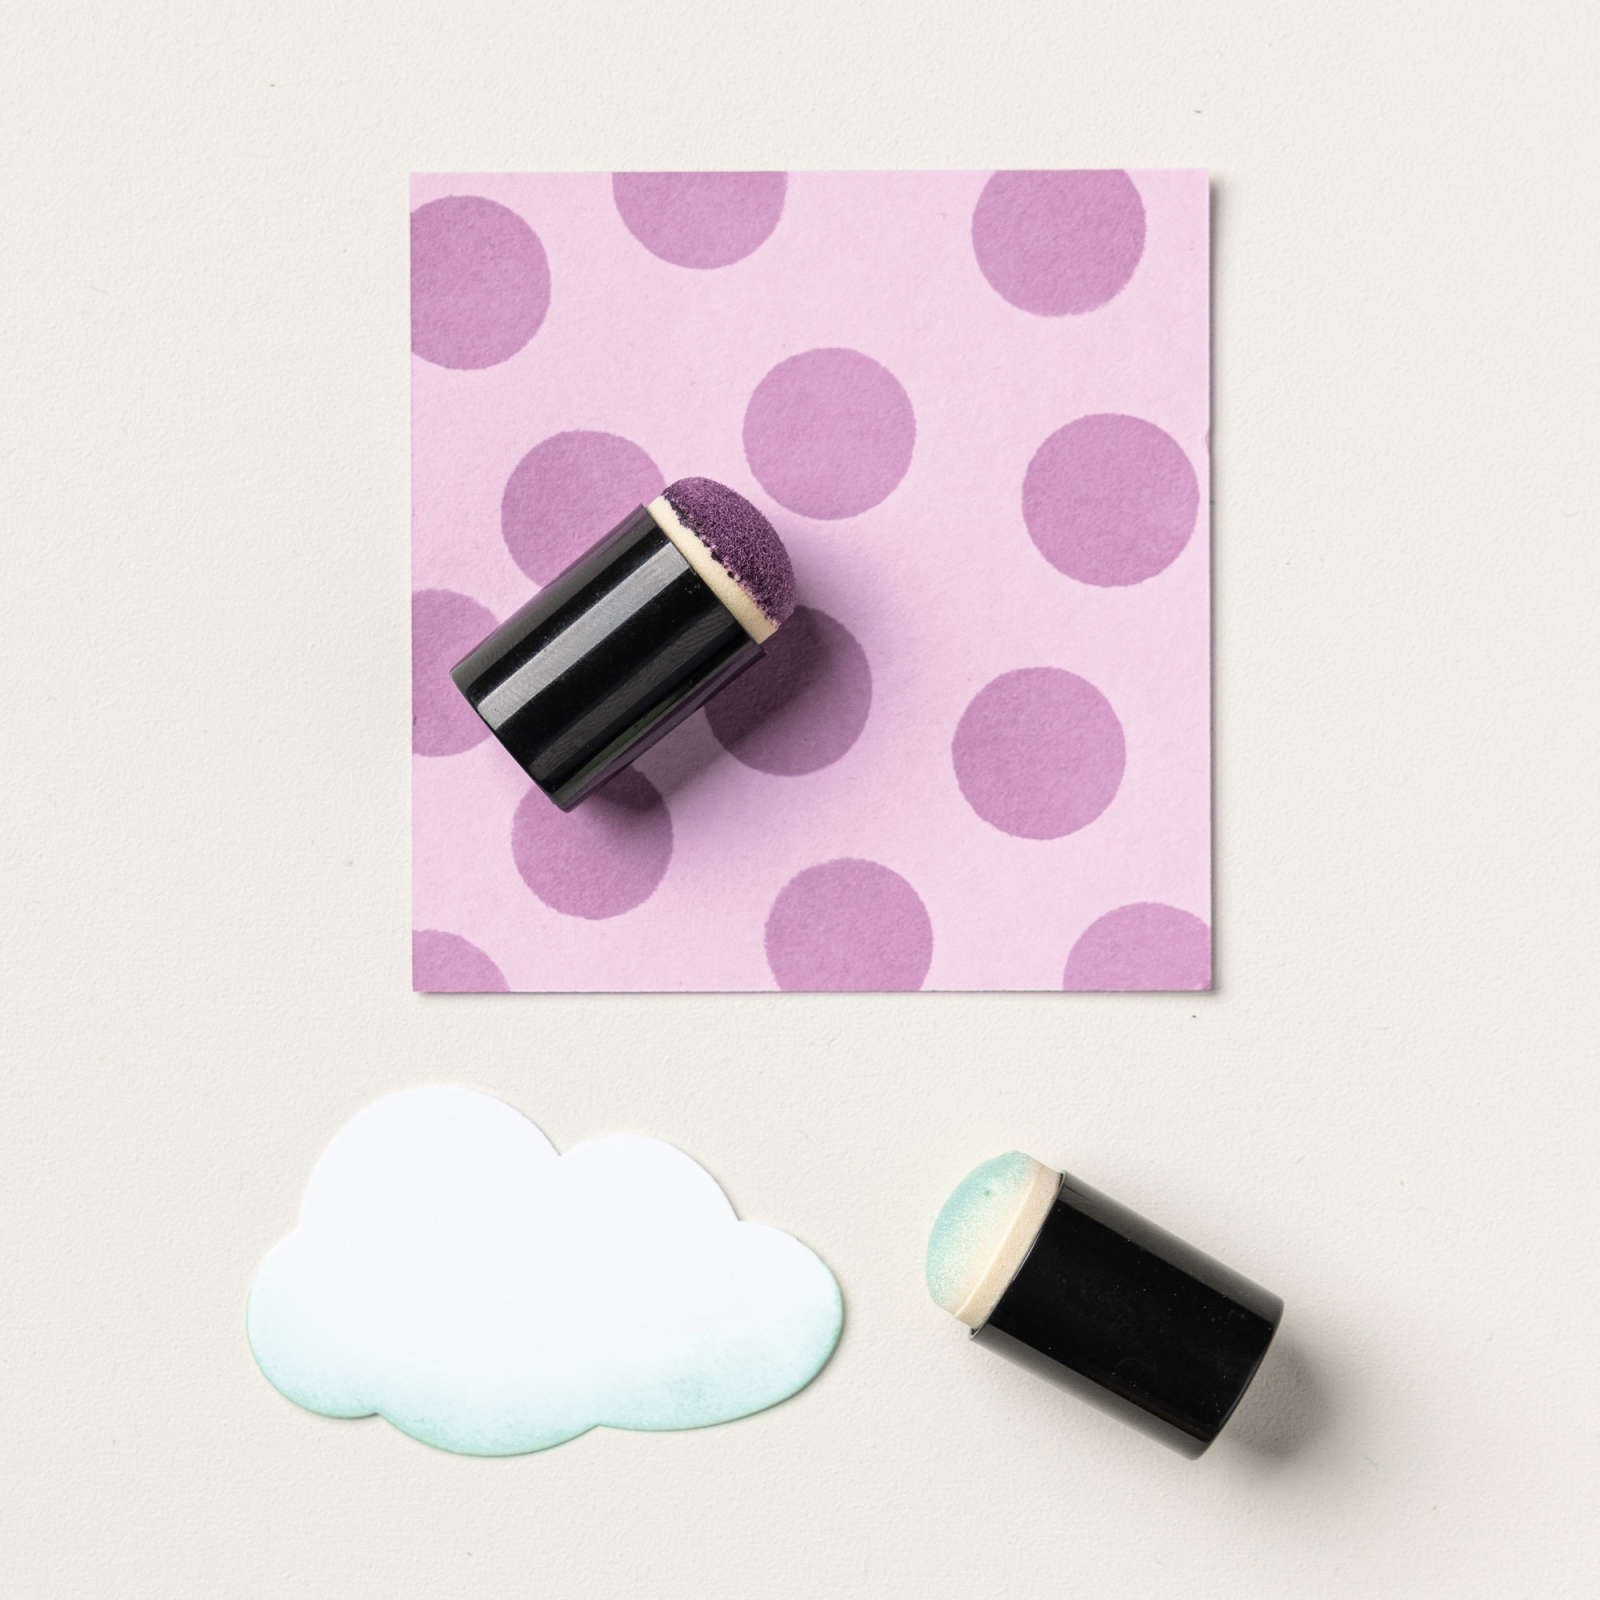
The stamps I used are from Simply Beautiful with the flower stamped in Crisp Canteloupe & the leaf in Peaceful Pine. The images are stamped at random but allow for a fairly even distribution of blooms & leaves. I then used a blending brush to colour the inside of each image a little & a Peaceful Pine Blend to lightly colour the edges.
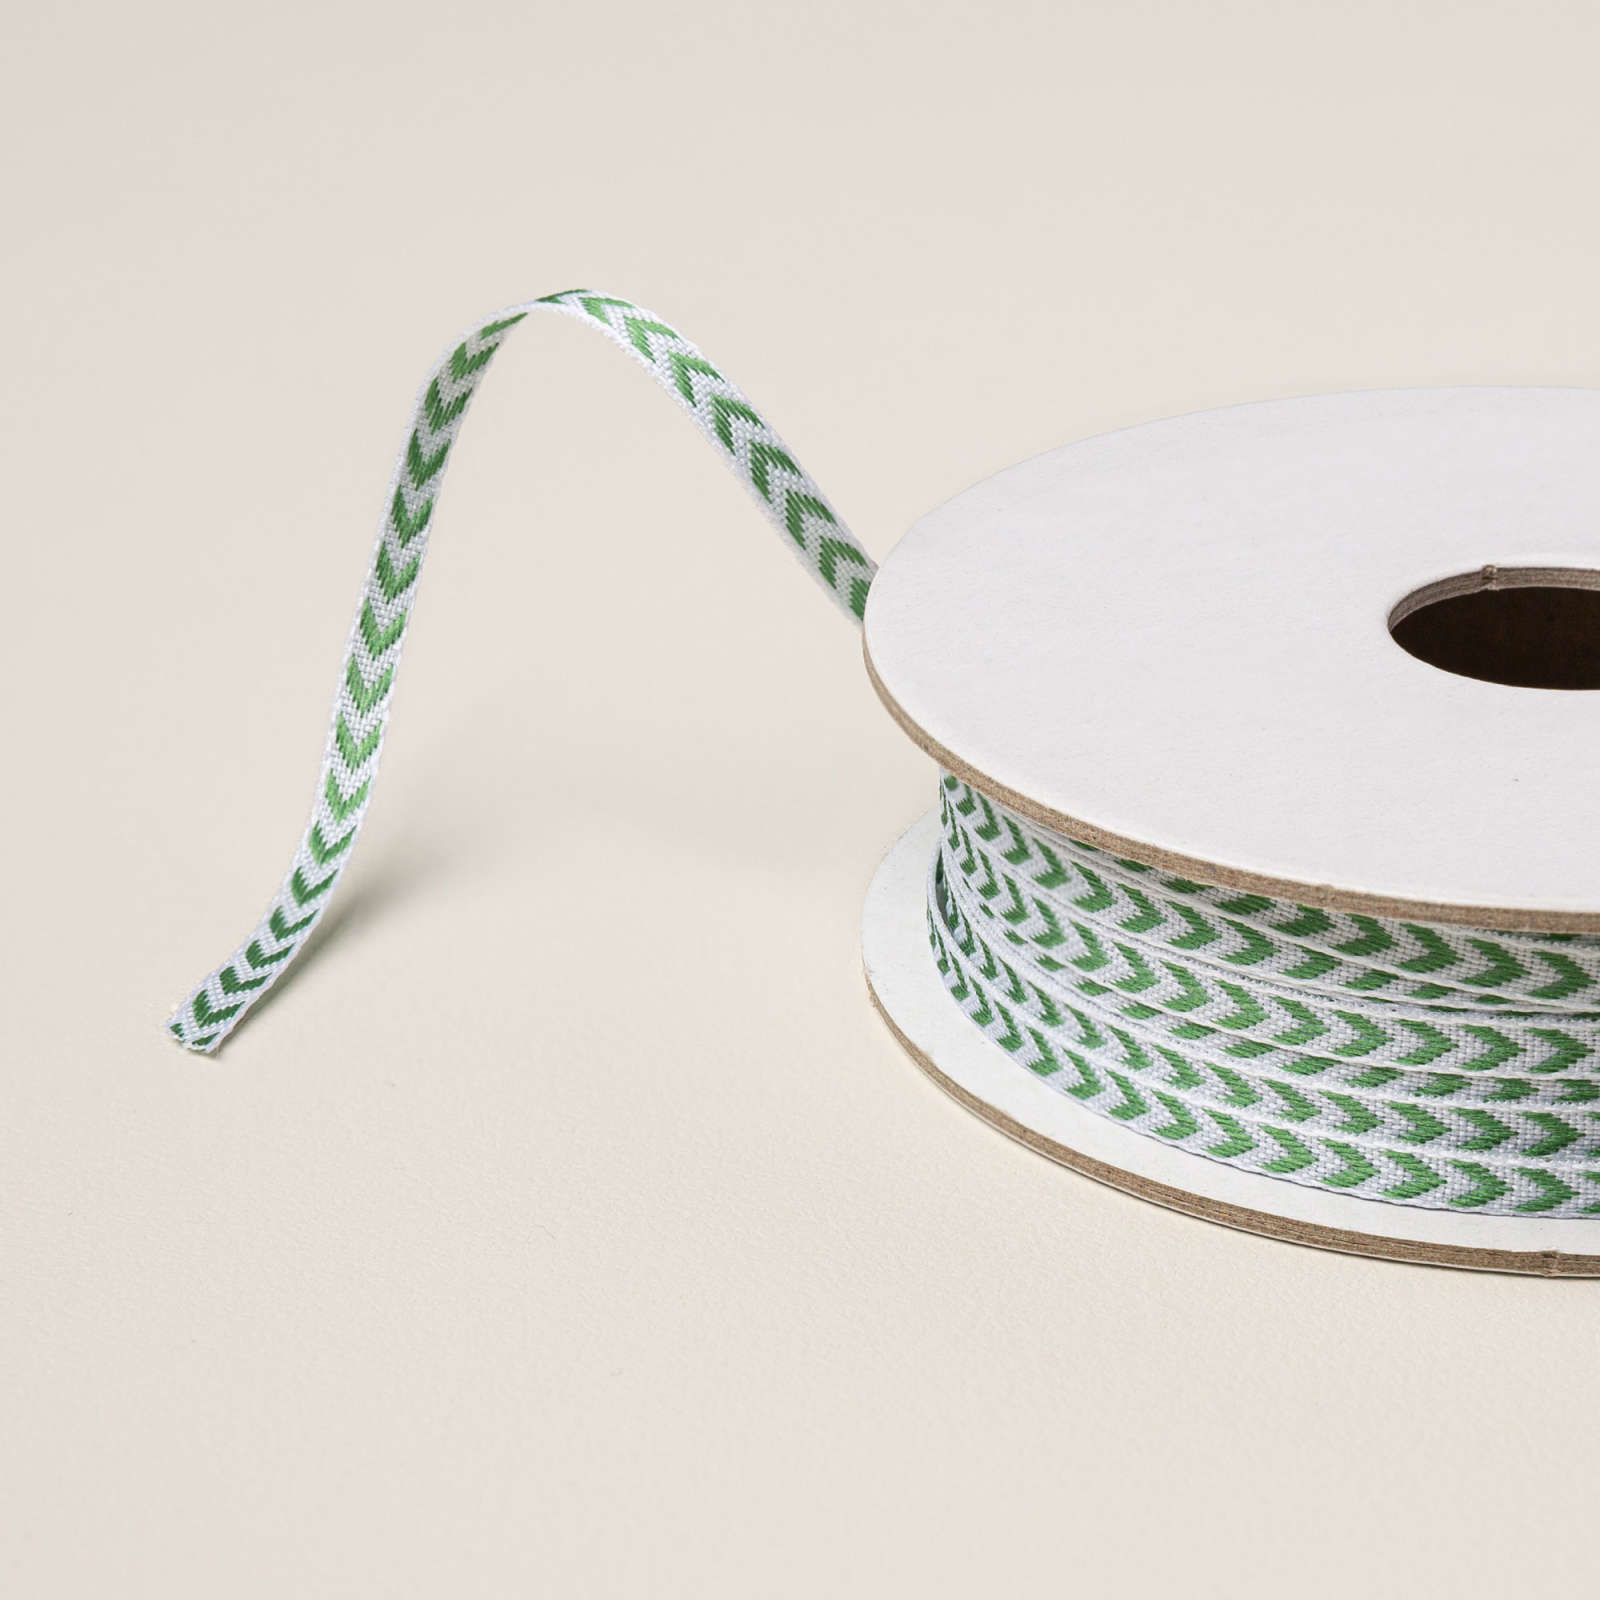
Before adding this to the Peacuful Pine matte & wrapped some Garden Green & White Chevron ribbon along the left edge for a little extra detail.
The sentiment is from Playful Packaging & is backed with Peaceful Pine & mounted on dimensionals.
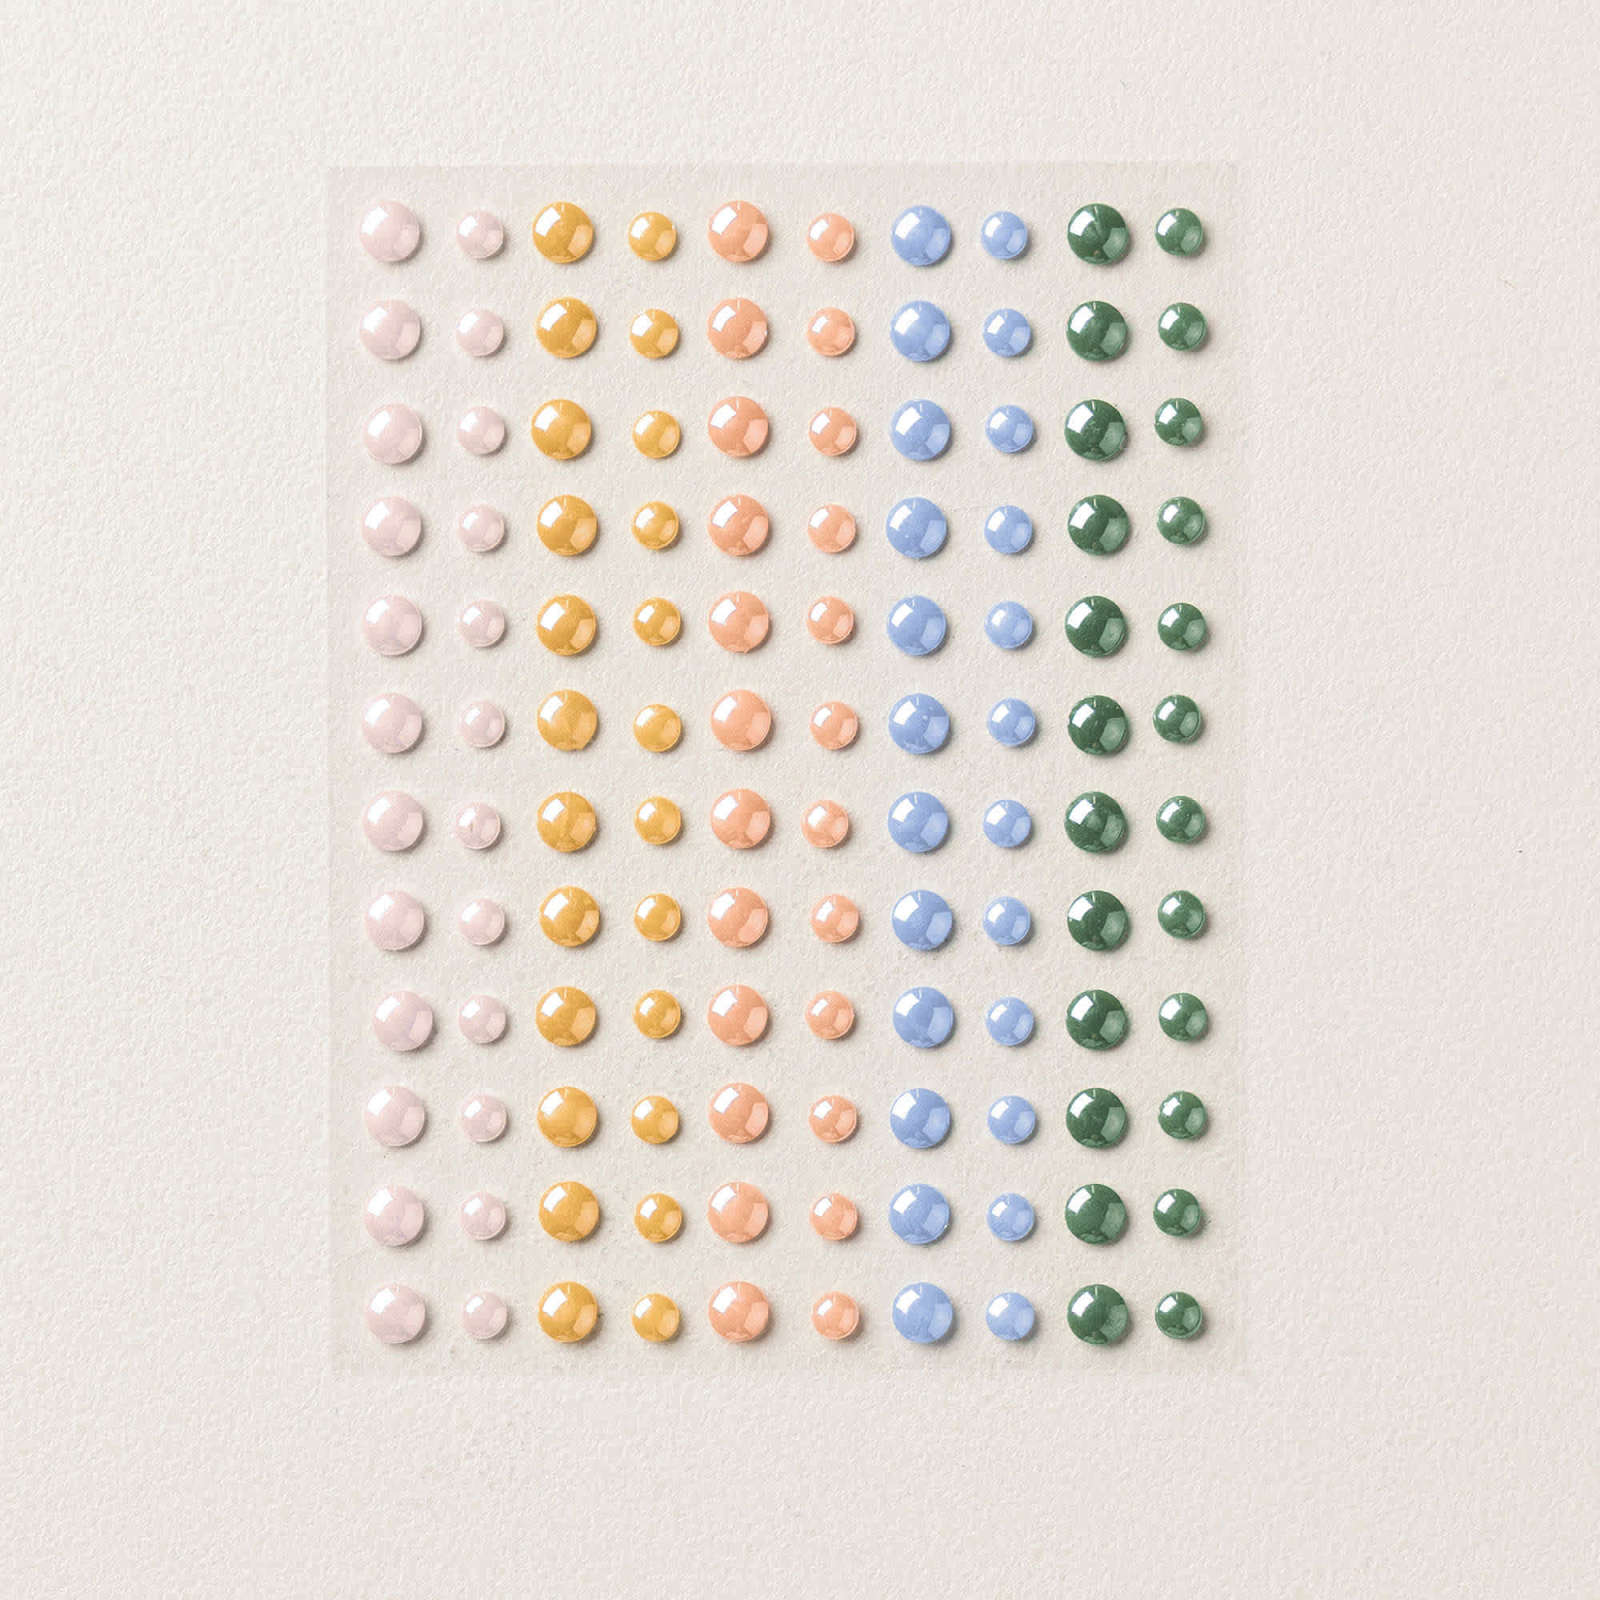
The finishing touch are some 2026-28 In Colour dots. Simple, elegant & pretty.
This technique can be used in many ways - larger tiles, smaller ones, rectangles, diagonal - whatever takes your fancy. It does work better with darker colours in my opinion but I have seen it used with softer colours. It also looks amazing on square cards.
So, that's it for this post - a really quick post with a simple technique & a lovely result.
My next post is on Sunday & will feature a stamp & die bundle called Playful Packaging from the latest catalogue which is perfect for gifting, packaging or small treats.
The next mid week post is all about Paper Pumpkin with some beautiful cards from the May kit which has lanterns, starburst, gorgeous nighttime colours & shiny elements.
I hope you can join me for both of them.
Below you will find a few links to products that I used this week if you'd like to purchase any of them as well as some craft room essentials.
I have been able to provide a pictorial link now for most of the products but a little gremlin has stopped me displaying 3 of the links this way. You can still click on the links (as you would have done in previous posts) but there is just no picture like the others.
Til next time, take care & keep creating. XX Alison.
Stamps, Dies, Embossing folders & punches
Simply Beautiful stamp set

Cardstock, DSP & paper goods

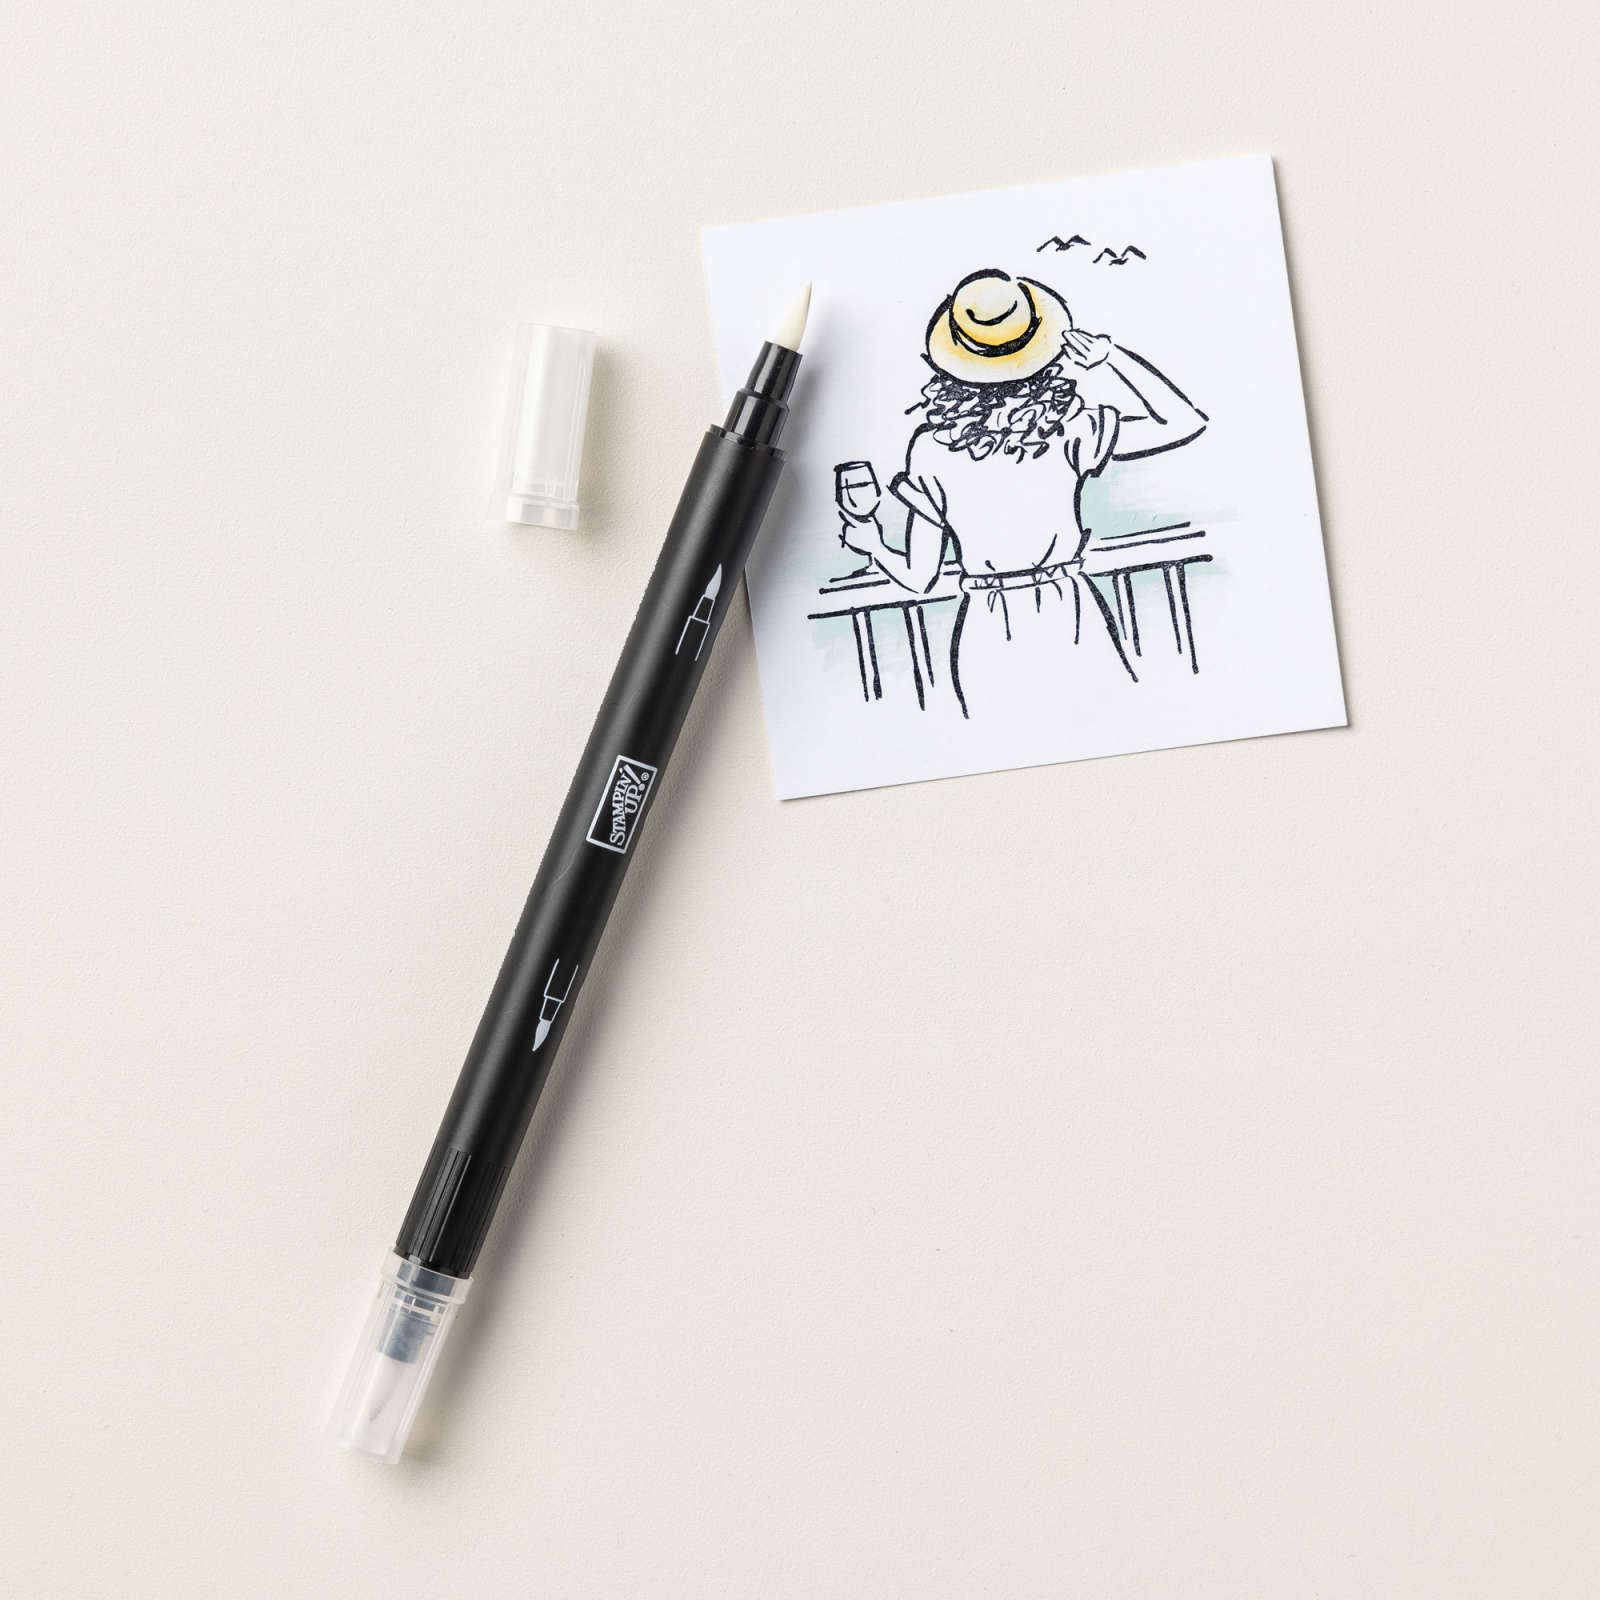
Inks & Markers

Embellishments
Adhesives


Tools


Comments