
26/8/26 Mid week post #229 Triple the fun with the Triple Step funfold

An easy Triple Step funfold card for you to create
Hello & welcome to my blog. I hope you are all well.
My name is Alison & I live in beautiful Melbourne, Australia & I am an independent Stampin' Up® demonstrator.
I love to create beautiful things to share with people that I love but I also sell me creations. I have been creating things in one way or another for most of my life - knitting, sewing, cooking, card making, gardening, scrap booking & hand made gifts & in 2020 after joining Stampin' Up® I decided to share my passion in a blog (craftedbyalison@blogspot.com).
In 2025 I retired & decided to spread my creative wings a little more by combining my blog, products that I had been selling on FaceBook & launching a newsletter. Some of these things I had already been doing but this time they are all in the one place. (All previous posts can be found at my blogspot address above if you would like to read any of them.)
If you have followed me for any length of time, you'll know that one of the favourite ways to create for me is to use fun folds. They can turn a simple card into something a little special just with some extra folds, added extensions, mini cards or even just cutting away areas or cutting at different angles.
Today's cards are the same design but I used different DSP & colours for a different look with one being a Thank You card & the other is made with stamps & dies from a bundle coming out in the September - December '26 catalogue & is going into my early stash for Christmas.
I hope you enjoy this fold.

To create these cards, first I needed a template so that I can re-create them again later but also so that I can share it with you. I was inspired by a card featured in the March '26 All Stars Video Bundle which is a group of Stampin' Up!® demonstrators that each create a project & video for their followers. This particular design was provided by Rachel Tessman of Stamp Your Art Out. (This bundle is a monthly offering from 12 international Stampin' Up¡® demonstrators & is available to purchase from each of the demonstrators in their shop. Google 'Stampin' Up!® All Stars Video bundle' if you're interested.)

There are a few steps (no pun intended) to this funfold. Once you've made it once though it flows quite well. I've written steps for you to make it a little easier.
Start with a 5 1/2" x 8" base.
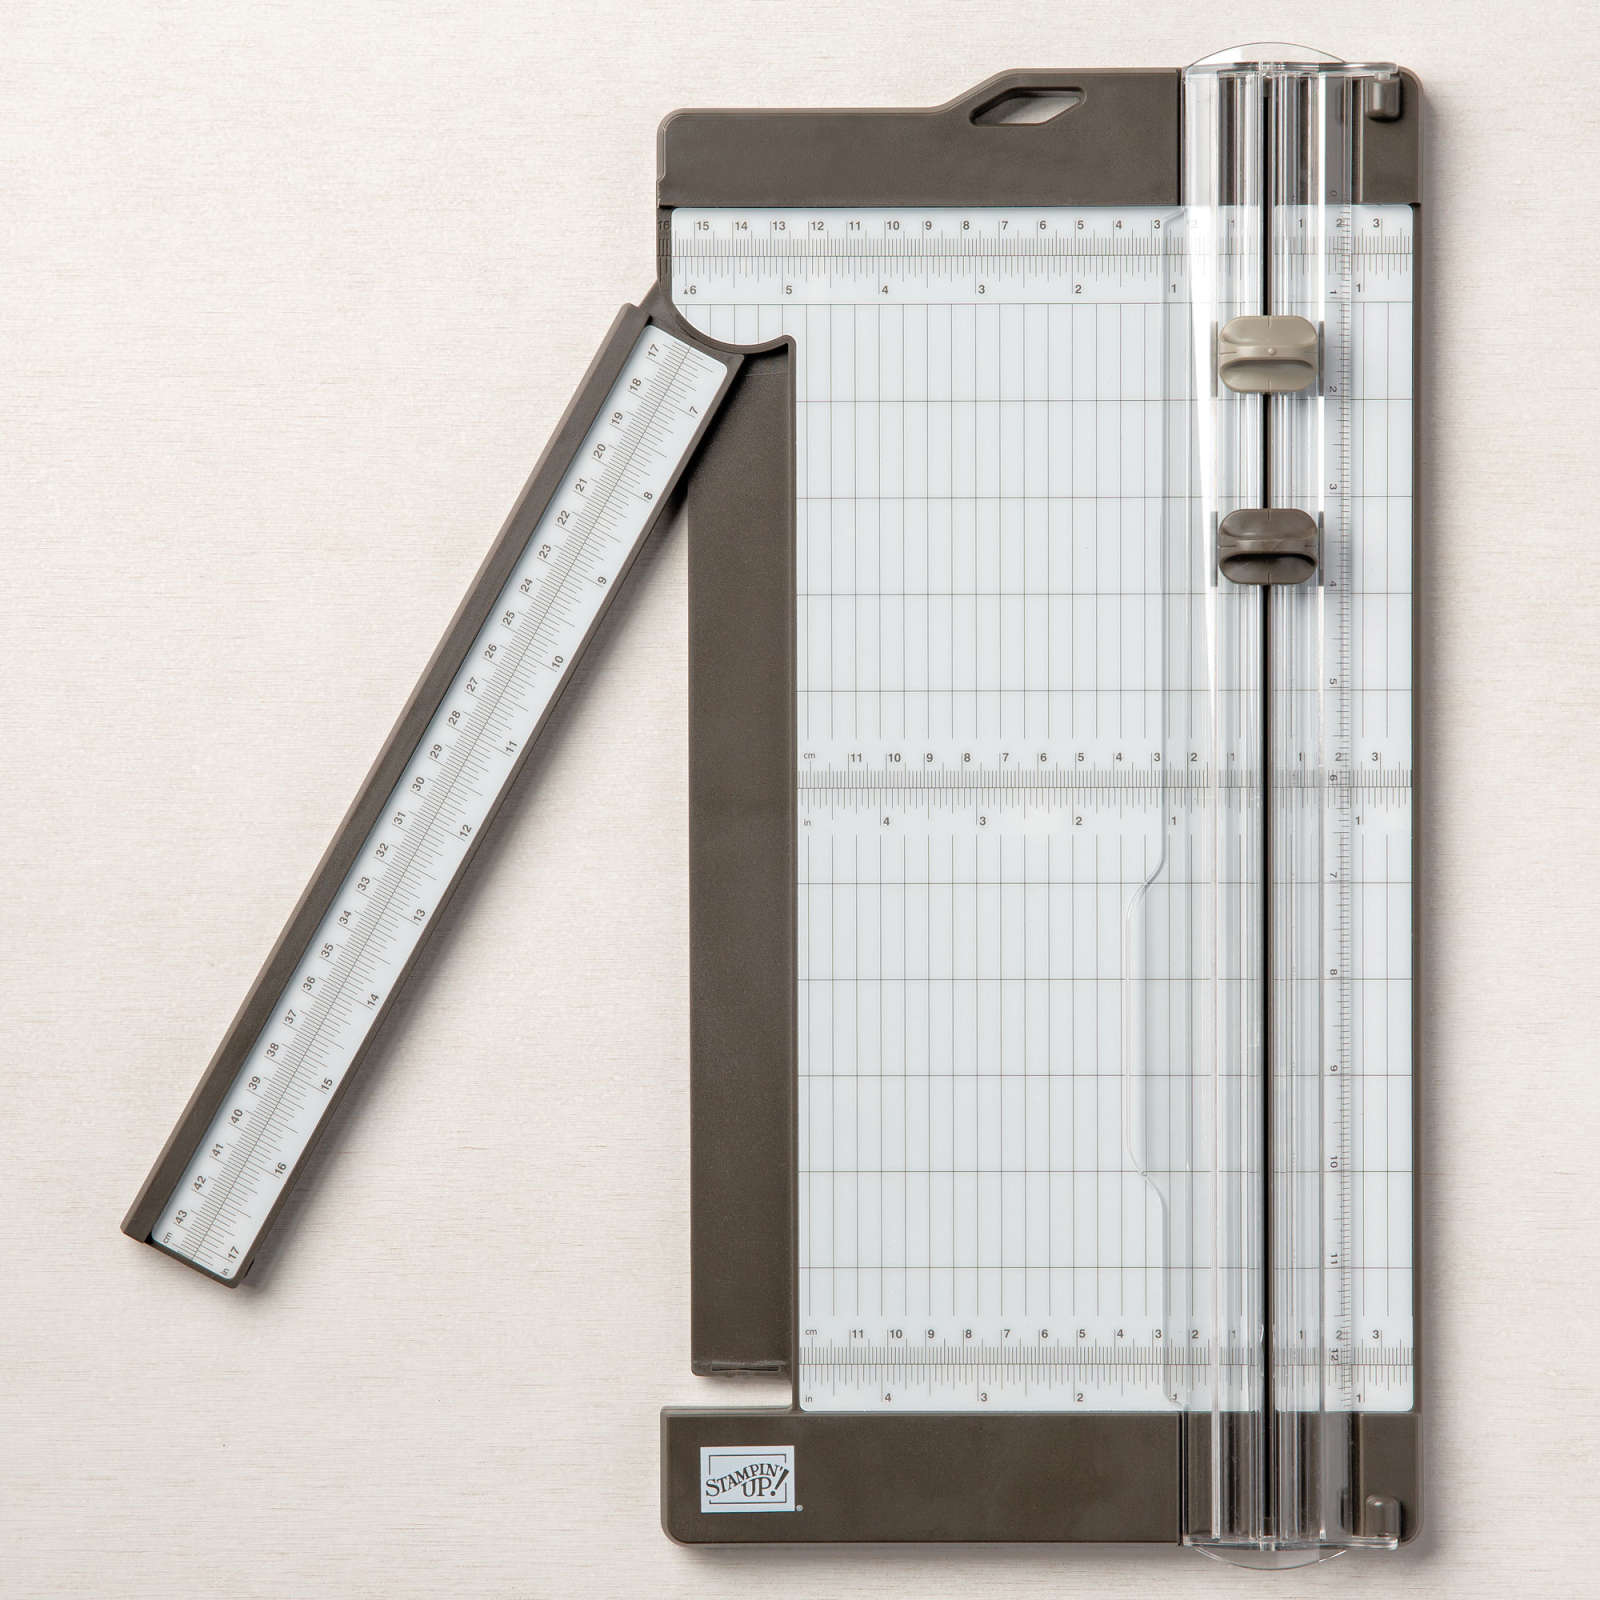
With the left side of the card at the top of the trimmer, score @ 4" down 2 1/2".
Turn card 180 degrees so that the right side of the card is at the top of the trimmer. Score at 7" down 3".
Turn card 90 degrees right & cut up 3 1/2" from the end of the score line you just made (passing the first score line by 1/2").
Make a second cut on same score line at 1 1/2" from the right side up 5".
If you look at your base you will now have a horizontal score line at 4" from the left & a horizontal score line at 7" from the right plus two vertical cut lines at 2 1/2" & 4".
Now for the first set of score lines.
With the right side of the card at the top of the trimmer, score at 3" to meet the larger cut line then from the cut line across to the second score line at 3 1/2 ".
Keeping the base in the same position, move it across to 6" & score down to the first cut line again, then from the first score line to the second score line at 6 1/2".
And the final score line is at 7" down to the second score line.
Gently push each of the score lines so that you end up with three distinct sections & 'steps' to your card base.
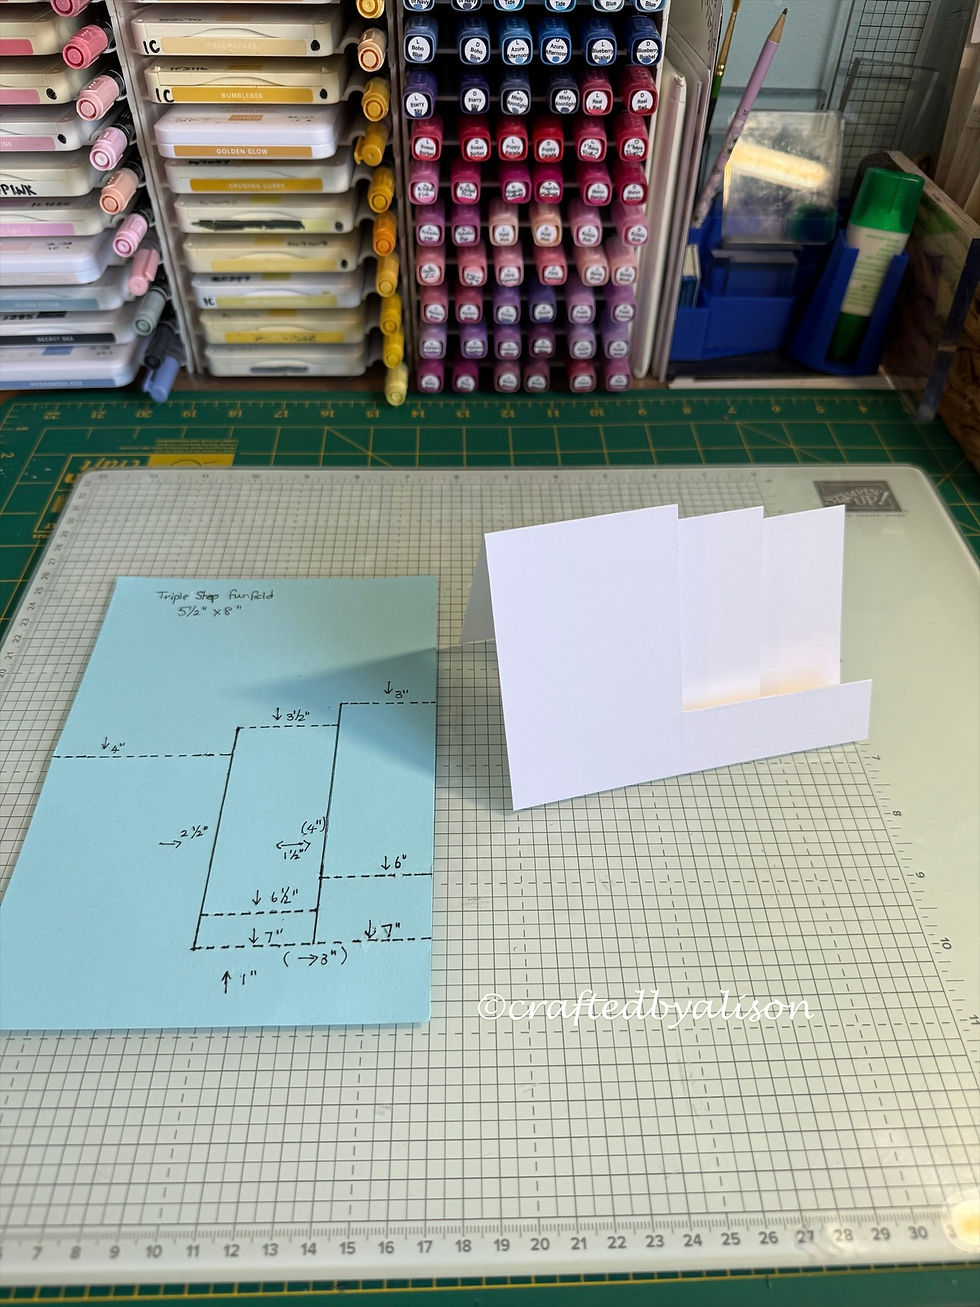
Now it's time to decorate your sections.
The measurements of the three steps are:
2 1/2" x 3"
1 1/2" x 3"
1 1/2" x 3"
For the first card I started with a Basic White base & created mattes that were 1/4" smaller than each space then a DSP layer 1/4" smaller again.
The mattes are Cajun Craze & the DSP is August Product of the Month - Glow of Harvest. The matte at the bottom of the card measures 3/4" x 5 1/4" & before adding it to the card I heat embossed a sentiment from the July Product of the Month stamp set - Begonia Belle.
Lastly, I popped on a few Adhesive Backed Metallic gems.

You can see in the picture above that I also added Cajun Craze & Basic White mattes inside.
The second card came together because I wanted to use a super cute bundle from the upcoming September to December catalogue called Christmas Mice.

I started with a Basic Gray base, adding Basic White mattes.
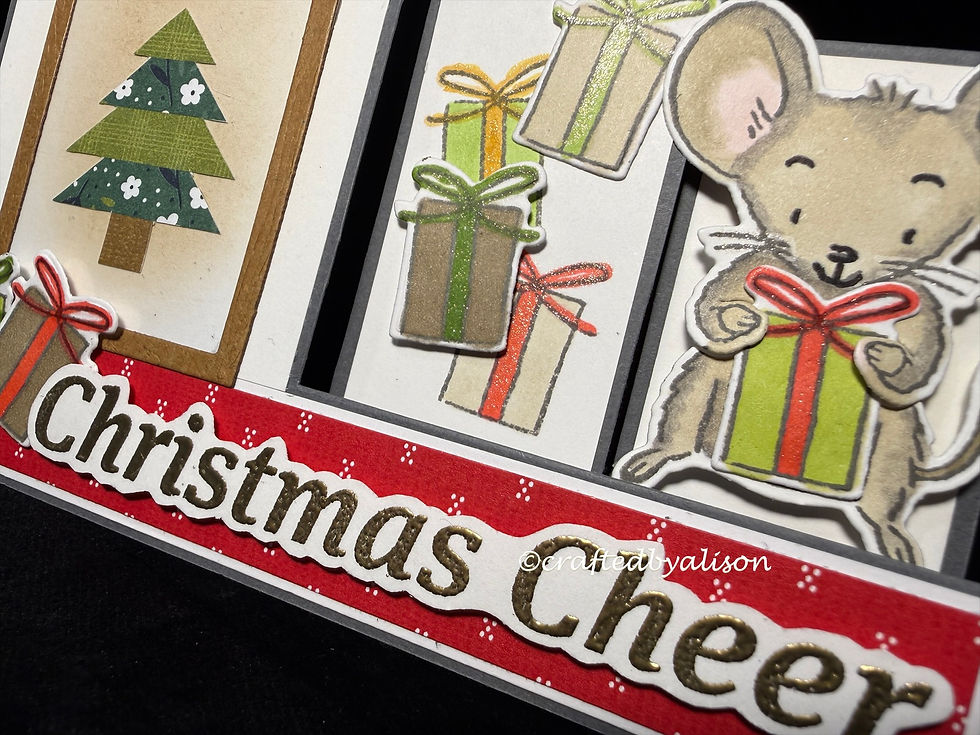
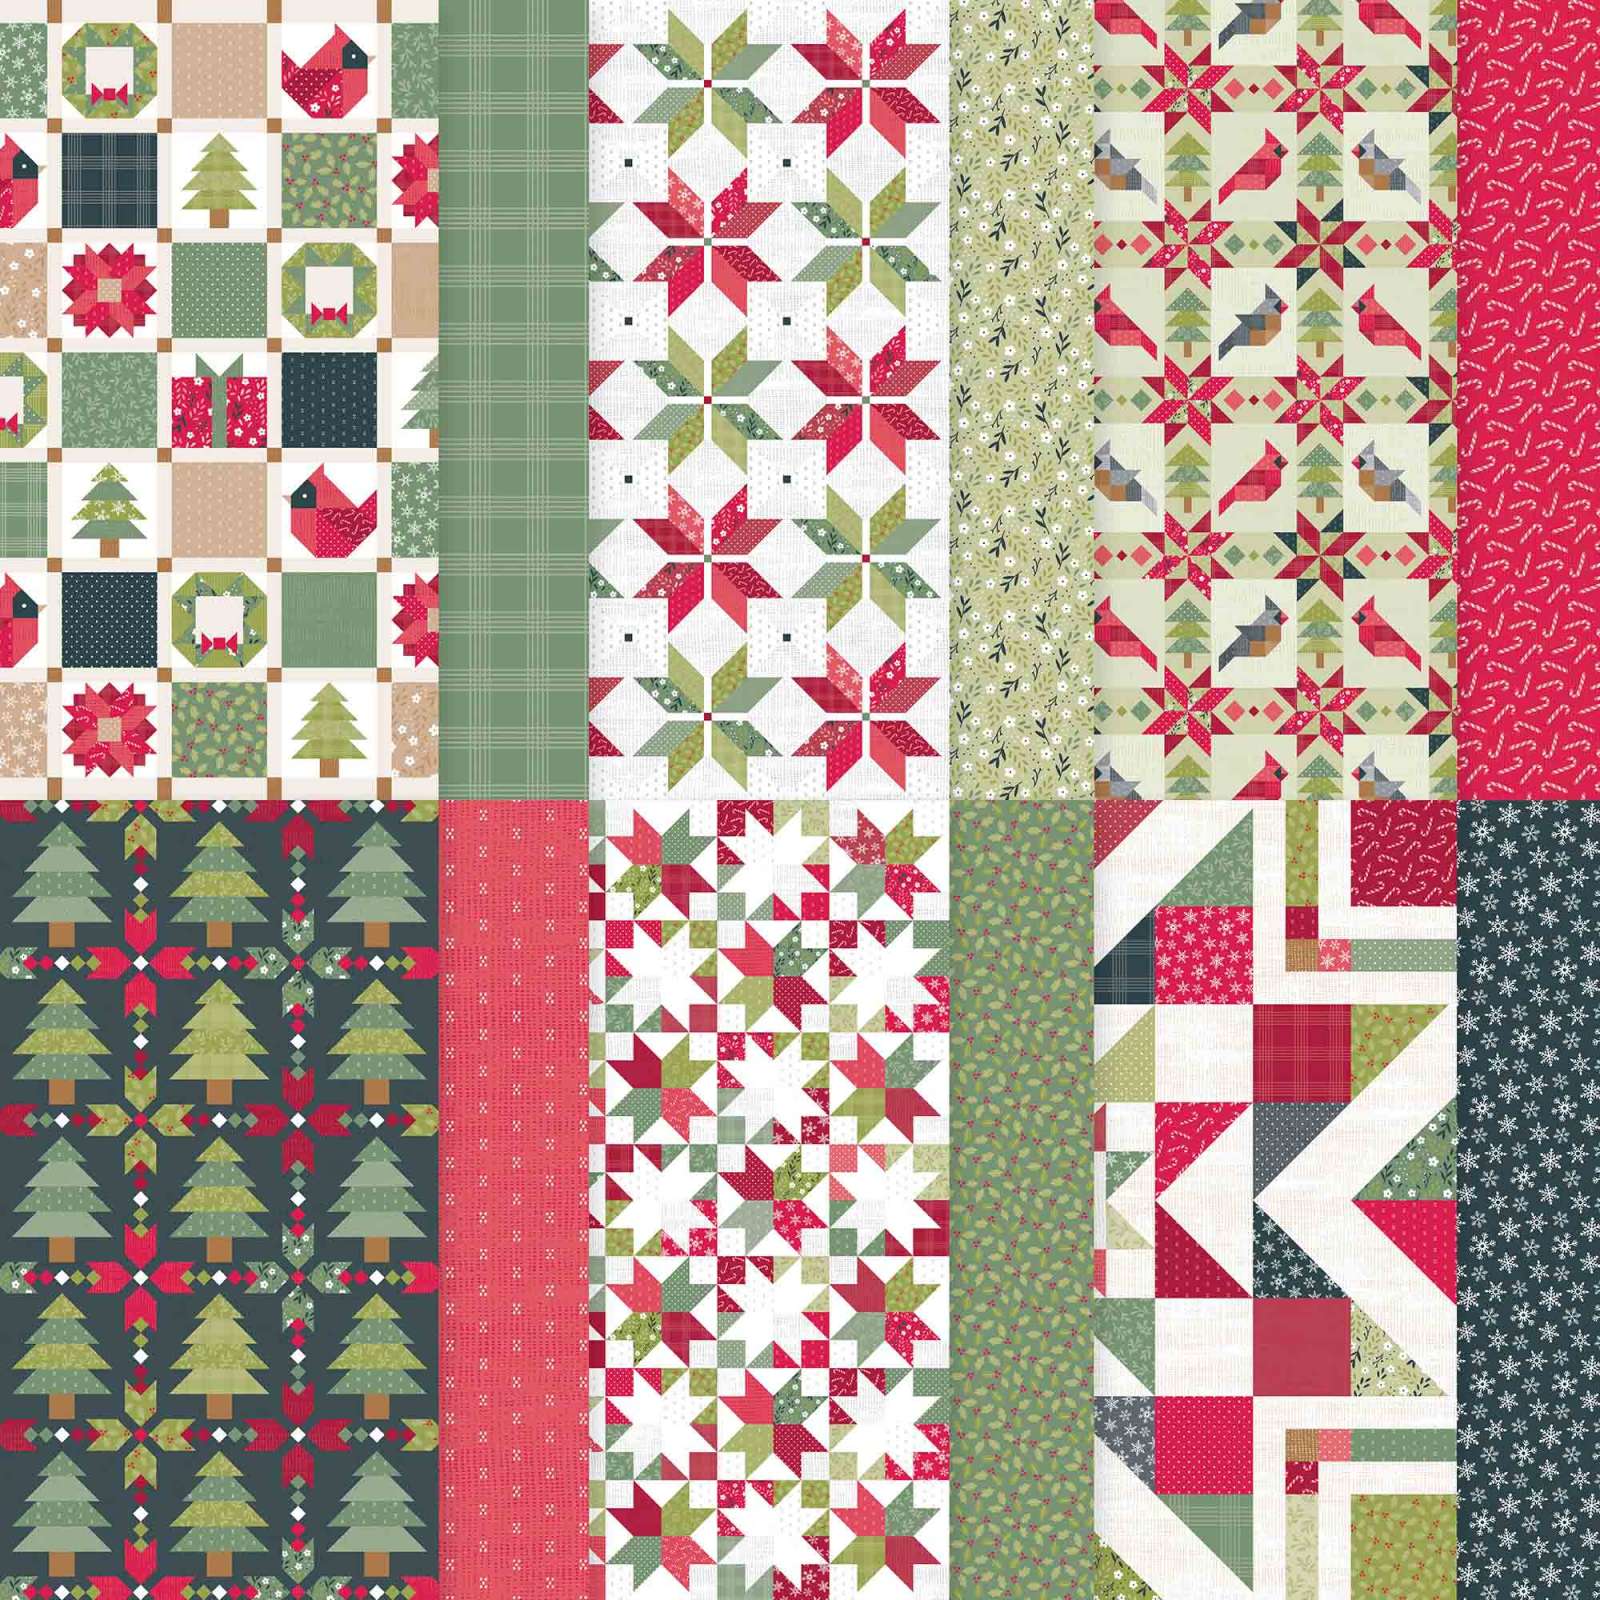
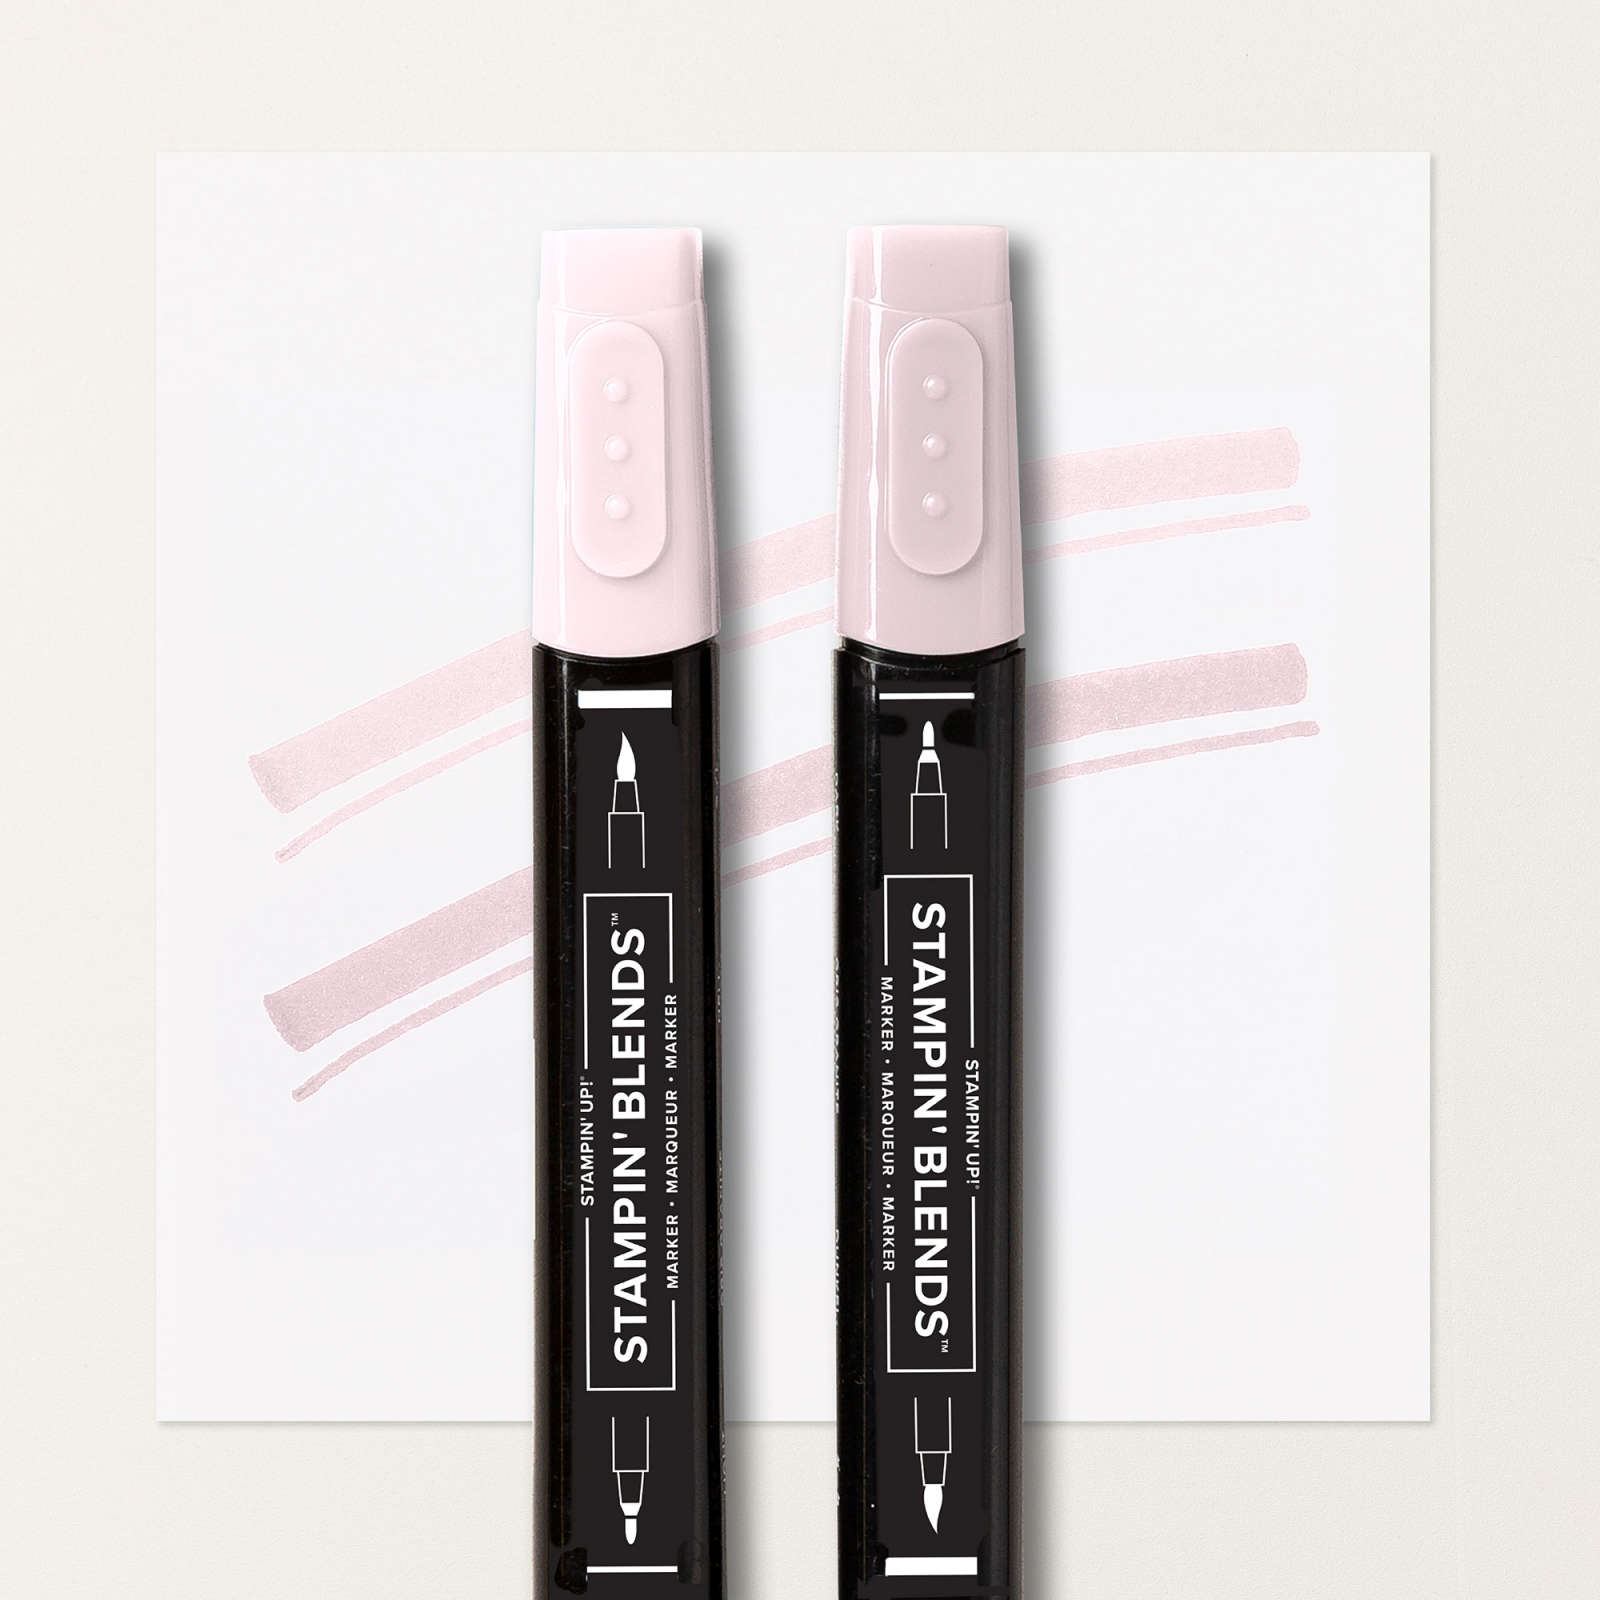
The left matte has Crumb Cake blended then a fussy cut Christmas tree from A Stitched Season DSP. I then embossed some Pecan Pie cardstock with the retired Timber embossing folder then diecut the window shape with the Christmas Mice dies. Behind this I adhered some clear window sheet & trimmed around the arch shape. This shape was flipped over to colour the top triangles with the Granny Apple Green Stampin' Blend®.
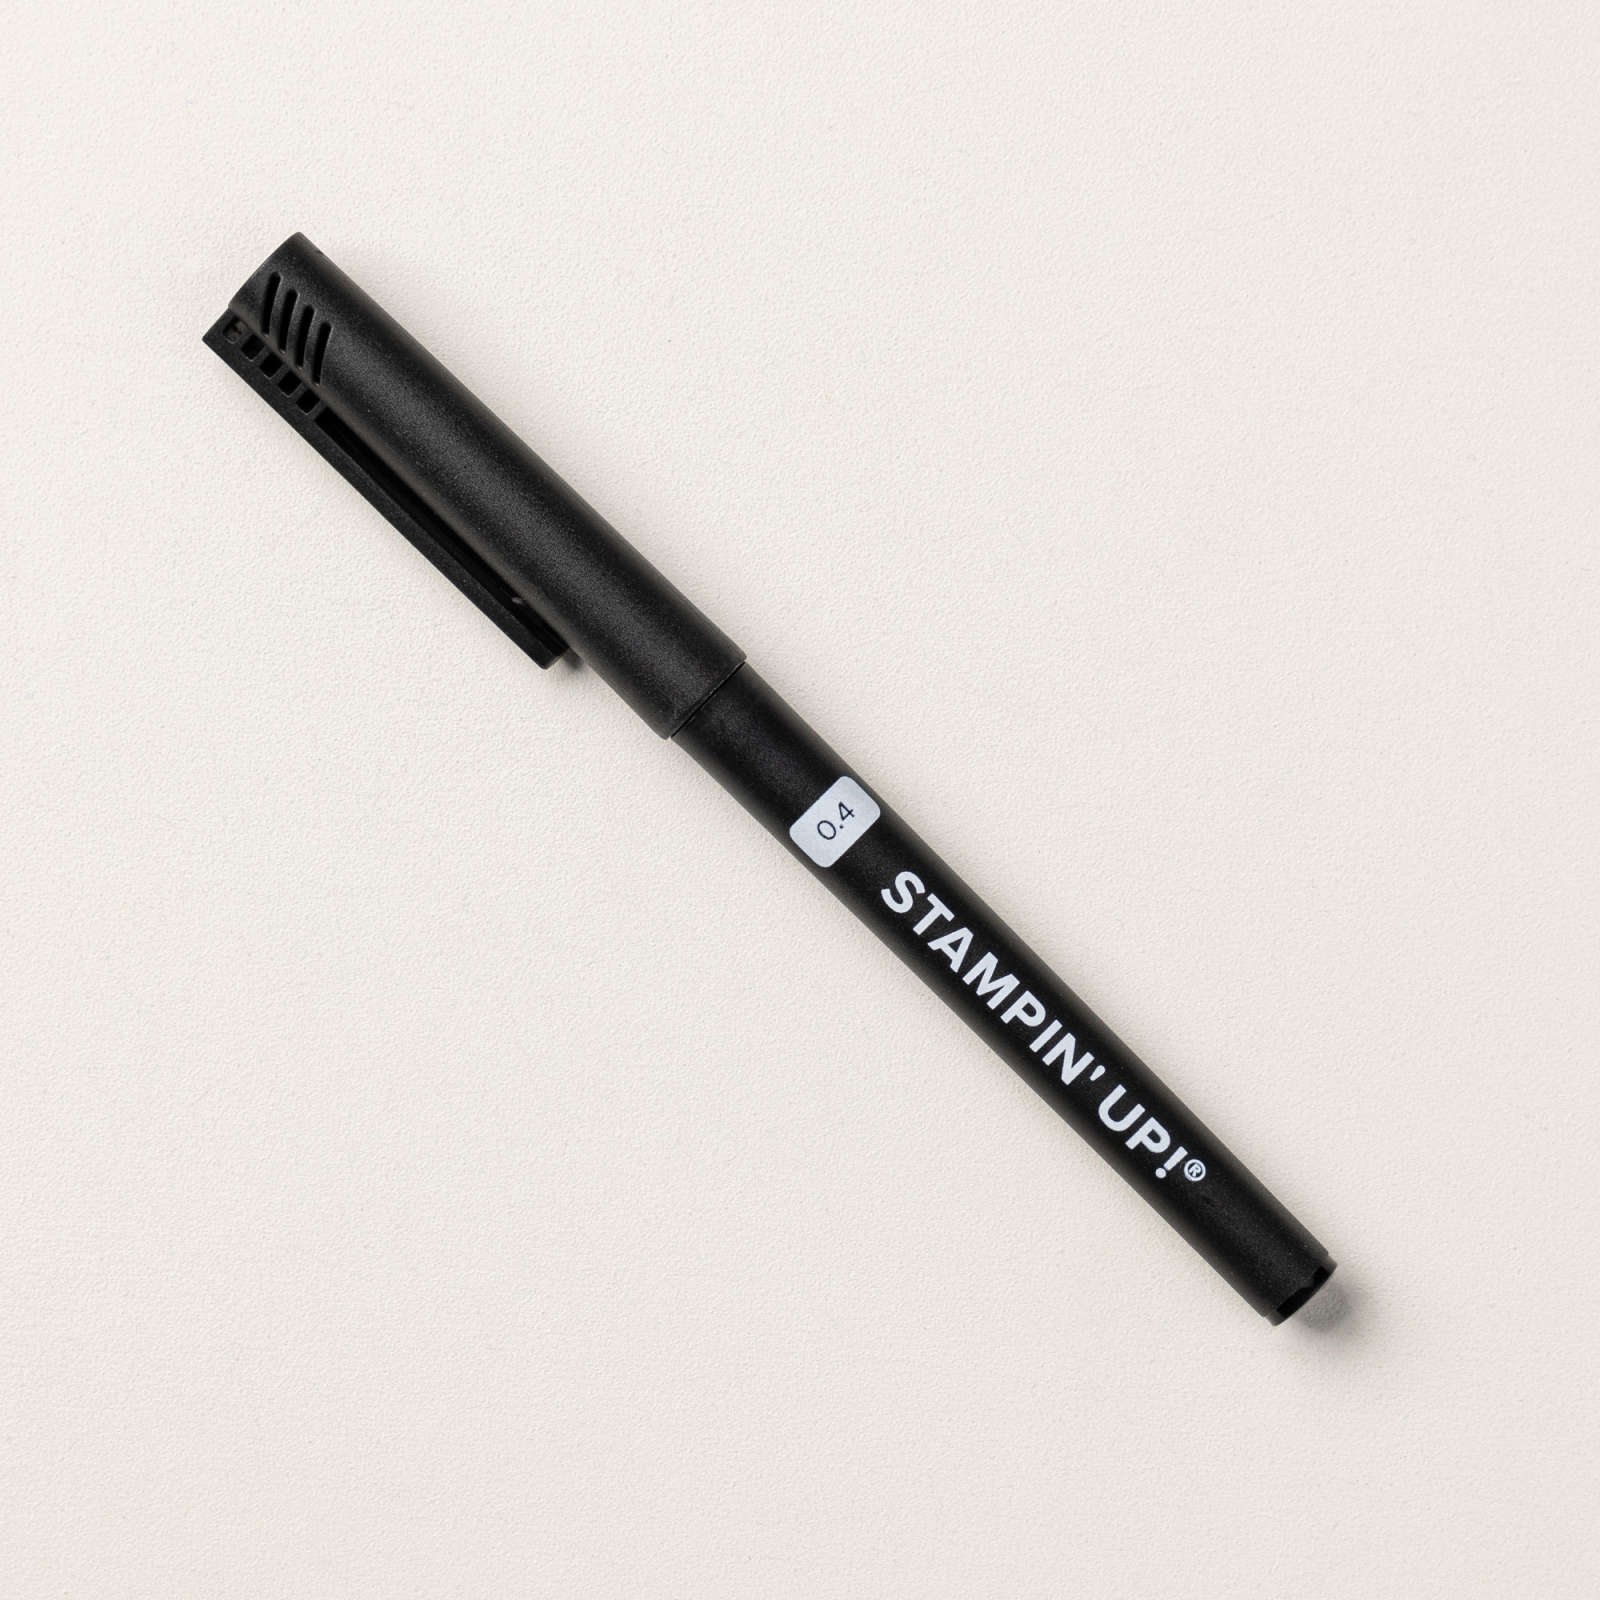
A cute mouse was stamped in Basic Gray along with a whole lot of 'presents'. The mouse is coloured with Gray Granite, Crumb Cake & Barely Blush blends while the facial features are highlighted with the Black journalling pen.
The presents are a mixture of Crumb Cake, Granny Apple Green, Poppy Parade & Golden Glow with the glitter coming from the Golden Glow glimmer pen & Wink of Stella.
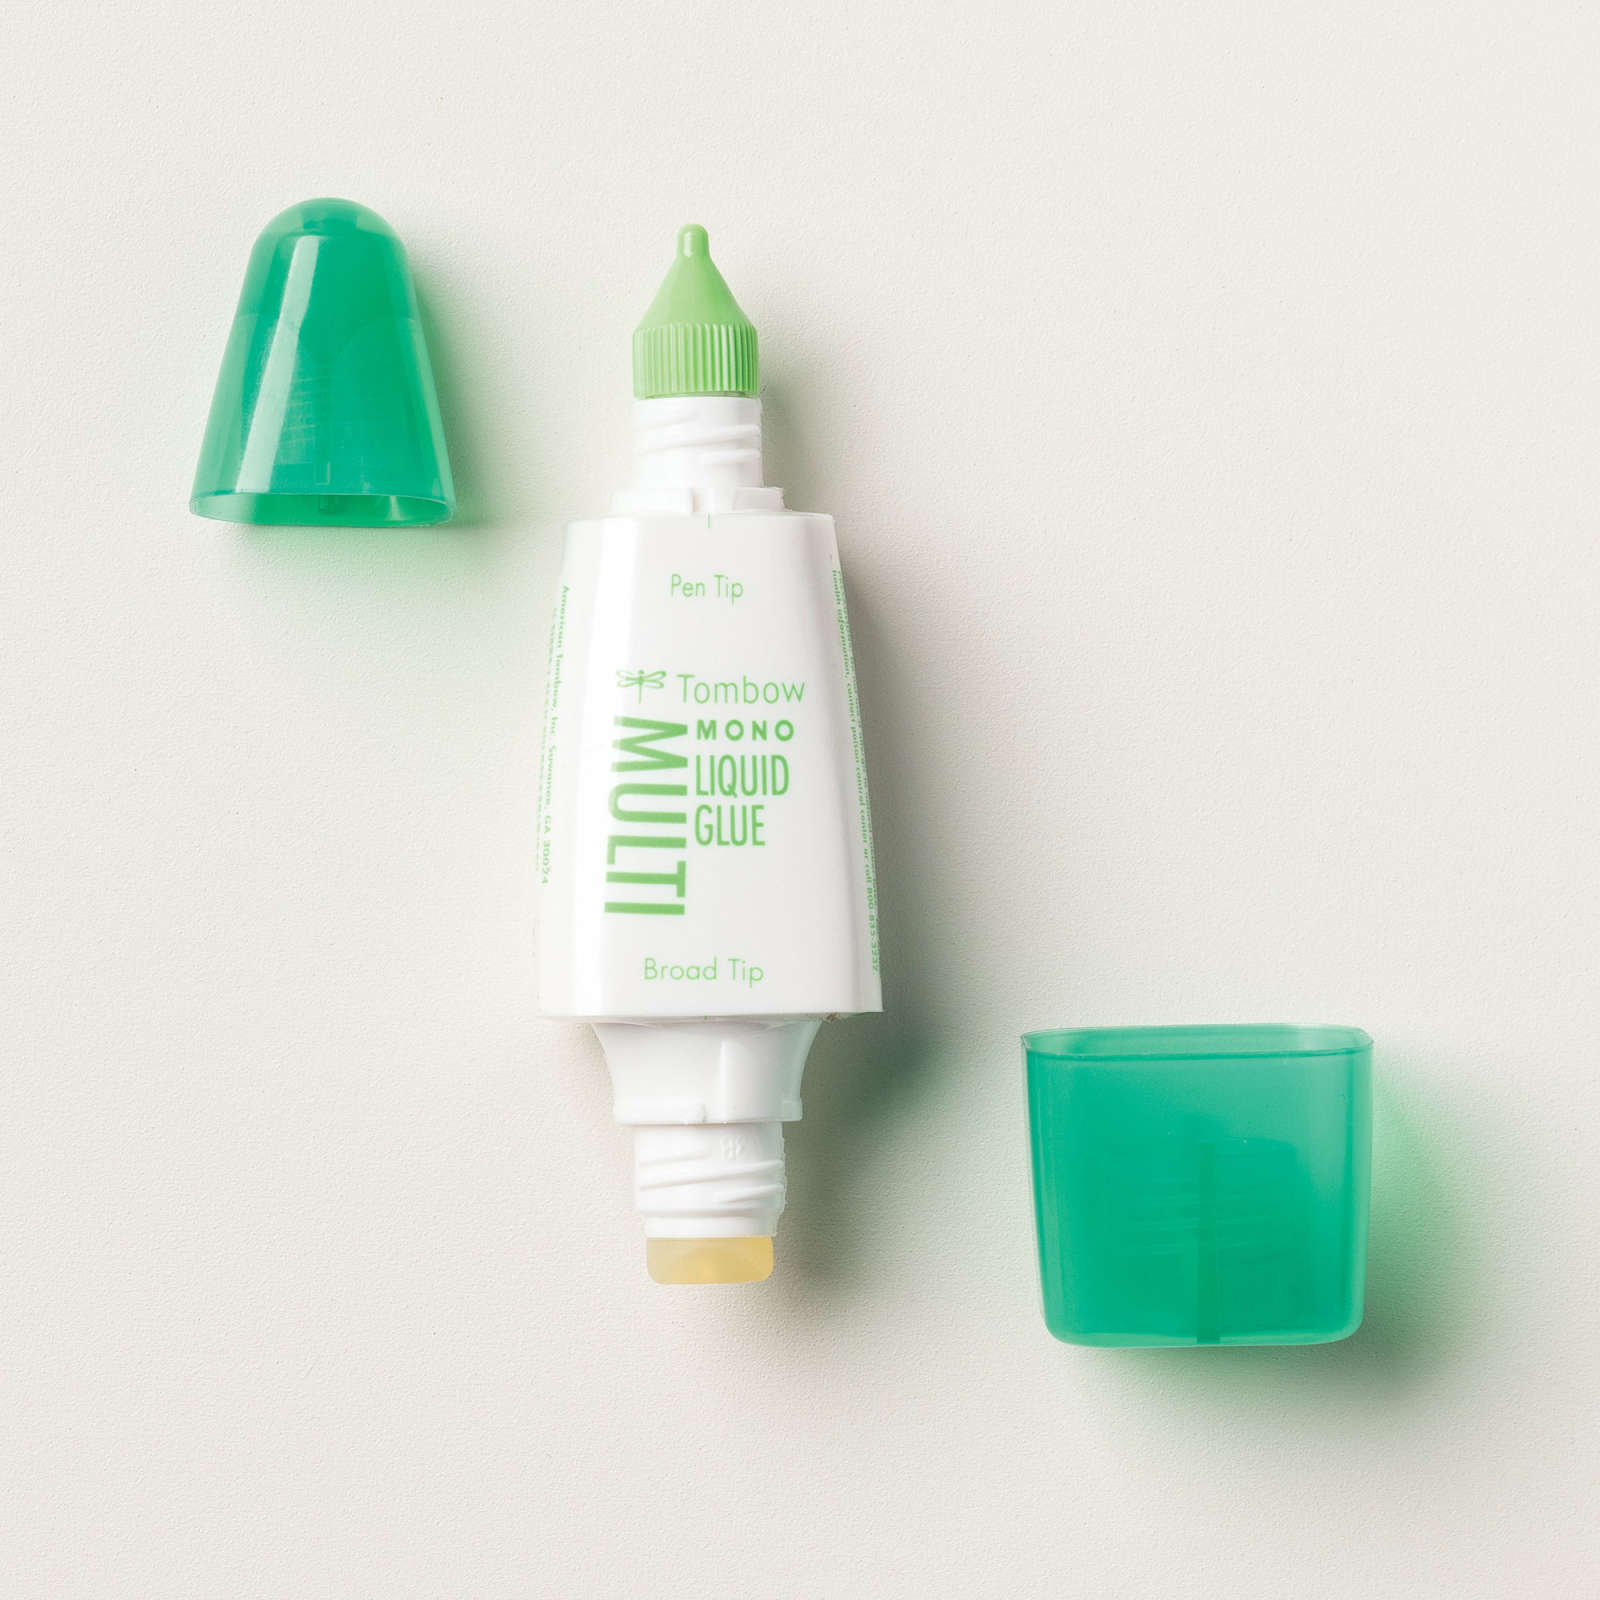
The mouse & presents were diecut & a variety of glue dots & dimensionals, the mouse has 2 layers of dimensionals & some of the presents have double glue dots.
To assemble, I cut a strip of Basic White & DSP from A Stitched Season, adding them to the bottom of the card then heat embossed a gold sentiment from Festive Framed Photos, another of the upcoming stamps & fussy cut it before adding with dimensionals.
Here are some closeups to show the window & the glitter.

So that's it for my post. I hope you enjoyed learning this lovely fun fold.
My next post will be on Sunday & features some alternative creations made with the August Paper Pumpkin kit.
Next week's mid week post is a card sketch based on a Metallic Magic card from Stampin' Up!®.
I hope you can come back for both of them. At the end of this post I will put links to some of the products I used for my cards.
Til next time, take care & keep creating.
XX Alison
Stamps, Dies, Embossing folders & punches
The stamps & dies used are either Products of the Month (available with a qualifying purchase), retired or available once the new catalogue goes live.
Cardstock, DSP & paper



Inks & Markers




Embellishments

Adhesives
Tools


Comments