
23/9/26 Mid week post #233 - Ways to use the Butterfly Flight decorative masks

Learn how to use masks to create layered colour
Hello & welcome to my blog. I hope you are all well.
My name is Alison & I live in beautiful Melbourne, Australia & I am an independent Stampin' Up® demonstrator.
I love to create beautiful things to share with people that I love but I also sell me creations. I have been creating things in one way or another for most of my life - knitting, sewing, cooking, card making, gardening, scrap booking & hand made gifts & in 2020 after joining Stampin' Up® I decided to share my passion in a blog (craftedbyalison@blogspot.com).
In 2025 I retired & decided to spread my creative wings a little more by combining my blog, products that I had been selling on FaceBook & launching a newsletter. Some of these things I had already been doing but this time they are all in the one place. (All previous posts can be found at my blogspot address above if you would like to read any of them.)
I post twice a week, on Wednesdays when I look at techniques, tips & tools, funfolds, colouring - techniques, challenges & ways to combine them as well as card sketches. My other posting day is Sunday where I share ideas to create with kits, ways to use up your scraps, DSP, stamps, dies, embossing folders, scrapbooking & memory keeping, 3D projects as well as C.A.S.Eing (Copy & Share Everthing) & Mystery Stamping. There's always something new to share!
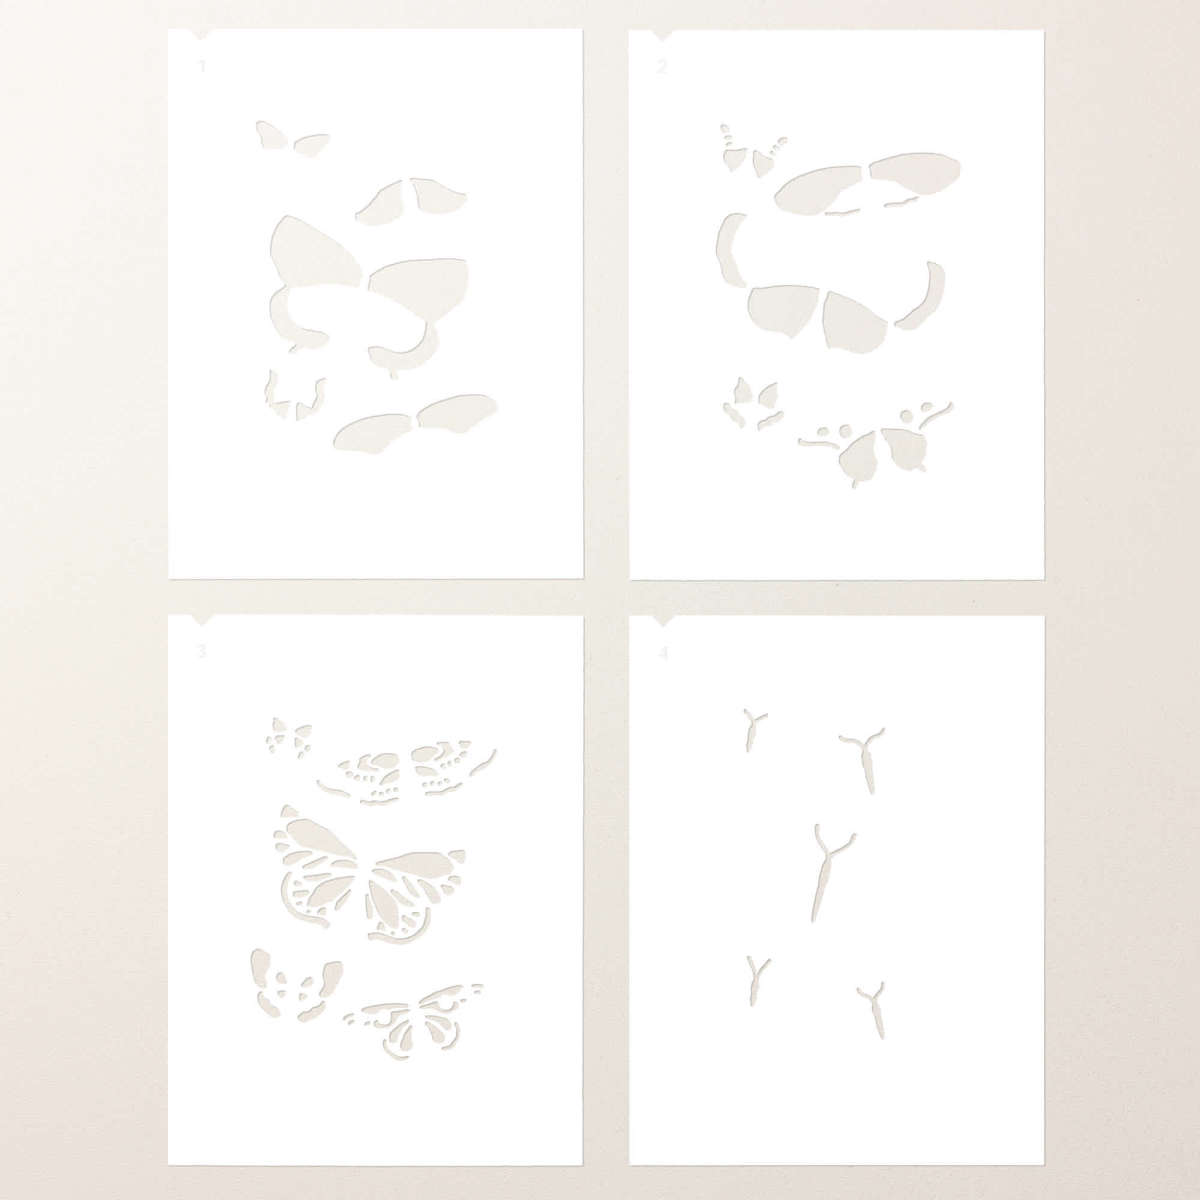
This week I take a look at the decorative masks that are part of the Butterfly Flight bundle. The masks compliment the Butterfly Flight Hot Foil dies which are used with the Hot Foil System to create metallic effects on your projects. They can also be used as a stand alone with a little creativity.
Here are two ways I've used the masks on my projects...

These two cards are very similar at their base point - both have a Floral Spray embossed layer, both are coloured, both have 3 butterflies made with the Butterfly Flight masks & diecut with the matching dies. They each have subtle changes though which I will go through with you shortly.
But first, let me explain how to use the masks.
The masks come in a pack of 4 plastic sheets,

each numbered & with a small notch on the top left of the mask.

The notches allow you to place each mask over your work area & align them correctly without any guessing or mistakes. They can then be cleaned with a wet wipe or washed with soap & water. Allow them to dry thoroughly before returning to their plastic pocket.
Card #1.

For my first card I started by googling butterflies to get some inspiration for different colour-ways. There were some beautiful South American species that caught my eye with browns, tans & reds so that's where I started.
On a piece of Basic White, a little larger than the mask, I started with mask #1 & blended Pecan Pie, removed it & added Early Espresso with mask #2, removed it & added Poppy Parade with mask #3 then for the final mask I used the Hybrid Black ink pad & added the centre of the butterfly with a sponge dauber.

The butterflies were then diecut & 3 of the 5 were selected for the card front - one is used on the inside of the card.
To create the card I started with a Pecan Pie base & an Early Espresso matte.
The next layer is Lemon Lime Twist, embossed with the Floral Spray embossing folder. I then gently sponged over the raised area of the leaves with a sponge dauber & Lemon Lime Twist ink to add some extra depth to the image. For the flowers, I dropped some White re-inker onto a stamp block, then diluted it with a little water & applied it with a sponge dauber. I used two amounts of ink in the end to get the depth of colour I wanted.
When I was happy with the level of colour I added the embossed image to the card. The butterflies were added with dimensionals in the centre of the smaller two but for the larger one I used a bone folder to gently curl the outside of the wings then added it with glue dots.
The sentiment from Sending Salutations is stamped in Early Espresso with a layer of clear embossing powder for a little extra depth then fussy cut. It was then backed with Early Espresso & also fussy cut before adding it with dimensionals.
The final element are a few Antique Pearls. Love how it turned out!

CARD #2

This card WOWed me when it was finished.
The front starts the same as Card #1 but this time I used Basic White & with the de-bossed side I carefully coloured the inlaid images with sponge daubers. To create the dark effect (called Blackout technique) I swiped an open ink pad across the entire layer which left ink on the raised area. I have seen this technique a few times & each time the colour used is black but I wanted a slightly softer finish & chose Secret Sea instead. As some of the dark ink had coloured a little of the debossed area I went over the coloured images again with more Lemon Lime Twist, Blueberry Bushel & Lemon Lolly. This helped the images to stand out a little more.
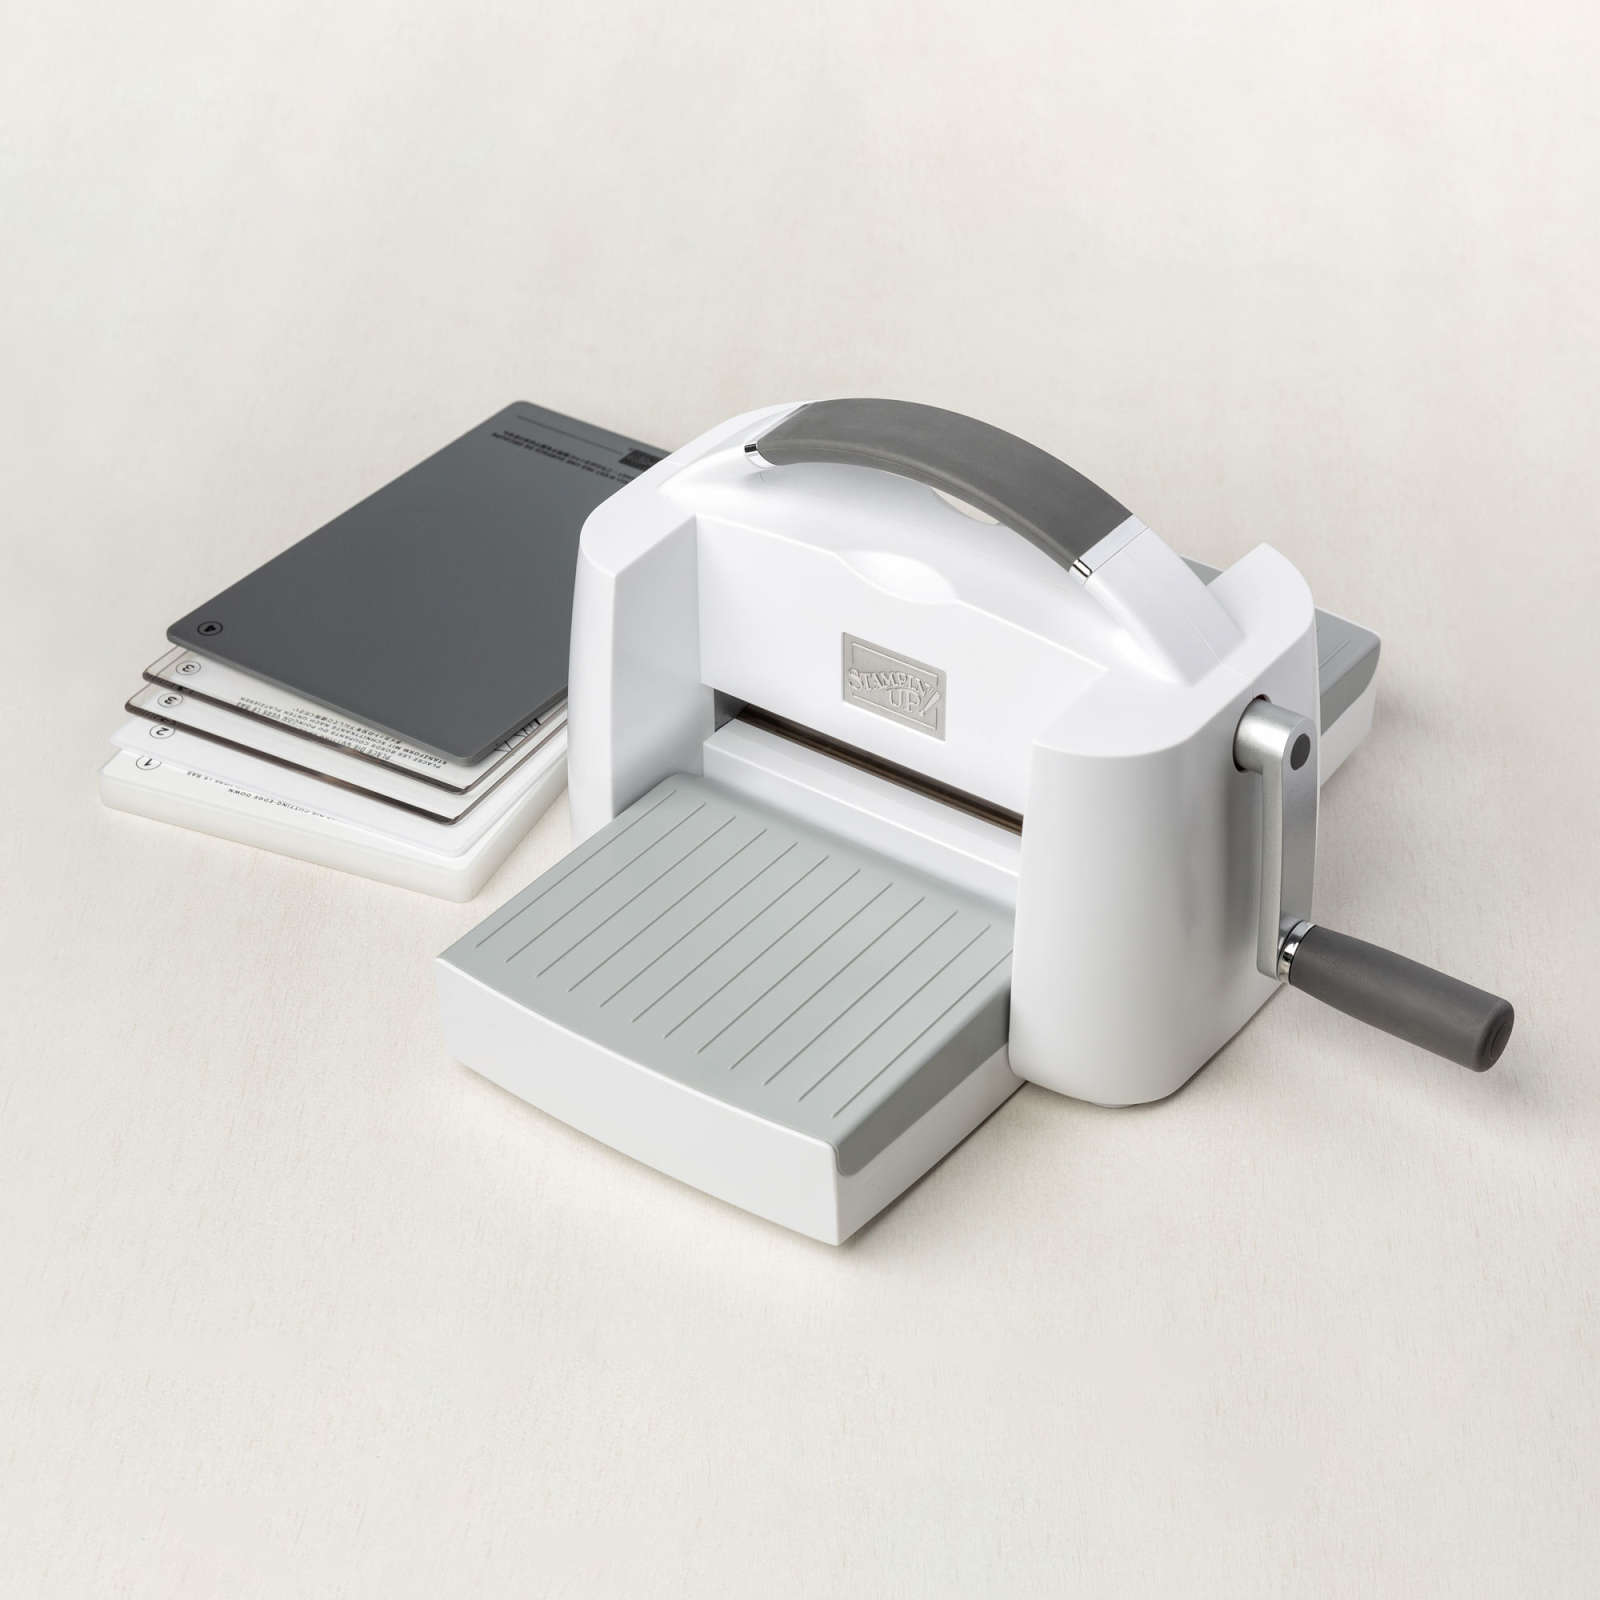
The butterflies were created by added ink to the Butterfly Flight Hot Foil die then running it through the Stampin' Cut & Emboss machine with Basic White cardstock. It produces a less crisp finish than a regular stamp would but that was OK for this project.

I used the same method to colour in the images with Blueberry Bushel & Lemon Lime Twist inks but left some areas white.

I again chose to use only 3 butterflies for the front but this time I added some more Lemon Lime Twist around the edge of the diecuts with a Blend marker. This added some extra pop to the image.
The sentiment is stamped in Lemon Lime Twist, diecut with the Stylish Shapes dies & backed with a Lemon Lime Twist 1 7/8" circle.
To finish there are a few green Dewdrop embellishments on the sentiment.
I absolutely love how this turned out. I hadn't expected the ink to attach to the parts of the image where it did but I think it adds a more dramatic effect.

That's it for this post. I hope you enjoyed learning how to use these masks.
My next post is on Sunday with a look at the Stitched Stocking dies.
In my next mid week post will be sharing some alternatives made with the September Aspens of Gratitude Paper Pumpkin kit.
I hope you can join me for both of them.
Links to the products used in this post are below.
Til next time, thanks for visiting, take care & keep creating!
XX Alison
Stamps, Dies, Embossing folders & punches





Cardstock, DSP & paper
Lemon Lime Twist cardstock sorry but the gremlins got to this link & won't display as a link preview


Inks & Markers


Lemon Lime Twist Classic Stampin' pad sorry but the gremlins got to this link & won't display as a link preview

Embellishments

Adhesives

Tools


Comments