
2/9/26 Midweek post #230 Stampin' Up!® card sketch #1/26

A stunning way to combine colour with the new Hot Foil System with a card sketch as your beginning.
Hello & welcome to my blog. I hope you are all well.
My name is Alison & I live in beautiful Melbourne, Australia & I am an independent Stampin' Up® demonstrator.
I love to create beautiful things to share with people that I love but I also sell me creations. I have been creating things in one way or another for most of my life - knitting, sewing, cooking, card making, gardening, scrap booking & hand made gifts & in 2020 after joining Stampin' Up® I decided to share my passion in a blog (craftedbyalison@blogspot.com).
In 2025 I retired & decided to spread my creative wings a little more by combining my blog, products that I had been selling on FaceBook & launching a newsletter. Some of these things I had already been doing but this time they are all in the one place. (All previous posts can be found at my blogspot address above if you would like to read any of them.)
In today's post I am sharing a card sketch that Stampin' Up!® provide for free on their blog here. Card sketches are simply a drawing of a layout idea for a card. Using one of Stampin' Up!®s designs I created a gorgeous card with some of the new Hot Foil stamps & dies. Here is the finished card...

And here is the sketch...

This is quite a simple design & can be used in many ways. I chose to use silver foil images for the top two rectangles, a stamped image for the third rectangle & added a butterfly in place of the circle. To break it down a bit...
The base is Basic White.
There is a Crisp Canteloupe matte.
Then the embossed matte which was created using Hydrangea Hue Two Tone cardstock & silver foil with the Echoes of Detail dies for the first 2 rectangles. I chose Hydrangea Hue ink & a different image to stamp over the foil to create the 3rd rectangle.
On Basic White I foiled butterflies with the Butterfly Flight dies & coloured them with the Crisp Canteloupe & Hydrangea Hue shimmer brushes before diecutting them. The larger butterfly becomes the 'circle' in the design.
Sentiments were hot foiled, again in silver, with the Sweetly Sentimental dies & diecut.
Assembling the card is
1. Basic White base
2. Crisp Canteloupe matte
3. Embossed Hydrangea Hue front
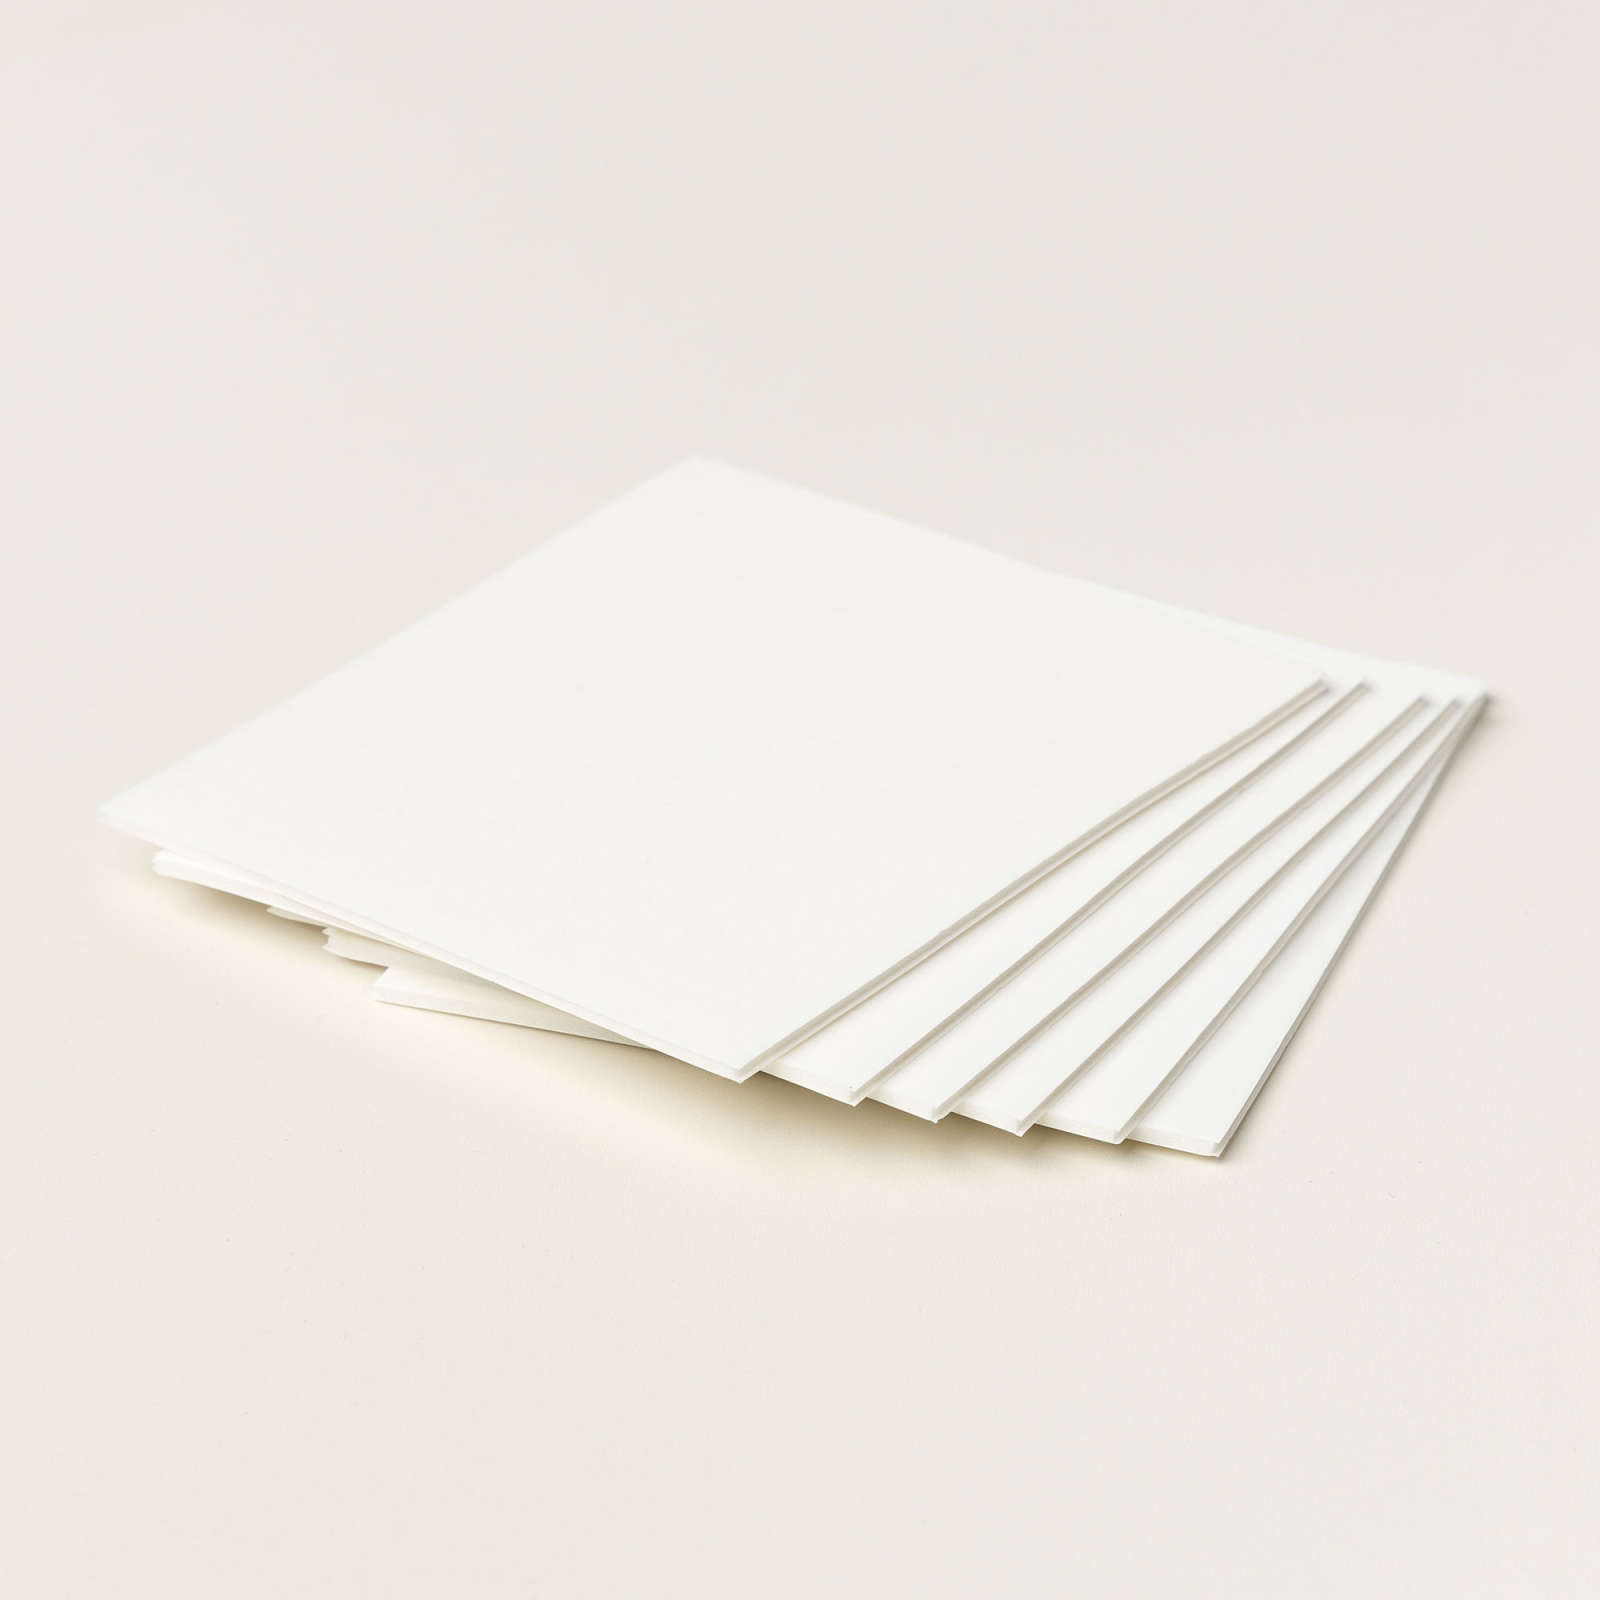
4. Butterflies & sentiments, all raised with dimensionals, the larger one having a double layer in some areas to give a stronger 3D effect.
No embellishments were added as the foiling is shiny enough.
So that's it for my creation. I hope you've enjoyed seeing how easy it is to create with a sketch. Sketches can be fun but they can also be a great tool to help kick start your creativity if you're having a bit of a slump or just need some new ideas.
My next post is on Sunday with Embossing Folders in the spotlight this time.
Next week's midweek post will feature some more lovely hot foil designs.
I hope you can come back for both of them. At the end of this post I have put links to products I used for my cards. Unfortunately not all of the links were able to be converted into picture links. Who knows why the gremlins allow some and not others right? Sorry.
Til next time, take care & keep creating.
XX Alison
Stamps, Dies, Embossing folders & punches
Cardstock, DSP & paper
Inks & Markers
Embellishments
No embellishments were used on this project.
Adhesives
Tools


Comments