
16/9/26 Mid week post #232 - Meet the Impressions plate

How to create a subtle 3D effect with the new Impressions Plate.
Hello & welcome to my blog. I hope you are all well.
My name is Alison & I live in beautiful Melbourne, Australia & I am an independent Stampin' Up® demonstrator.
I love to create beautiful things to share with people that I love but I also sell me creations. I have been creating things in one way or another for most of my life - knitting, sewing, cooking, card making, gardening, scrap booking & hand made gifts & in 2020 after joining Stampin' Up® I decided to share my passion in a blog (craftedbyalison@blogspot.com).
In 2025 I retired & decided to spread my creative wings a little more by combining my blog, products that I had been selling on FaceBook & launching a newsletter. Some of these things I had already been doing but this time they are all in the one place. (All previous posts can be found at my blogspot address above if you would like to read any of them.)
I post twice a week, on Wednesdays when I look at techniques, tips & tools, Paper Pumpkin kits, funfolds, colouring - techniques, challenges & ways to combine them as well as card sketches. My other posting day is Sunday where I share ideas to create with kits & Paper Pumpkin alternatives, ways to use up your scraps, DSP, stamps, dies, embossing folders, scrapbooking & memory keeping, 3D projects as well as C.A.S.Eing (Copy & Share Everthing) & Mystery Stamping. There's always something new to share!
Today's post is about a new product from Stampin' Up!® called the Impressions Plate that allows you to create a subtle 3D effect when you run your project through the Cut & Emboss machine using specific dies & the special rubber Impressions plate. I have had a play around with it to see how it works & have also tried it with different papers as well as regular dies, just to see what the result is.
I hope you enjoy learning & seeing the results.
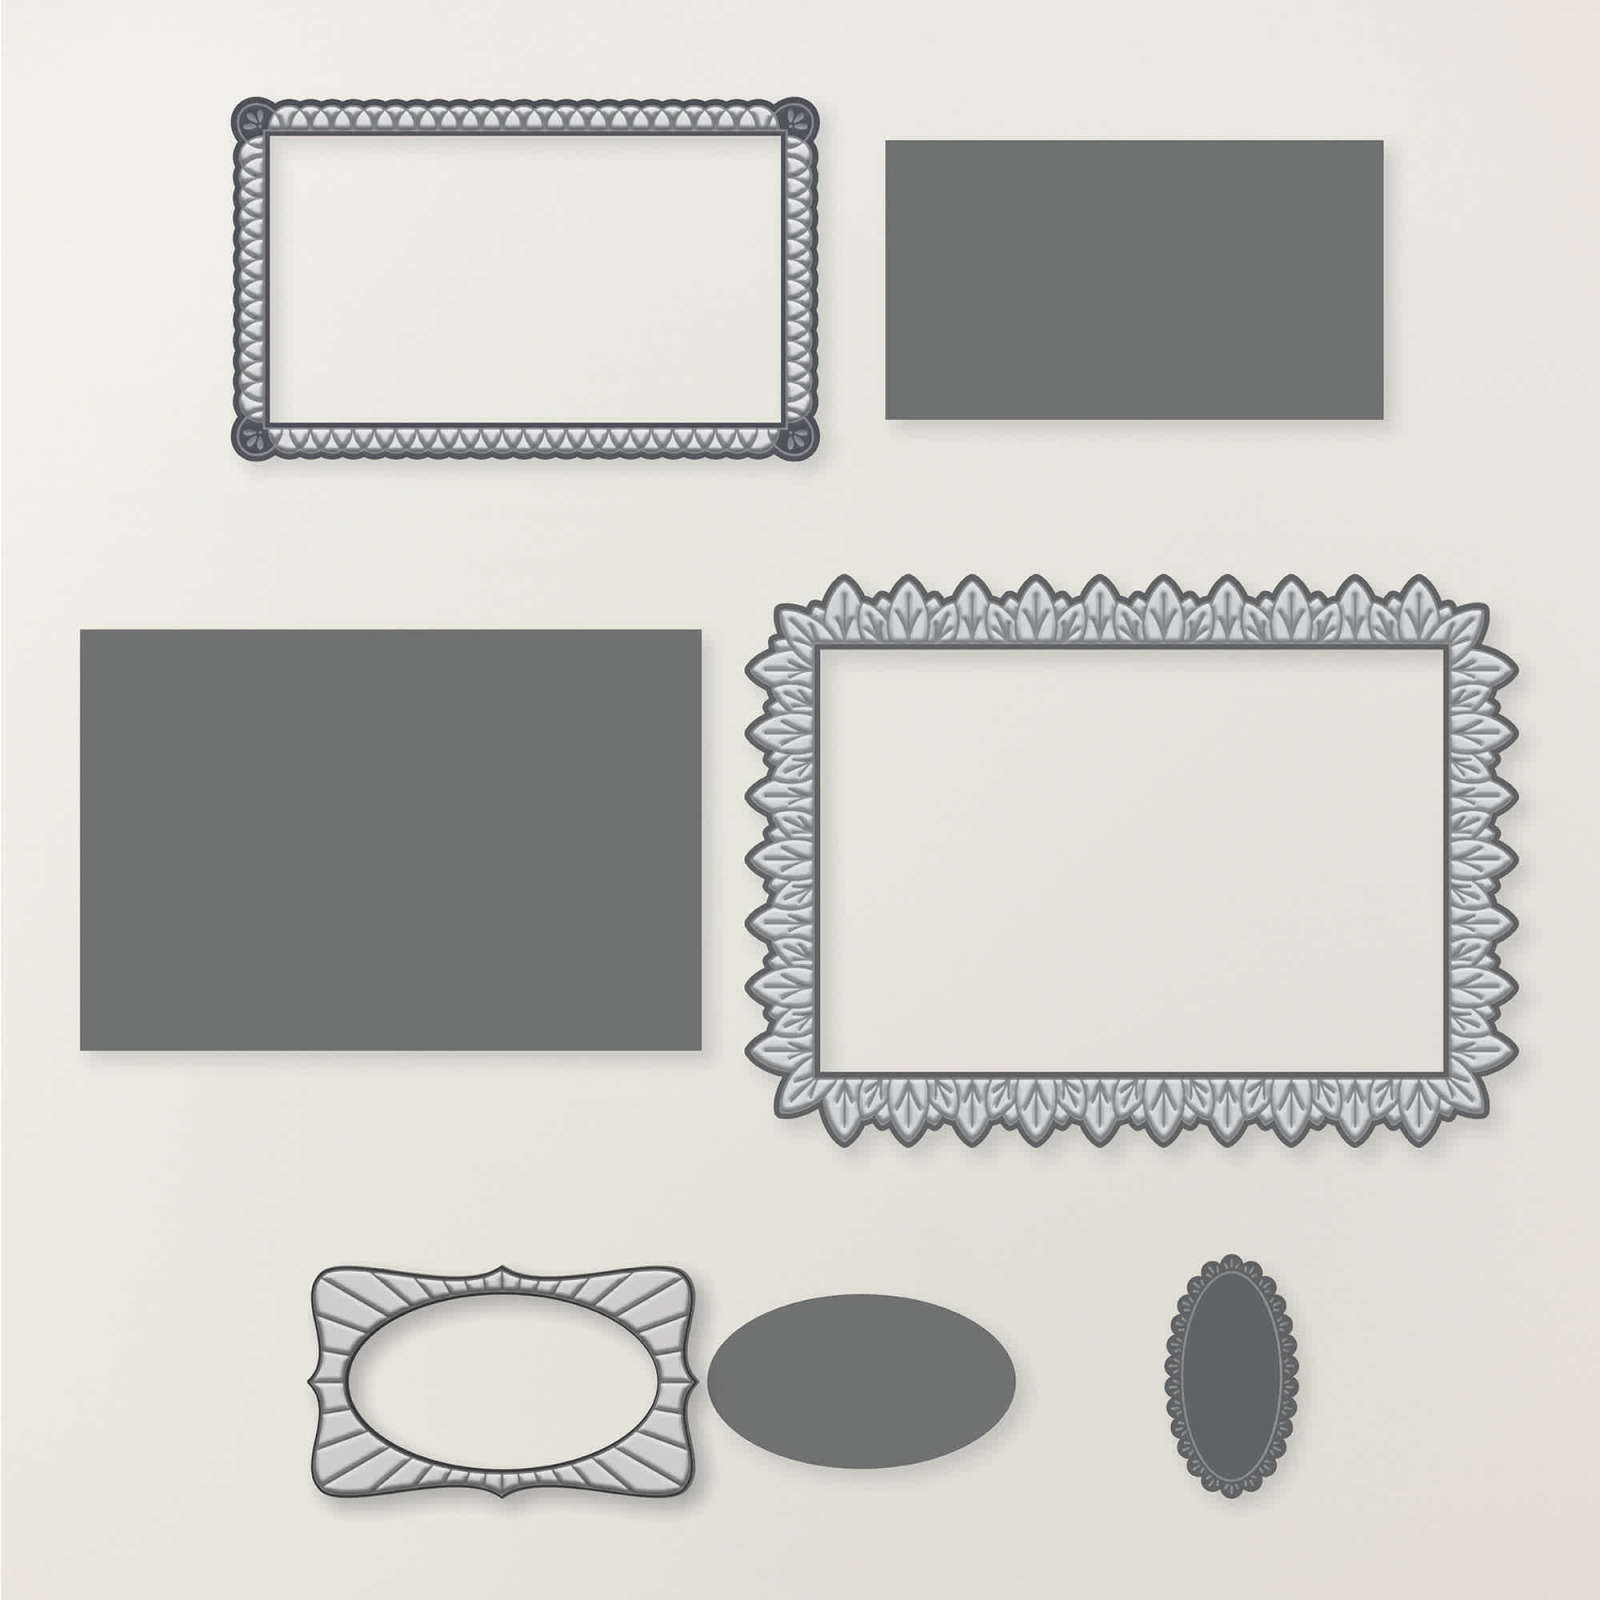
I created a few different examples using the Phrases & Frames dies & Elegantly Wrapped dies which are both designed to be used with the impressions plate. I used Earthen Toned specialty DSP, All Wrapped Up specialty DSP & Darling Duckling DSP then played around with Country Woods DSP & Berry Botanical Vellum to see what the results would be on other papers. I'll go through it in more detail shortly but first, a picture of the two cards I ended up creating with my choice of papers.

To start the process you will need the new Impressions Plate which comes with easy to follow instructions on how to use it...

There are two steps to creating the 'impressed' pieces...
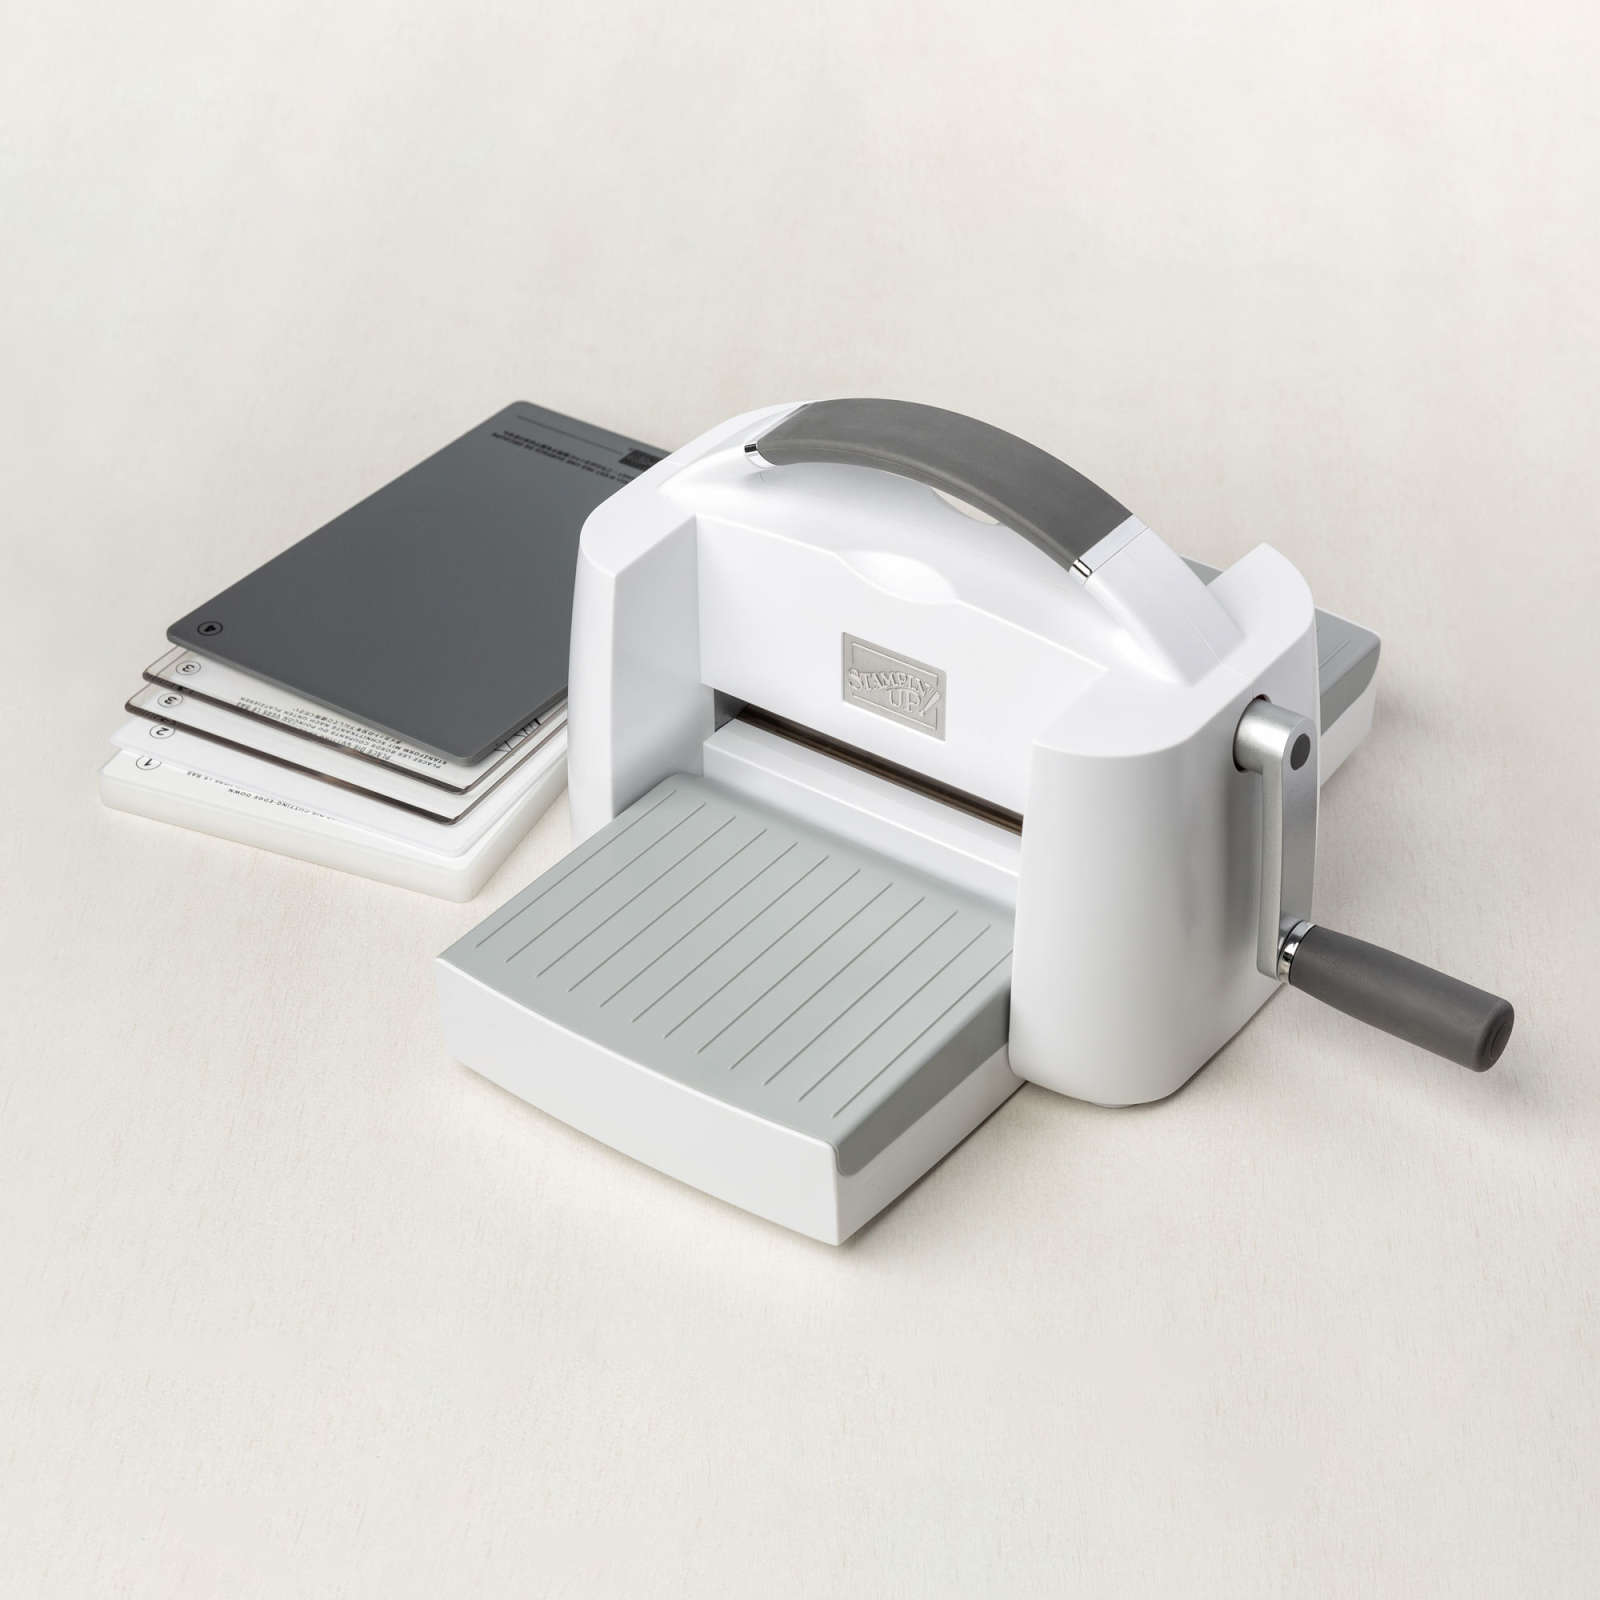
Diecut your image as you would normally, with the 1, 2 & 3 plates from the Stampin' Cut & Emboss machine.
Leave the image inside the die but flip it over so that the cutting edges are facing upwards. At this stage you can spritz your paper with a little water if you think your cardstock will crack. The spritzing can also be done in step 1. (There are fans for both ways of spritzing - try both & see which you prefer.)
Make a different 'sandwich' with your plates number 1, 2 the die with image, impressions plate then number 4 & run your die back through the STEM. I found taping the image down with some washi tape or a post it note works well to keep the image inside the die as there is some slippage occasionally when the rubber mat moves the die through the machine.
When you take the image out of the die you will see that the embossing is more pronounced. Here are some examples...


You can see in the photos above that the leaves, diecut with the regular Fern & Flora dies from Vellum didn't fare too well with the bottom fronds breaking off of one piece but the extra detail of the die looks better than a regular diecut impression. They were only run through once as the dies are not Impressions dies.
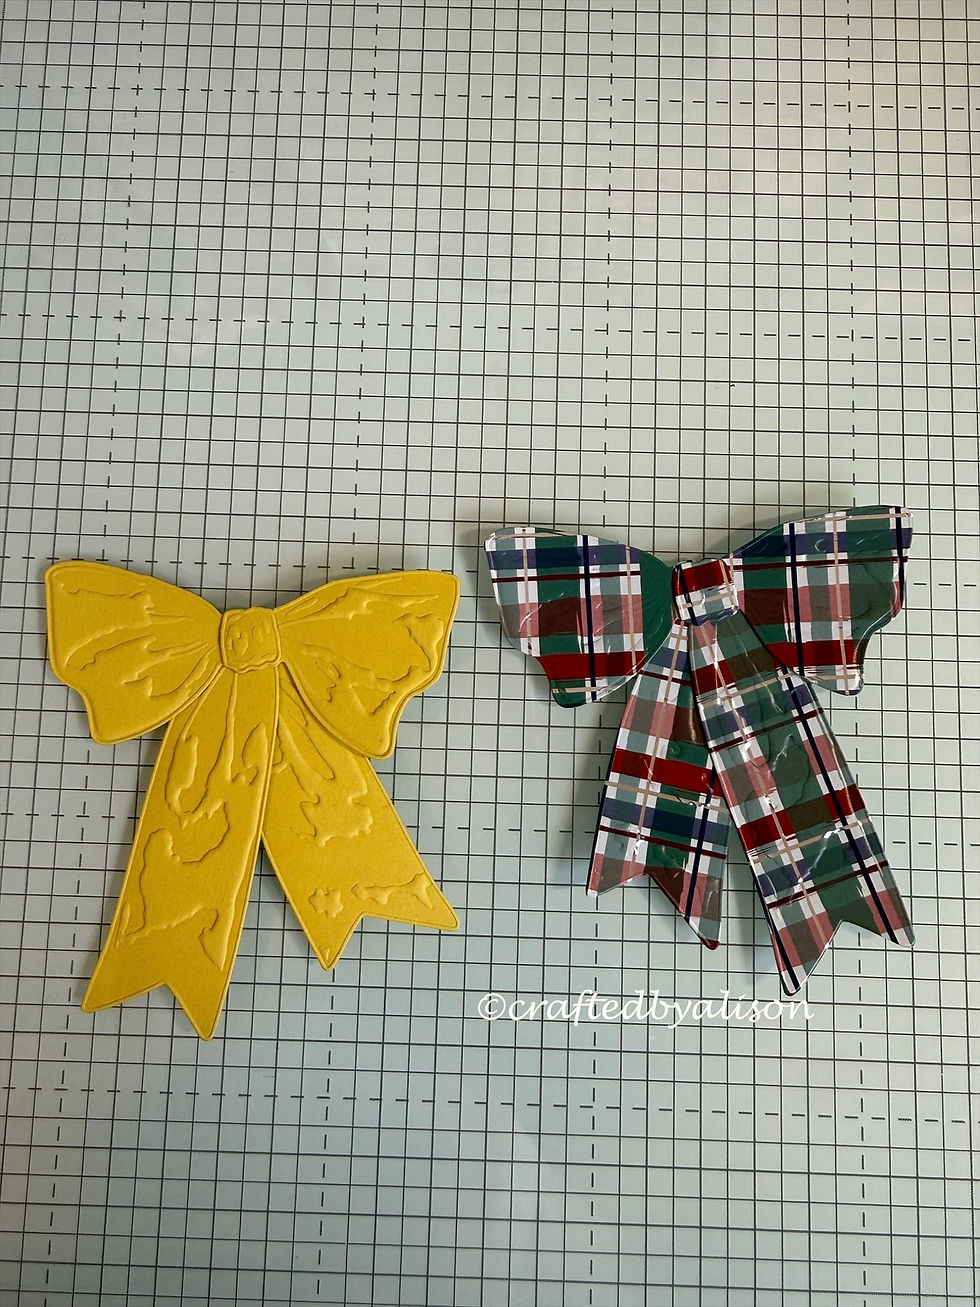

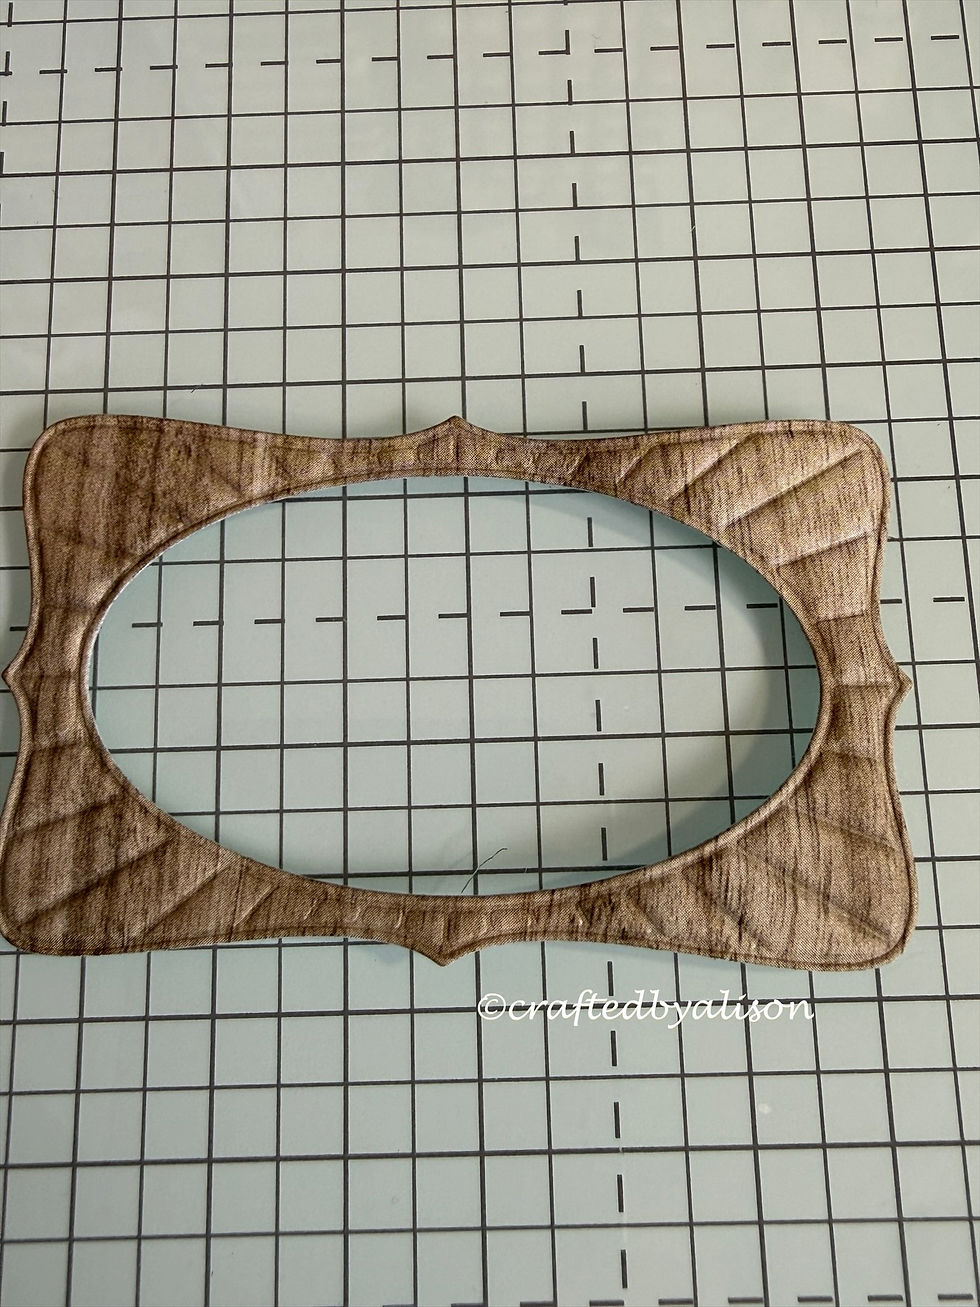


Of all of the pieces cut out I chose to use the frame & the specialty paper bow for my creations.
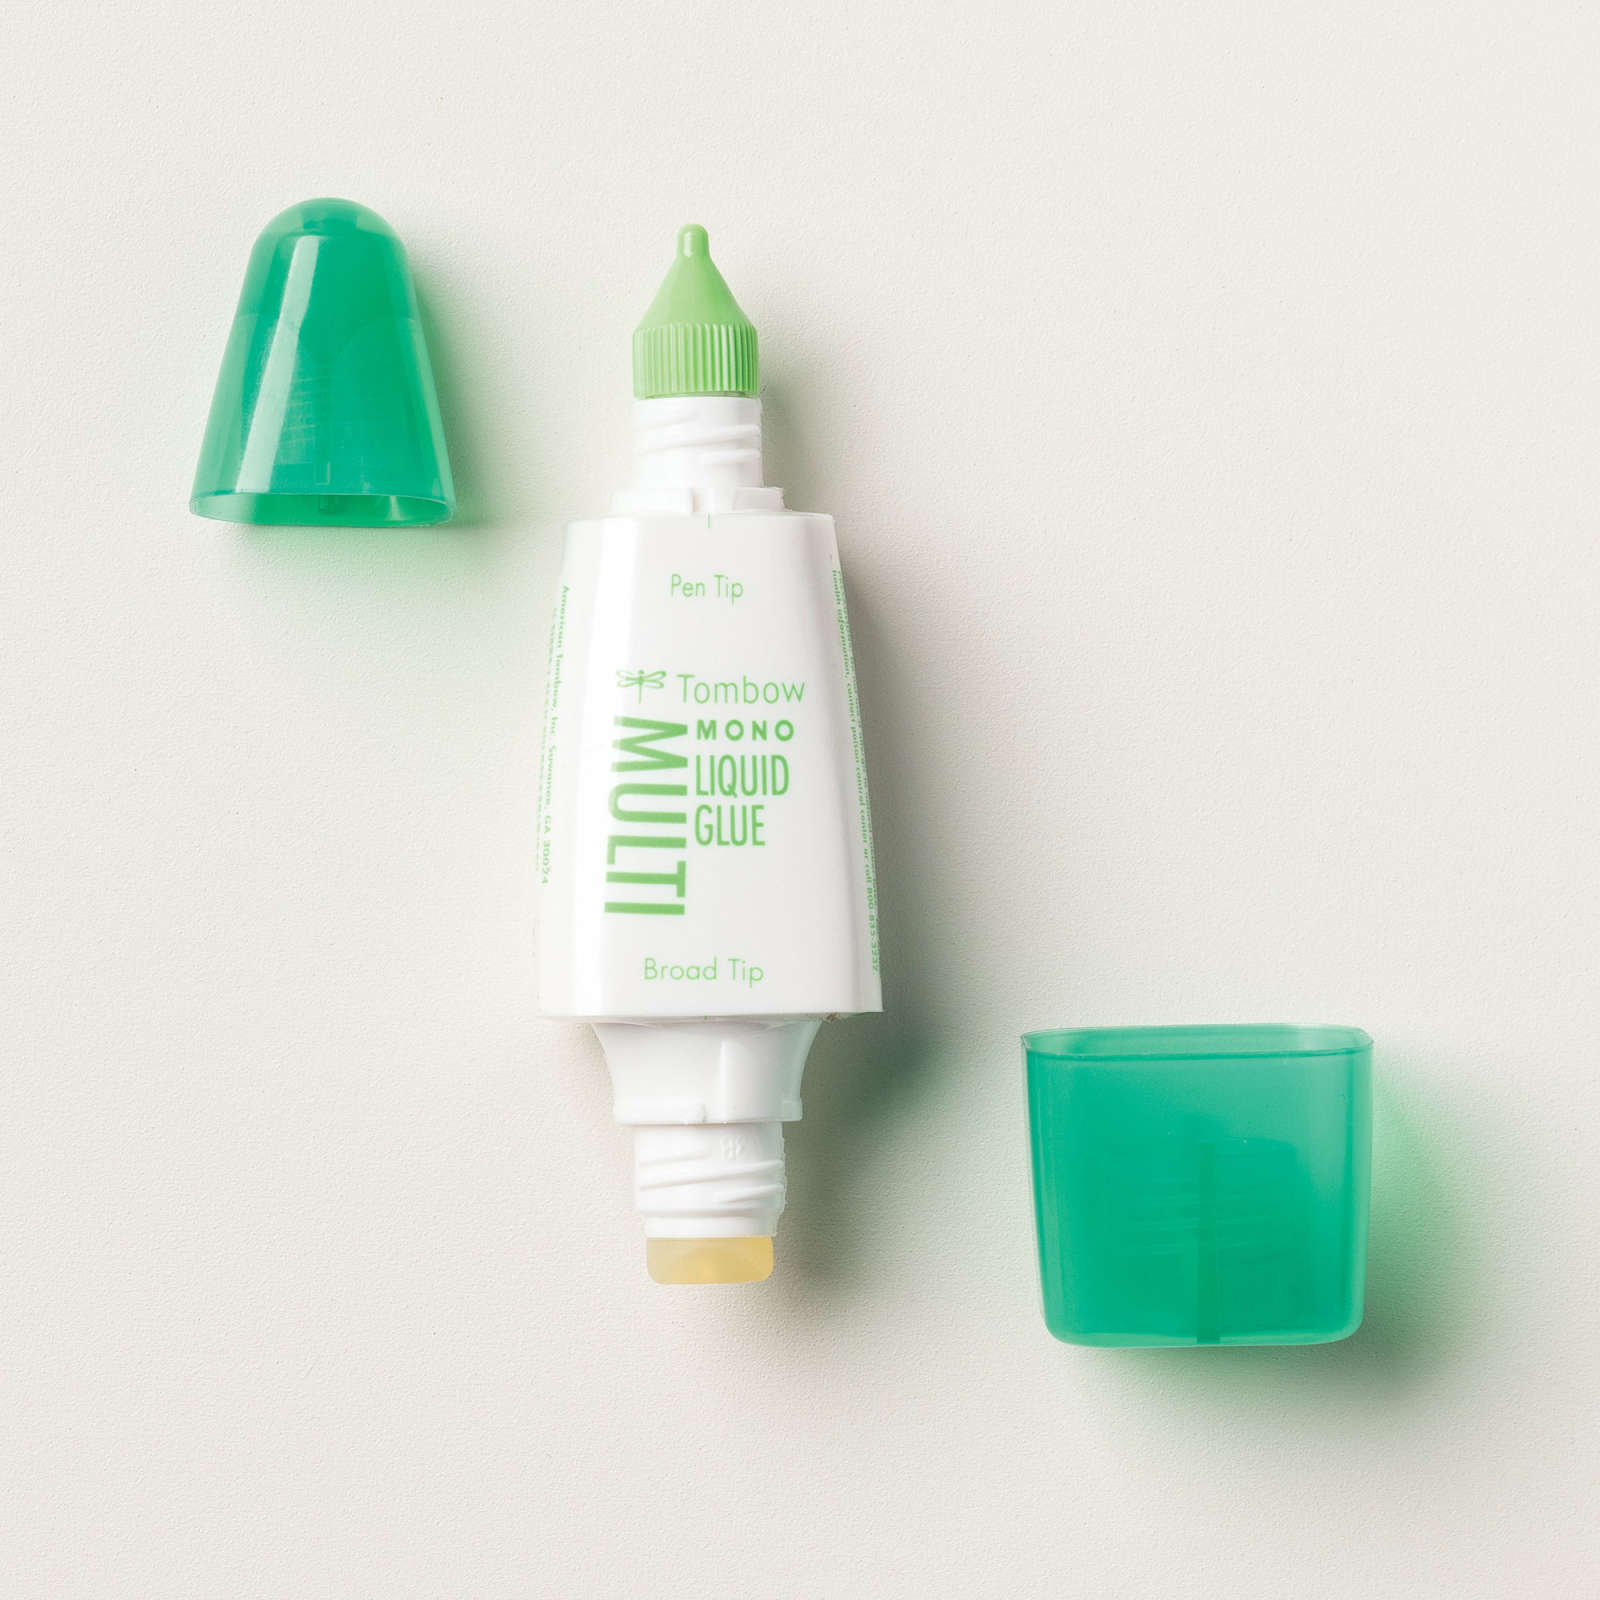
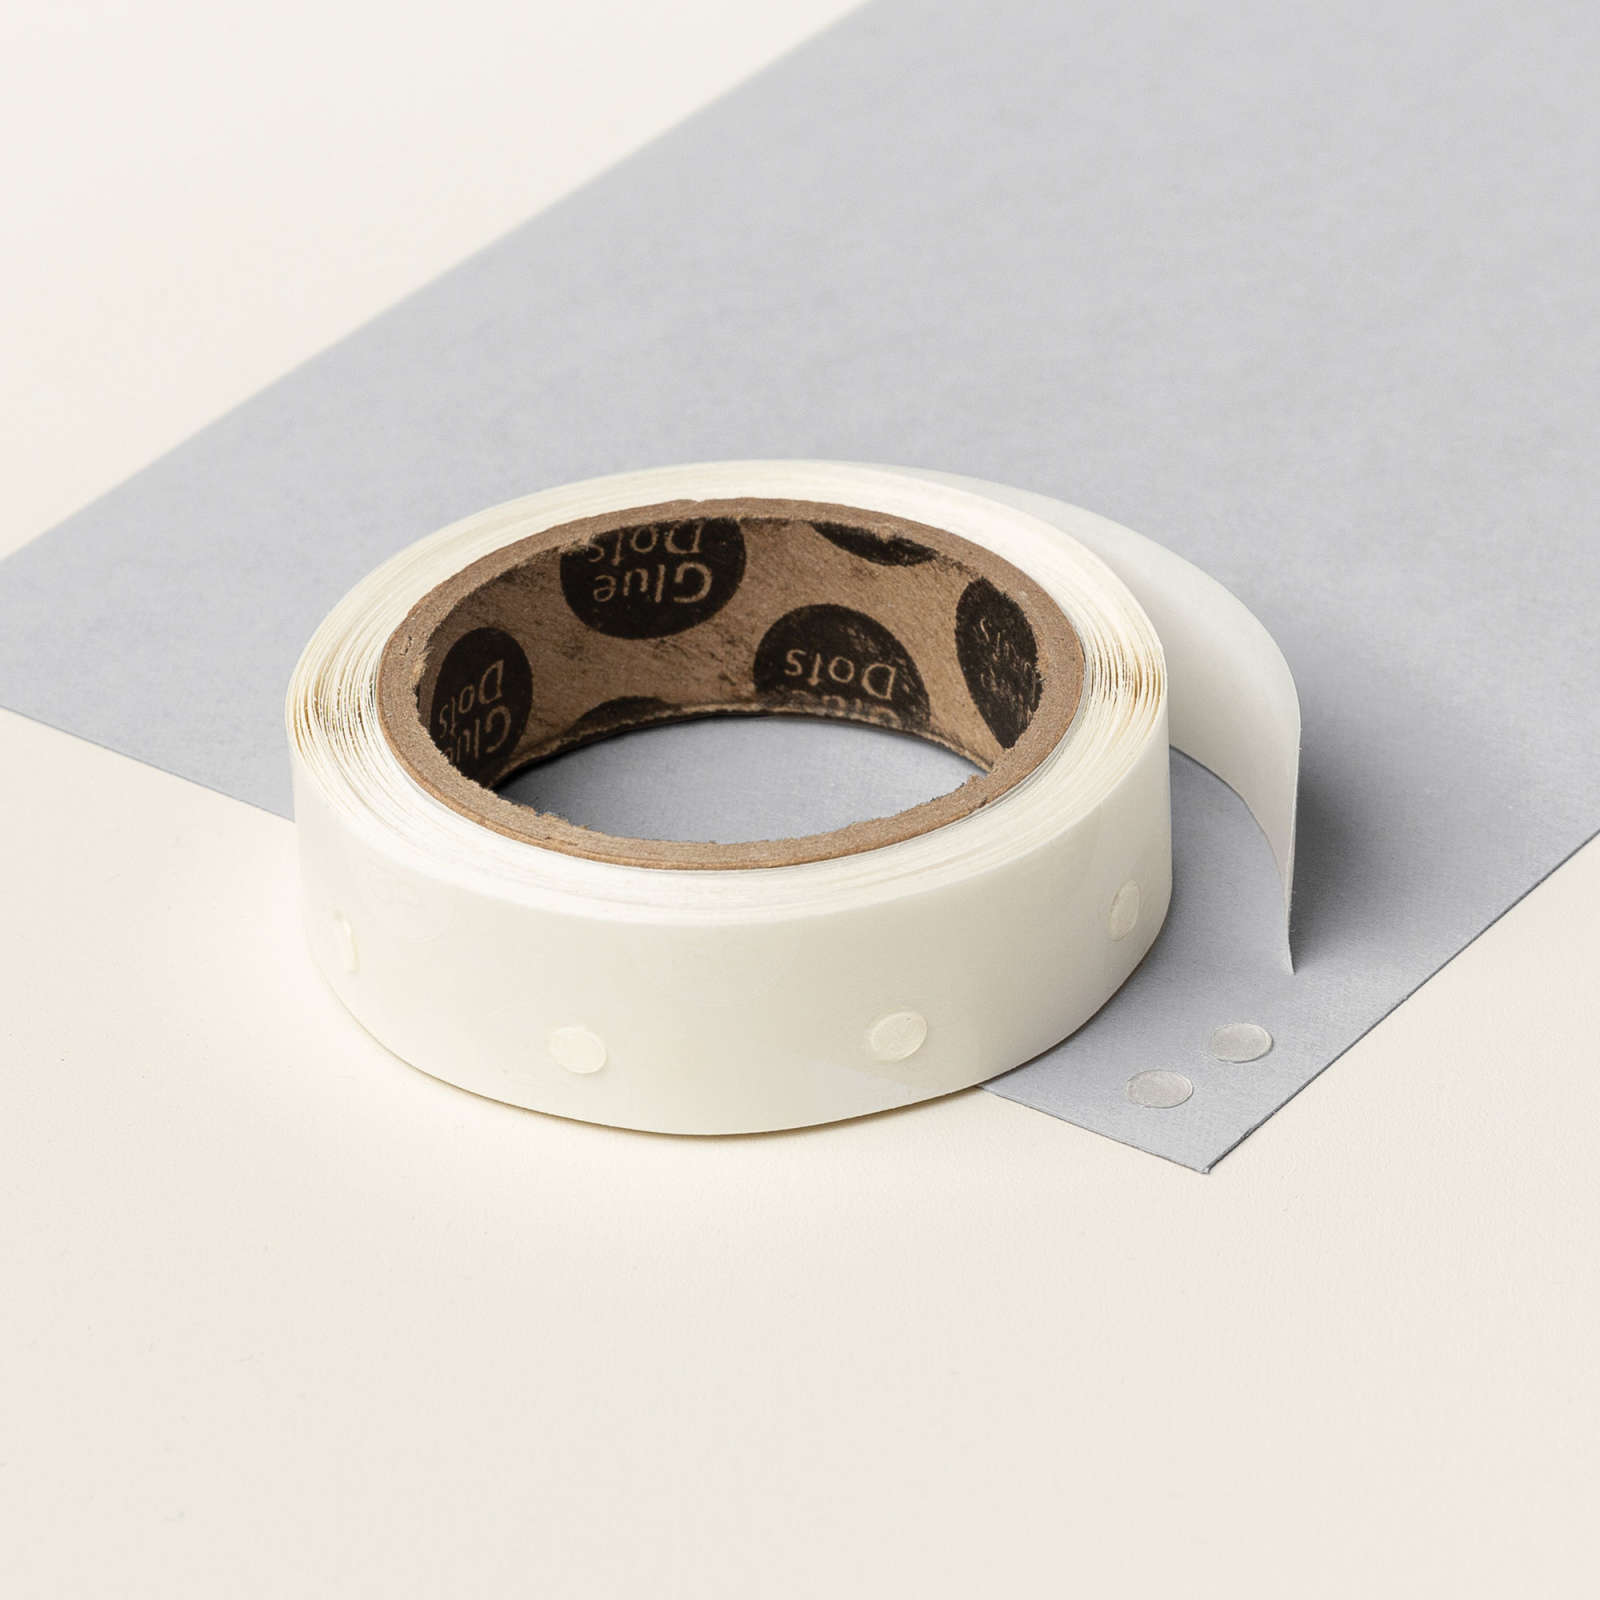
The bow has some glue dots to accentuate the raised sections of it.
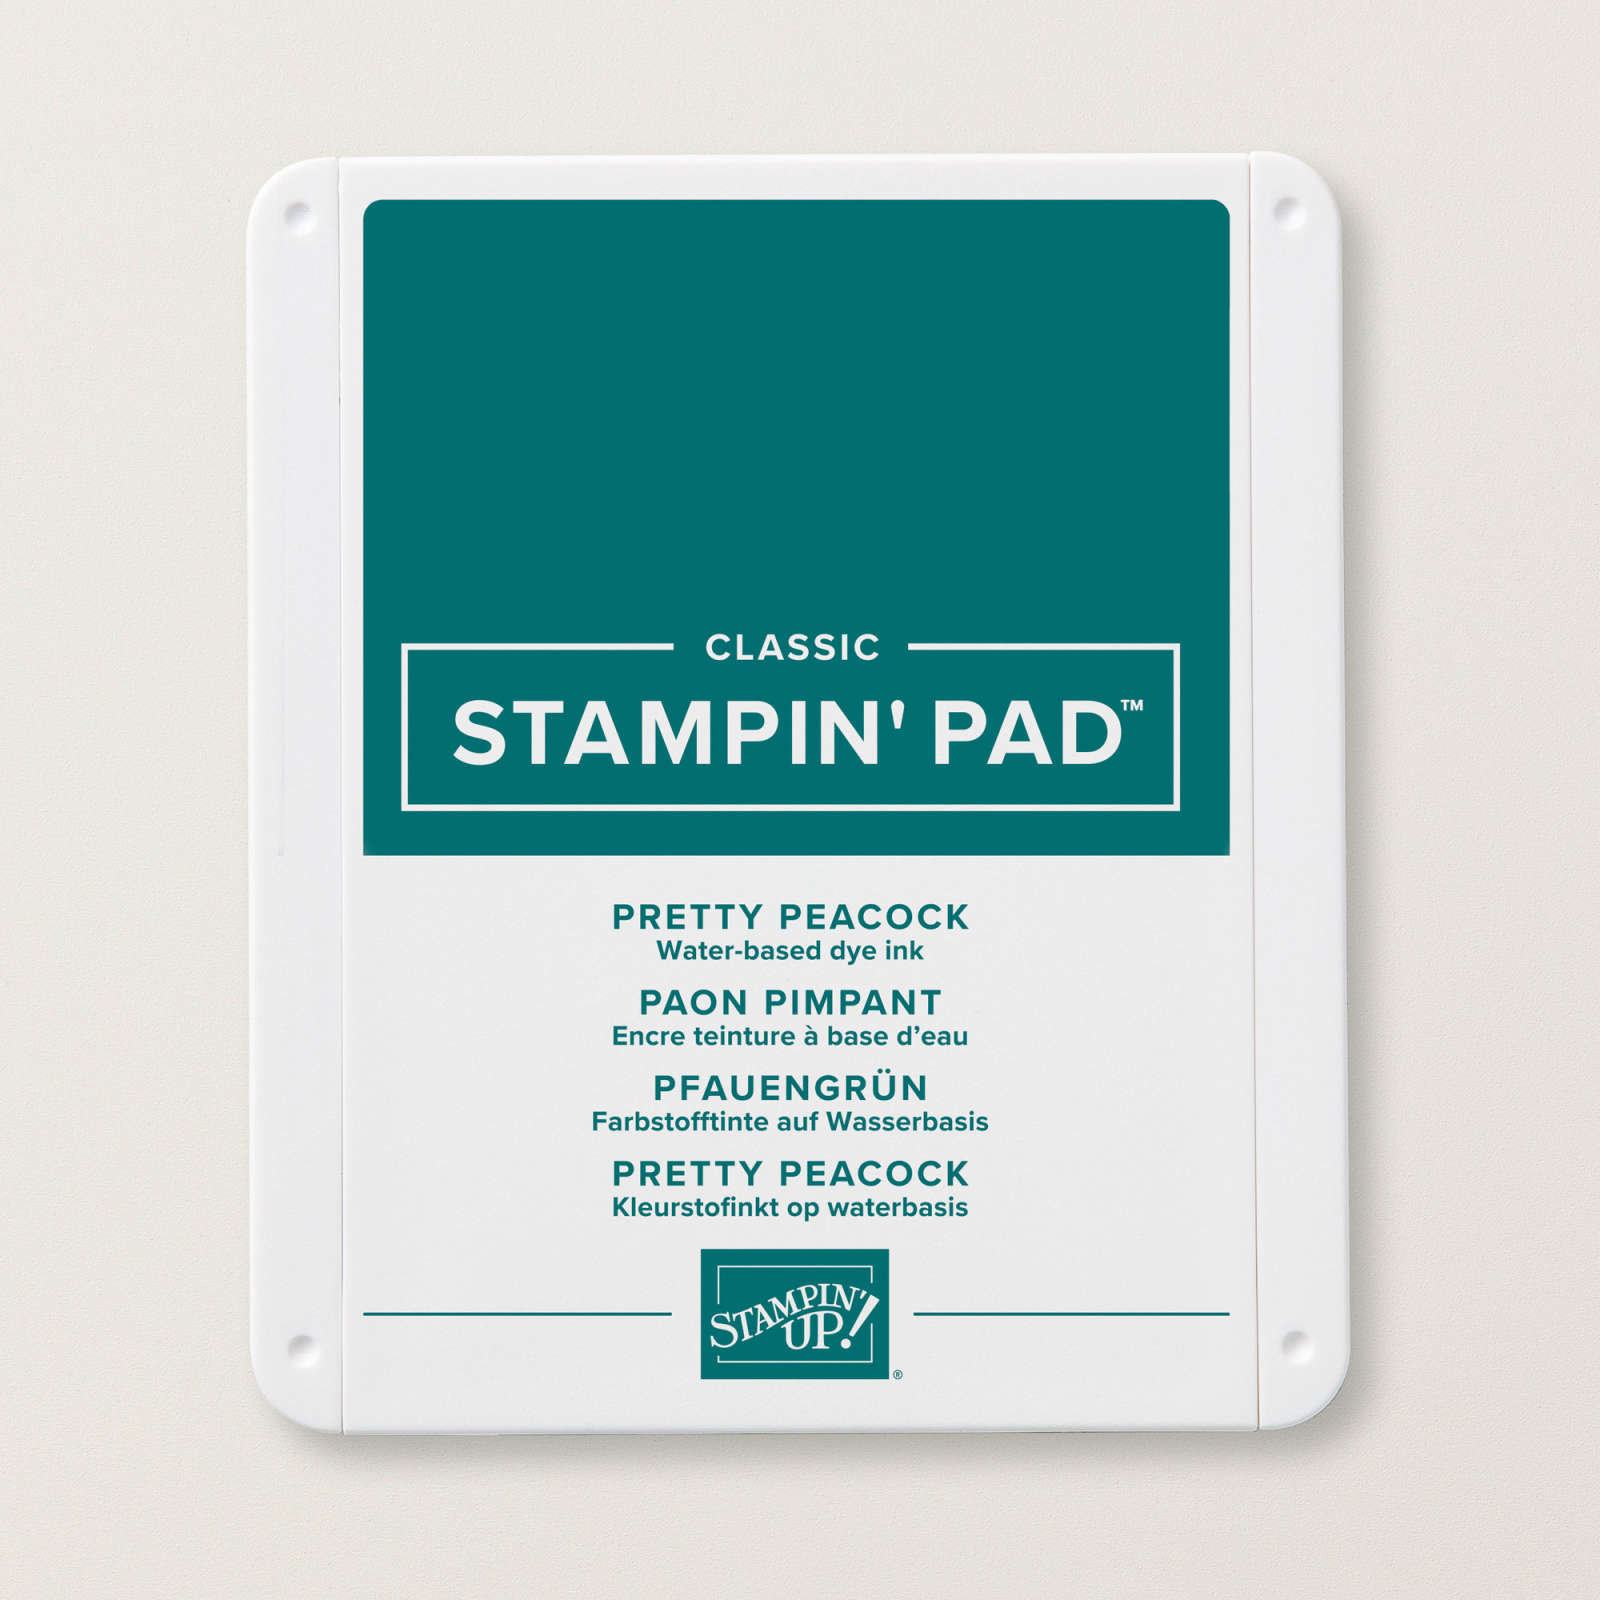
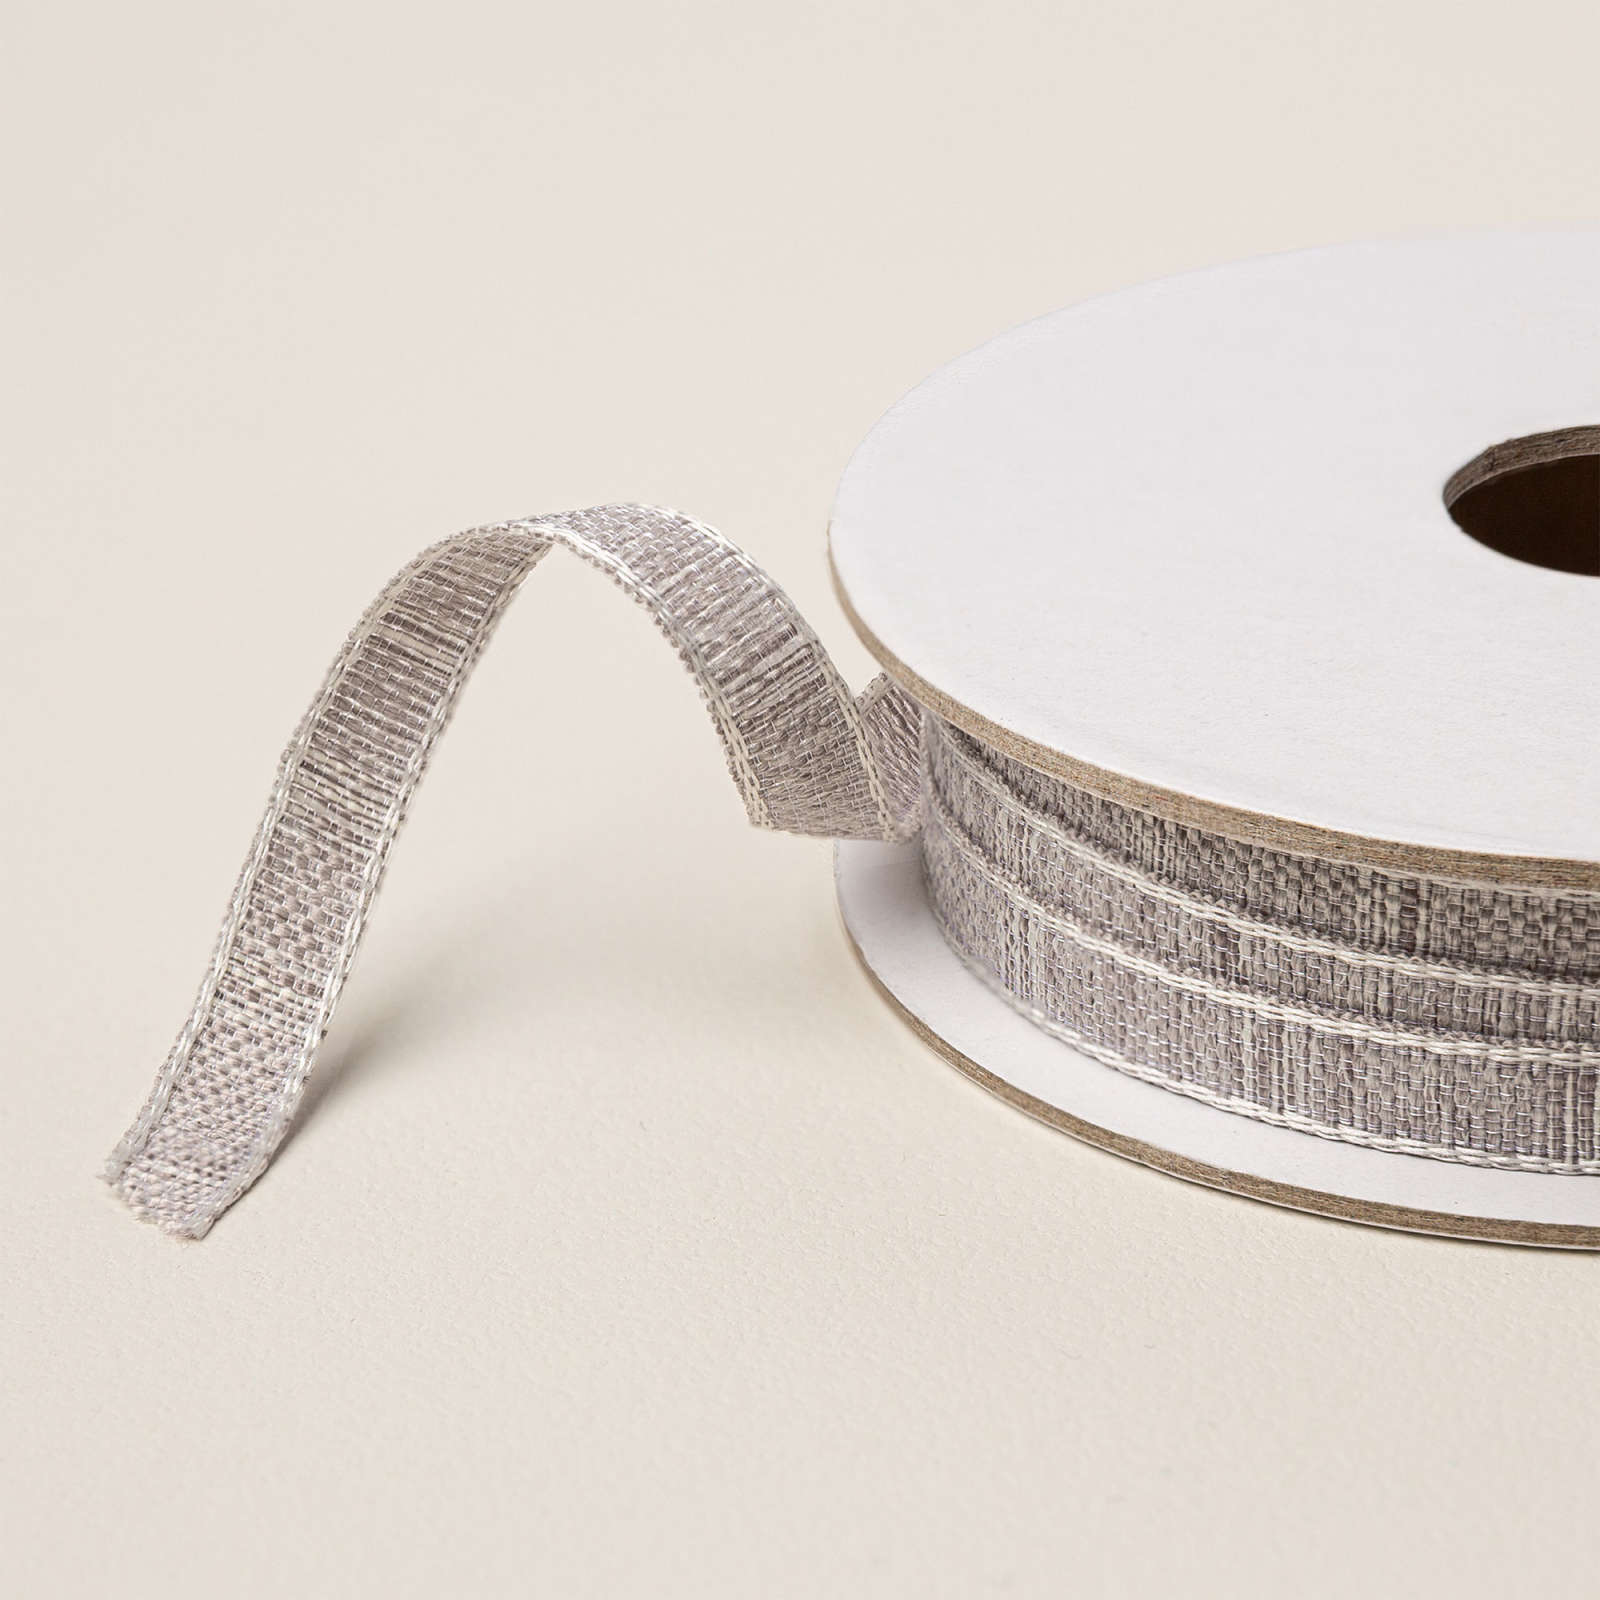
I started with a Basic White base & added a Pretty Peacock matte that was stamped with cute Pretty Peacock bows from the Elegantly Wrapped stamp set (which matches the dies), wrapping some Gray Granite Variegated trim around it before adding to the base.
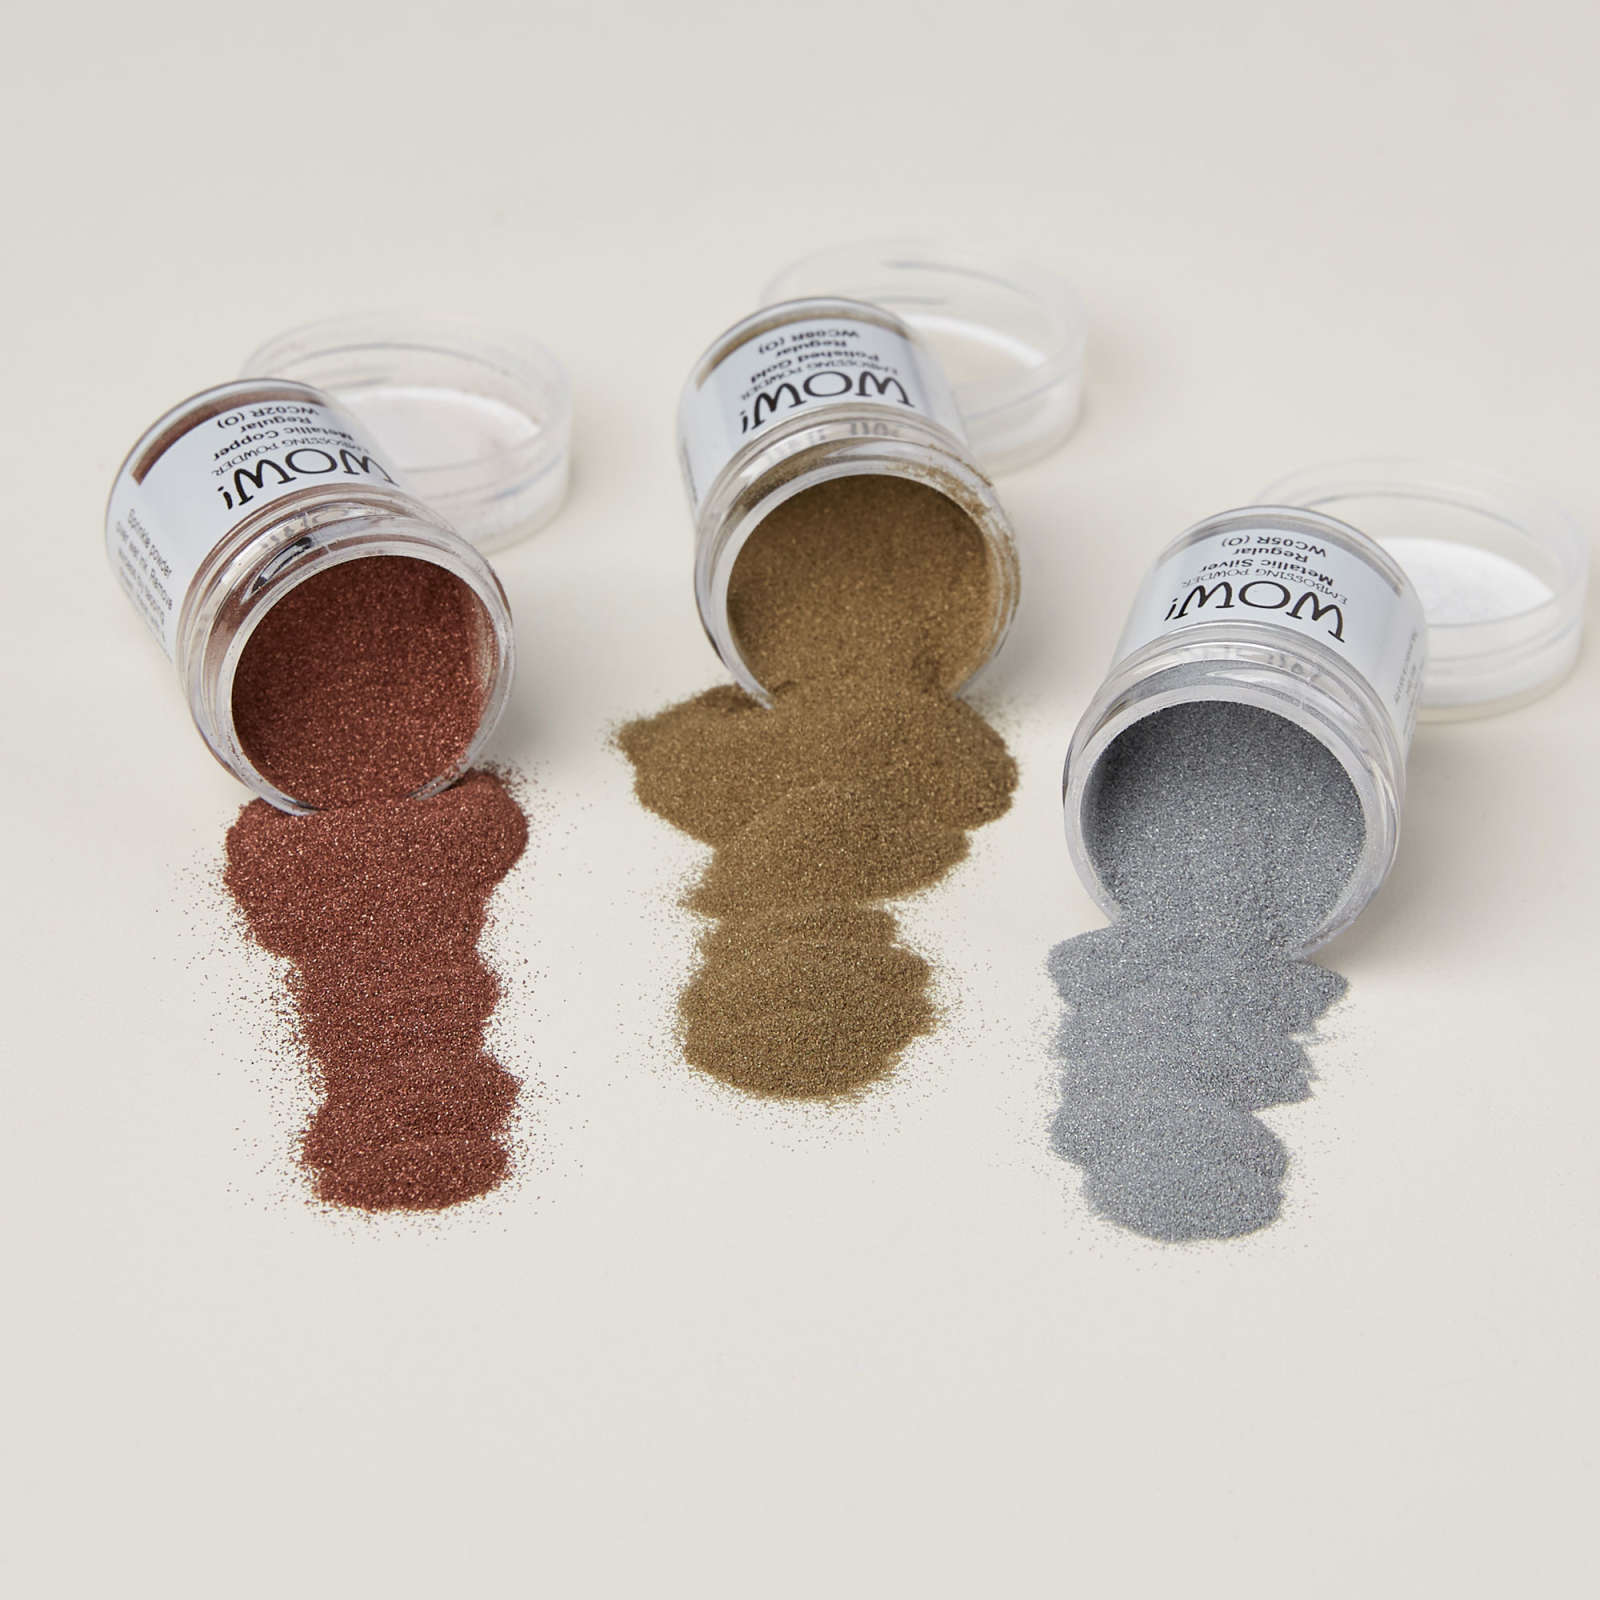
Next was a focal point for the bow to rest on. This was diecut in Cherry Cobbler using the Festive Framed Photos dies then the sentiment from Stitched Stockings was heat embossed in Silver before adding the the card.
I used some dimensionals to attach the bow for extra height & finished it with some Adhesive Backed Metallic gems.

My second card has a DSP focal point made with All Wrapped Up specialty DSP & the metallic frame.

I started with a Basic White base & added a Misty Moonlight matte embossed with the Rustic Check embossing folder.
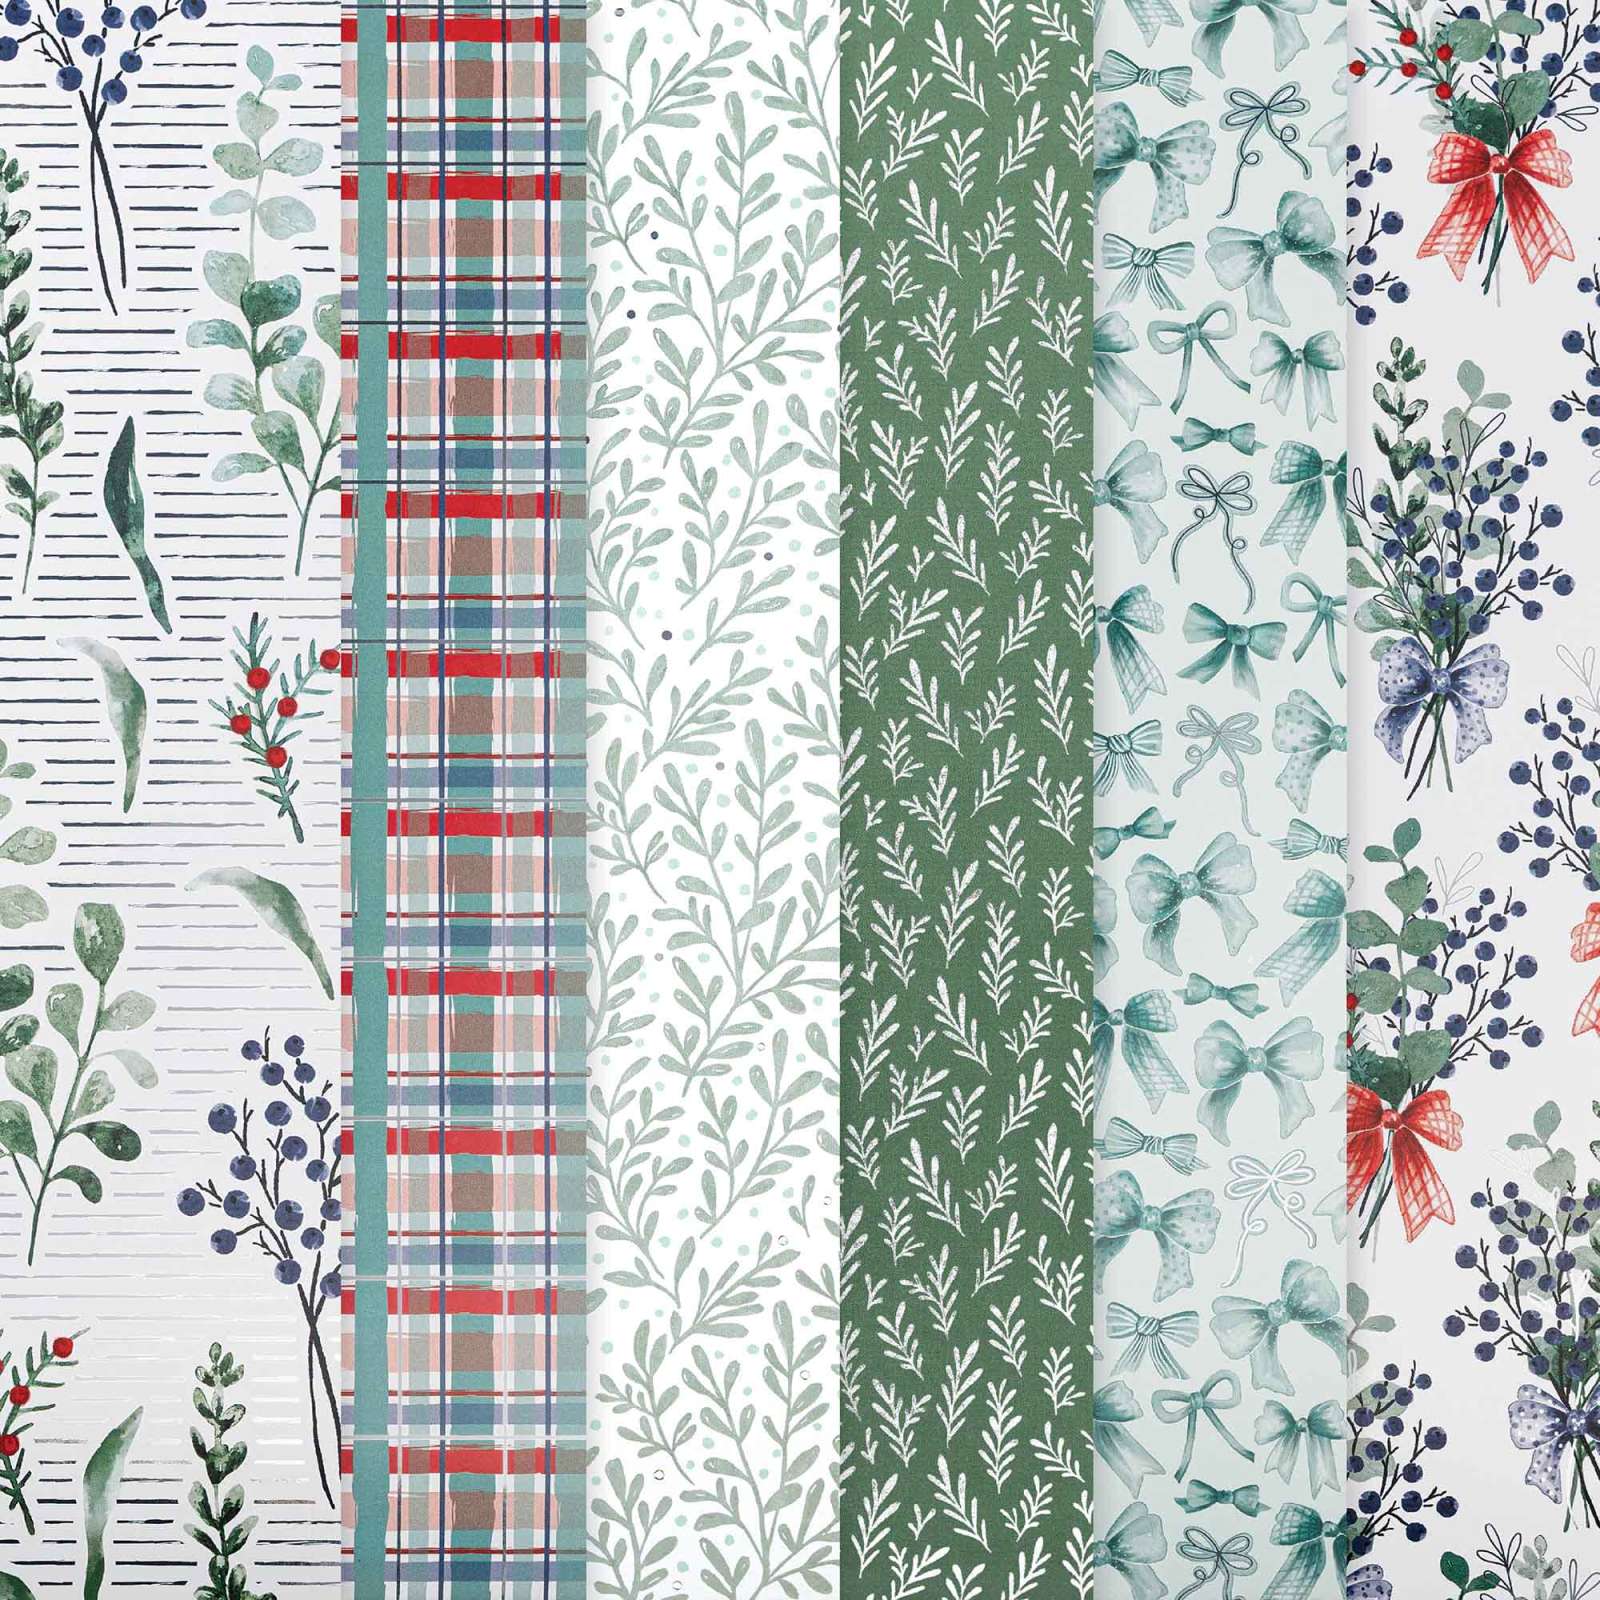
I cut the DSP so that a bouquet was centred inside & then diecut some of the foliage from another sheet using the Wrapped Greenery dies. These were tucked in behind the frame & adhered to the card front as well. The frame is raised on dimensionals.
For the sentiment I chose one from Delicate Whispers, stamped in Night of Navy then trimmed to form two smaller phrases before adding it with dimensionals & a glue dot for a little extra height (the raised effect on the frame means it's slightly higher than the dimensionals on their own).
The final touch are some more Metallic gems in Silver to tie in with the silver embossing on the DSP.

The unused frame, ferns & bow will be used for future projects.
That's it for this post. I hope you enjoyed learning about this new product.
My next post is on Sunday, featuring the latest of the Paper Pumpkin kits, a set of cards designed to send your thanks & gratitude.
My next mid week post will look at using masks to colour your projects.
I hope you can join me for both of them.
Links to the products used in this post are below.
Til next time, thanks for visiting, take care & keep creating!
XX Alison
Stamps, Dies, Embossing folders & punches


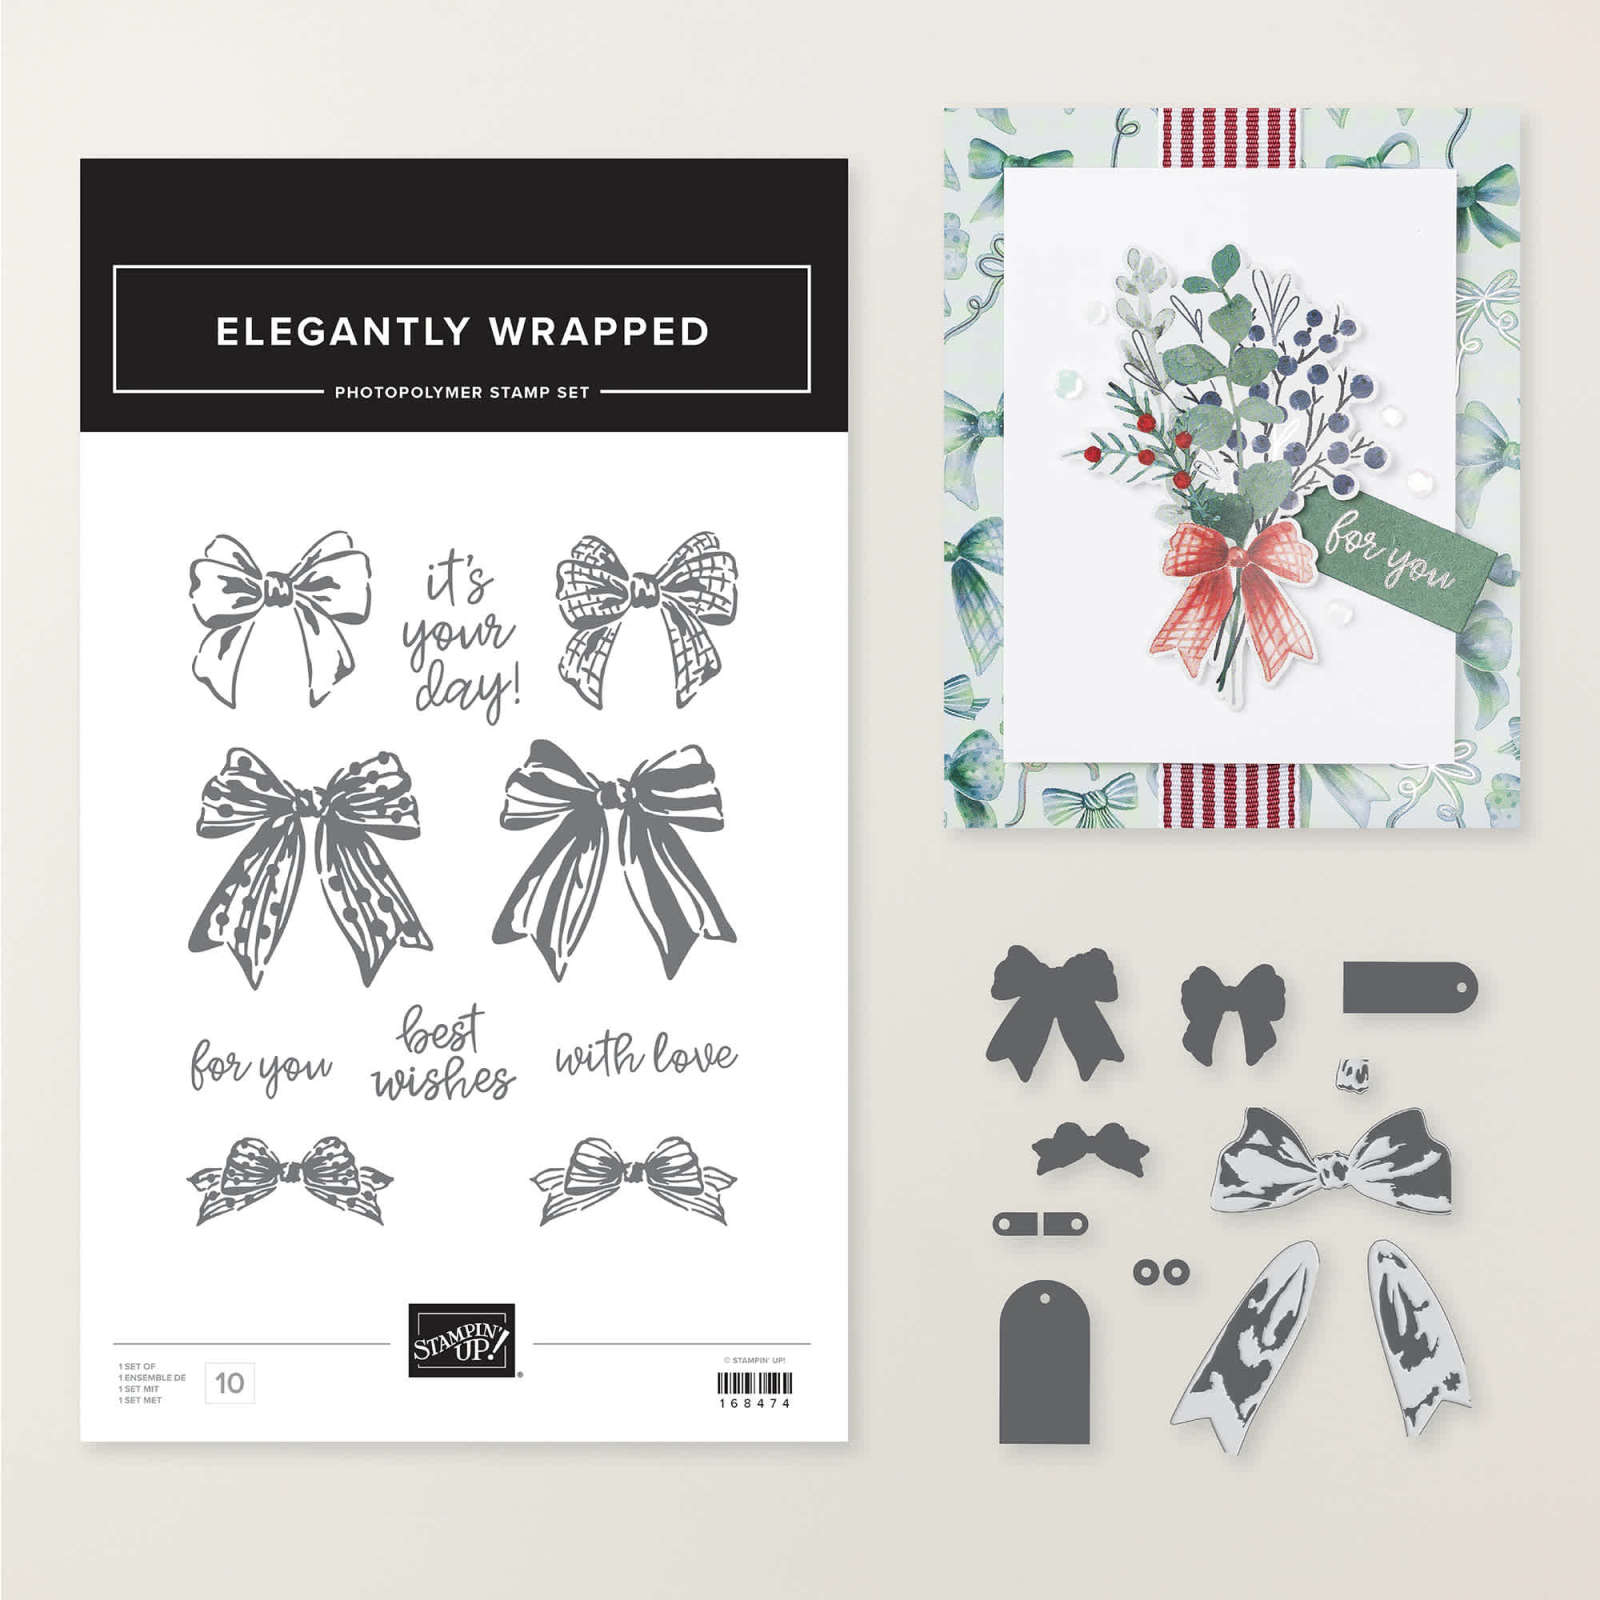


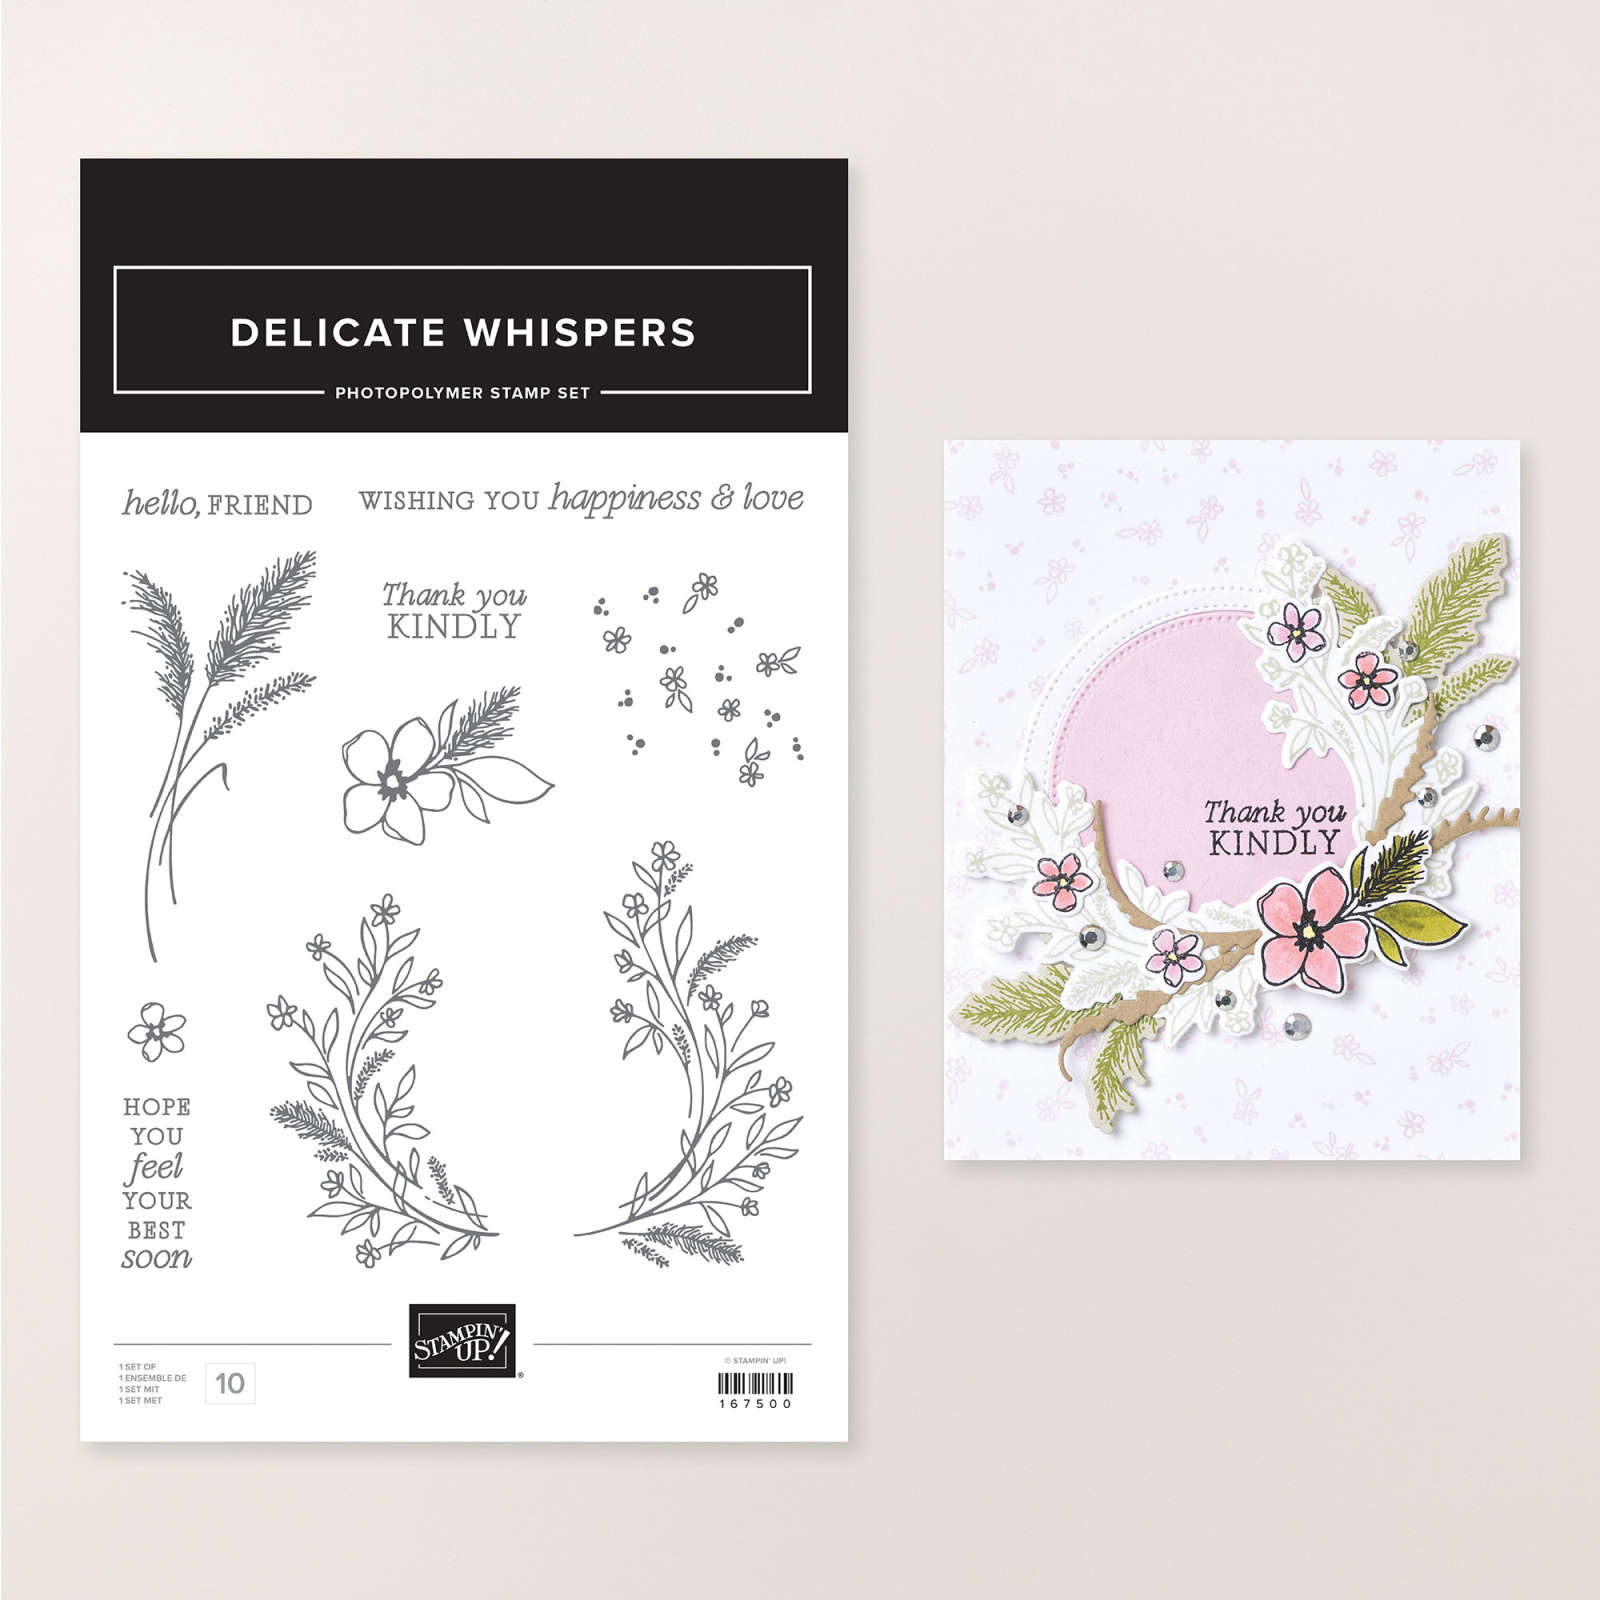

Cardstock, DSP & paper
Inks & Markers

Embellishments

Adhesives

Tools



Comments