
18/3- Mid Week post #206 - Tips for using the Take Your Pick tool
- Alison Culliver
- Mar 18
- 4 min read

Some great tips to get the most out of this very useful tool.
Hello & welcome to my mid week blog.
My name is Alison & I live in beautiful Melbourne, Australia & I am an independent Stampin' Up® demonstrator.
I love to create beautiful things to share with people that I love but I also sell me creations. I have been creating things in one way or another for most of my life - knitting, sewing, cooking, card making, gardening, scrap booking & hand made gifts & in 2020 after joining Stampin' Up® I decided to share my passion in a blog (craftedbyalison@blogspot.com).
In 2025 I retired & decided to spread my creative wings a little more by combining my blog, products that I had been selling on FaceBook & launching a newsletter. Some of these things I had already been doing but this time they are all in the one place. (All previous posts can be found at my blogspot address above if you would to read any of them.)
And here we are at my new site!
For those of you who follow my posts, you will know that I recently attended the Stampin' Up® OnStage event in Sydney. This was an amazing time with lots of new product revealed & demonstrated, new happenings within the company explained & we got lots of merchandise & inspiration.
As this event took me away for 4 days (and another couple to recover!) I wanted this mid week post to be a relatively simple topic but also a useful one. I try to provide a 'Tips & Tools' post every couple of months to help you with your crafting journey & this post looks at the Stampin' Up® tool - Take Your Pick.

It's a great tool & very versatile. Let me explain...
The Take Your Pick tool is a pen sized implement with interchangeable tips to help you manage small crafting moments more easily.
There is a tip that is a paper piercer to create small holes in cardstock & paper but also is great for 'stabbing' the backs of dimensionals to remove them.
This tip can be reversed to change into a spatula for spreading small amounts of embossing paste, lifting cardstock (carefully) when you make an oopsie or to pick up & place embellishments.
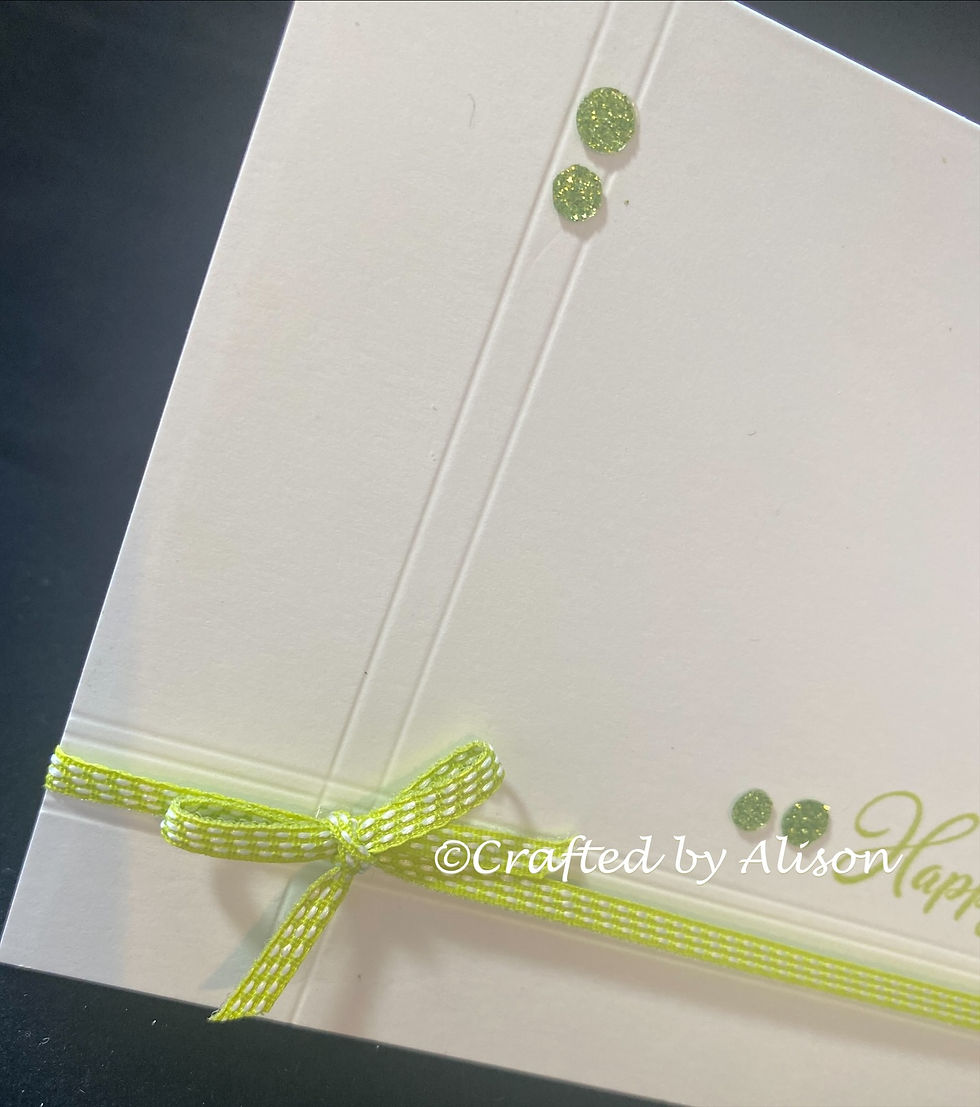
If you remove this head it can be replaced with a double sided stylus for scoring - a smaller & larger size. These are great for scoring & for creating dimension on flowers & leaves.
On the other end of the tool there is a putty tip which is great when you need to pick up small items for glueing, place loose embellishments that are not pre-glued such as sequins & can also be replaced with new heads when the putty runs out.

One of the add ons available is a die brush with foam mats. It screws in the end with the putty. This is very handy for those fiddly die cut pieces that take ages to press out as you just place your cardstock down on the foam mat then run the brush over the cardstock until all the pieces are removed. Such a time saver!

If that's not enough, there's also an add on of useful tips including a hobby tip, double ended pick tip & rotary blade. These also screw in at the putty tip end.

I love using this super versatile tool & I know that some demonstrators keep 2 or 3 on the go so that they always have all of the different tips & tools ready to use without any interchanging. I'm happy with the one tool though at this stage.
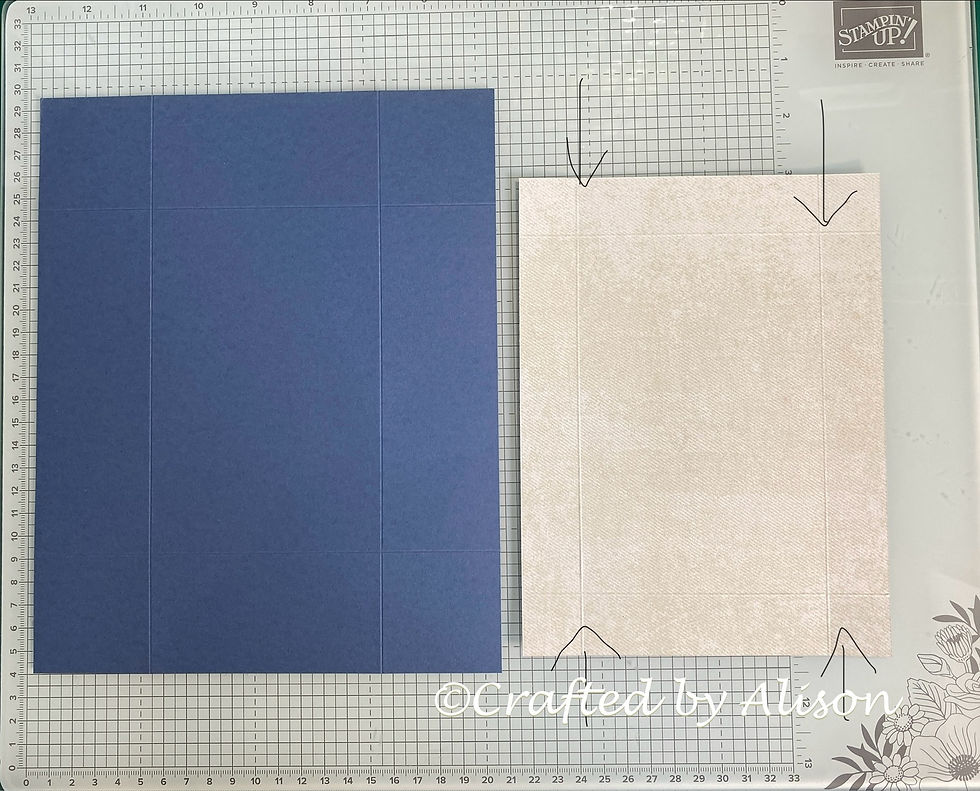
Here's a couple of ideas for using the stylus tip on projects...


So that's it for the Take Your Pick tool. I hope you found this information useful & helpful. If you have any questions, feel free to contact me at craftedbyalison@gmail.com.
If you would like to purchase a Take Your Pick tool yourself or any other Stampin' Up® products, I have added some links below that will take you directly to my store.
That's all I have for you for this post. My next post will be on Sunday where I feature some gorgeous cards made with the Lovely Arrangements stamps & dies.
My next mid week blog looks at how to use scoring as a focal point in a card.
As there is so much to share from my time at OnStage I will be sending out a newsletter with lots of photos, inspiration & information. Go back to my main page & click on the subscribe button to be added to my list. Or simply click below...
I only post one newsletter every 2 to 3 weeks at this stage so you won't be 'spammed'.
Til next time, take care & keep creating! XX Alison
Adhesives
Tools


Comments